Overview
The Brands page in Actions Center lets you define the consumer-facing brands your Point of Interest (POI) inventory is shown under in the Local Aggregator Unit integration.
Each brand you configure here is referenced from your POI feed through
local_data.brand_landing_pages.brand_id. Google uses the brand's localized
name and logo to attribute your POI landing pages to you on Google surfaces.
Use this page to:
- Create one or more brands and give each a unique Brand ID.
- Add localizations with a consumer-facing name, logo, and URLs.
- Configure the See More URL template for each localization.
- Edit or delete existing brands and localizations.
Access the Brands page
- Sign in to the Actions Center.
- In the top environment switcher, pick Sandbox or Production.
- In the left navigation, go to Configuration > Brands.
- Select the Local VSS tab.
Brands Table Columns
Each brand appears as a card. The card header shows the brand name and Brand ID. Below the header, a table lists every localization of the brand.
| Brand Header | Description |
|---|---|
| Brand name | Internal name of the brand. It isn't shown to users; only localizations are shown to users. |
| Brand ID | The unique brand identifier. It must match brand_landing_pages.brand_id in your POI feed. |
| ⋮ (Manage brand) | Opens the Edit and Delete actions for the brand. |
| Localization Table Columns | Description |
|---|---|
| Local name | Consumer-facing brand name for this country and language, displayed in the aggregator unit. |
| Logo | Thumbnail of the uploaded logo for this localization. |
| Country | Entity country this localization applies to. All countries are supported globally. |
| Language | Locale of the localization (for example en-US). A star icon (★) marks the default language for the country. |
| See More URL template | URL template used to build the "See more" link for your brand. |
| ⋮ (Manage localization) | Opens the Edit and Delete actions for the localization. |
Add a brand
- On the Local VSS tab, click + ADD BRAND.
- In Brand settings, enter:
- Name (required): The default name of the brand.
- Brand ID (required): A unique ID used to track the brand's data. You can't change the Brand ID after the brand is created.
- Click Next. Each new brand needs at least one localization.
- Fill in the localization form. See Localization fields.
- Click Save.
Defining multiple brands is optional. Use it if your business runs several consumer-facing brands (see Scenario: Supporting multiple brands for details).
Add a localization
To add a localization to an existing brand, click + ADD LOCALIZATION under the brand's table, fill in the form, and save.
- Each country and language pair can exist only once per brand.
- The first localization for a country is set as that country's default.
- To change the default later, check Set the language as default in the selected country on another localization. This replaces the previous default.
Localization fields
| Field | Required | Description |
|---|---|---|
| Local name | Yes | Consumer-facing name of the brand for this localization. |
| Country | Yes | Country of the localization. You can select any country; all countries are supported globally. |
| Locale | Yes | Language of the localization. You can select any locale; all locales are supported. |
| Set the language as default in the selected country | No | Marks this localization as the default for the country. |
| Logo | Required for launch | Brand logo. The form lets you save without one, but a logo is needed to complete your integration. See Logo requirements. |
| Merchant Signup URL | No | URL where a new merchant can learn about and sign up for your service. Must start with https://. |
| Opt-Out URL | No | URL where a merchant can opt out of your integration. Must start with https://. |
| See More URL Template | Yes | Static https:// URL used to generate the "See more" link for your brand for that country and language. Must comply with the See More Link Policy. |
| Domains | No | Domains associated with this localization (for example example.com). Click + ADD DOMAIN to add more. |
Edit or delete brands and localizations
- Edit a brand: Click ⋮ next to the Brand ID, then Edit. You can change the name. The Brand ID is read-only.
- Delete a brand: Click ⋮ next to the Brand ID, then Delete. If you delete the default brand, you will be prompted to select a new default first, unless it is the only remaining brand.
- Edit a localization: Click ⋮ at the end of the row, then Edit.
- Delete a localization: Click ⋮ at the end of the row, then Delete. If you delete a country's default localization, you're asked to pick a new default. When you delete the last localization for a country, that country stops serving.
Connect brands to your POI feed
Reference the Brand ID in each POI's local_data.brand_landing_pages:
{
  "local_data": {
    "brand_landing_pages": [
      {
        "brand_id": "test_brand_id",
        "default_url": "https://www.example.com/poi/12345",
        "localized_landing_pages": [
          {
            "url": "https://www.example.com/en/poi/12345",
            "locales": ["en-US"]
          }
        ]
      }
    ]
  }
}
brand_idis required and must be unique within a POI.default_urlis required and must be a validhttp://orhttps://URL.- Landing pages must deep-link to the POI page with no forced login or paywall. See Platform policies.
Brand-related feed errors are listed in the Inventory Viewer.
Scenario: Supporting multiple brands
Use this setup if your business runs more than one consumer-facing brand, for example separate booking sites, and the same POI can be booked through more than one of them.
Example: You run two brands, "Example Bookings" (example.com) and "Another
Bookings" (another.com). Some POIs are listed on both sites; others are listed
on only one.
Step 1: Configure each brand in Partner Portal
Create a separate brand for each consumer-facing brand. Don't model two different brands as localizations of one brand.
| Setting | Brand 1 | Brand 2 |
|---|---|---|
| Name | Example Bookings | Another Bookings |
| Brand ID | example_bookings |
another_bookings |
| Local name | Example Bookings | Another Bookings |
| Country / Locale | US / en-US (default) |
US / en-US (default) |
| Logo | Example Bookings logo | Another Bookings logo |
| See More URL Template | Template on example.com |
Template on another.com |
| Domains | example.com |
another.com |
- On the Local VSS tab, click + ADD BRAND and create Example
Bookings with its US
en-USlocalization. - Click + ADD BRAND again and create Another Bookings with its own US
en-USlocalization, logo, and See More URL template. - Repeat the same setup in the other environment (Sandbox and Production) using the same Brand IDs.
Step 2: Reference the brands in your POI feed
For each POI, add one brand_landing_pages entry per brand that offers it. Each
entry points to that brand's landing page for the POI.
POI offered by both brands:
{
  "poi_id": "poi_12345",
  "local_data": {
    "brand_landing_pages": [
      {
        "brand_id": "example_bookings",
        "default_url": "https://www.example.com/poi/12345"
      },
      {
        "brand_id": "another_bookings",
        "default_url": "https://www.another.com/venues/12345"
      }
    ]
  }
}
POI offered by only one brand:
{
  "poi_id": "poi_67890",
  "local_data": {
    "brand_landing_pages": [
      {
        "brand_id": "another_bookings",
        "default_url": "https://www.another.com/venues/67890"
      }
    ]
  }
}
Rules for multiple brands
- Each
brand_idin the feed must match a Brand ID configured on the Local VSS tab in the same environment. - A
brand_idcan appear only once per POI. Put all landing pages for one brand in a singlebrand_landing_pagesentry (otherwise you getDUPLICATE_UNIQUE_PROPERTY). - Each brand needs its own localization, logo, and See More URL template.
- Keep Brand IDs the same in Sandbox and Production.
- Merchant-specific branding isn't allowed. Brands must represent your own consumer-facing businesses.
Logo requirements
Partner logos are shown to users to describe where the inventory comes from. Uploading a logo for each brand localization is a mandatory step in completing your integration.
Upload checks
The logo uploader on the Local VSS tab validates the file before you can save. Each check shows a check mark when it passes:
- Size: 512 px × 512 px.
- Format: PNG, sRGB color space.
- File size: 1024 KB or less.
Create a logo
When you create your artwork, make sure it meets these requirements:
- Final size: 512 px × 512 px.
- Place the logo in the middle of the 512 px × 512 px square, with a maximum size of 384 px × 384 px.
- The effective draw space is 384 px × 384 px.
- Format: 32-bit PNG.
- Color space: sRGB.
- Transparent backgrounds aren't allowed.
- The logo can use any background color that follows your brand guidelines.
- The background color must cover the entire 512 px × 512 px area.
- The artwork must sit within the centered 384 px × 384 px draw space.
- Max file size: 1024 KB.
- Shape: Full square.
- Actions Center dynamically handles masking.
- The corner radius is equal to 20% of the icon size.
- Shadow: None.
Design your logo at 512 px × 512 px, but keep the artwork inside the centered 384 px × 384 px space. Use keylines as guides and position your artwork on a keyline grid. After upload, Actions Center applies the rounded mask so all logos look consistent.
Example of a logo:
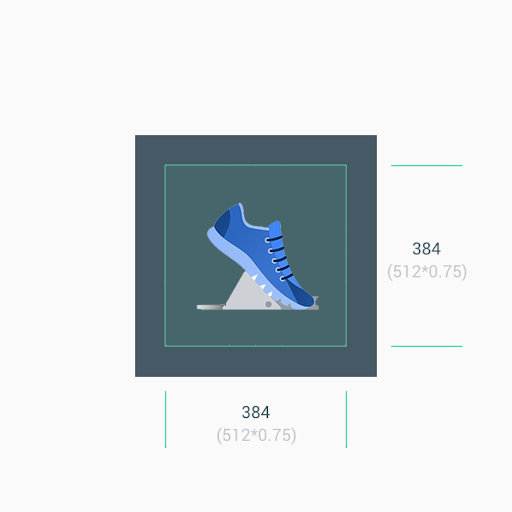
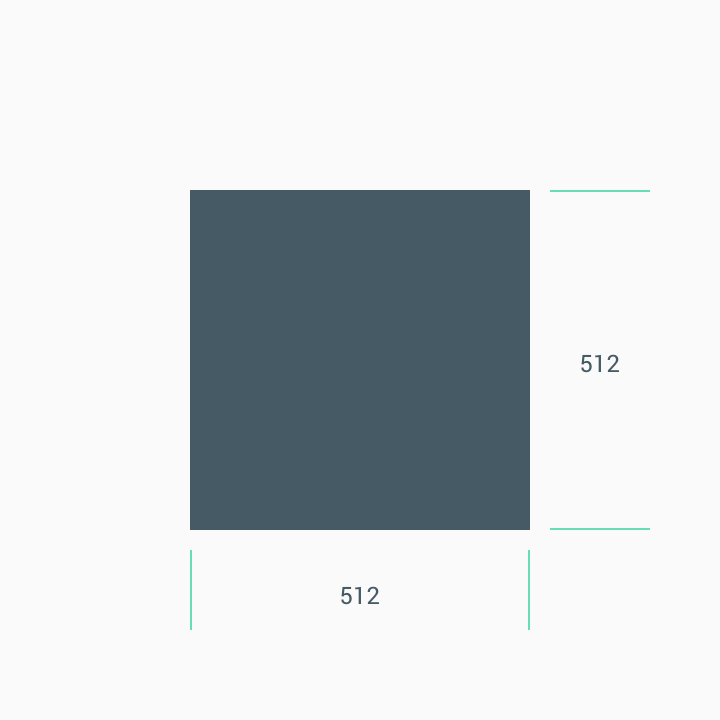
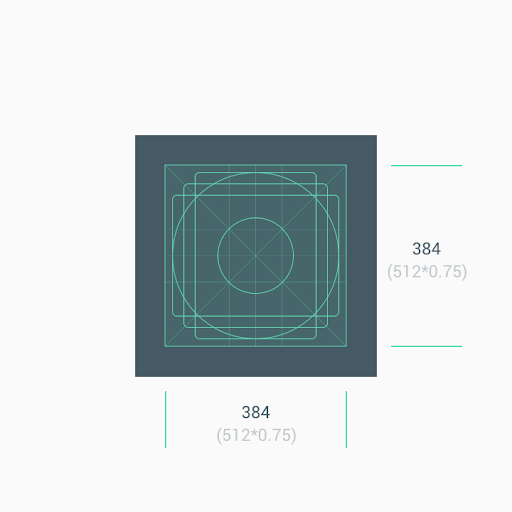
Size
Reminder:
- Use the center asset space (384 px × 384 px) as the background when you work with minimalistic artwork.
- Use the keylines as guides when you position artwork elements, such as logos.

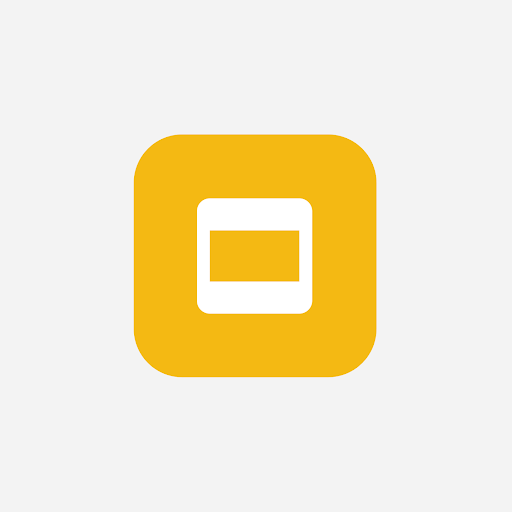
Don't force your logo or artwork to fill the full asset space. Use the keyline grid to position it instead.
If shapes are a critical part of your logo, don't force the artwork to go full bleed. Place it on the keyline grid instead.
If possible, pick a background color that suits your brand and doesn't include any transparency.
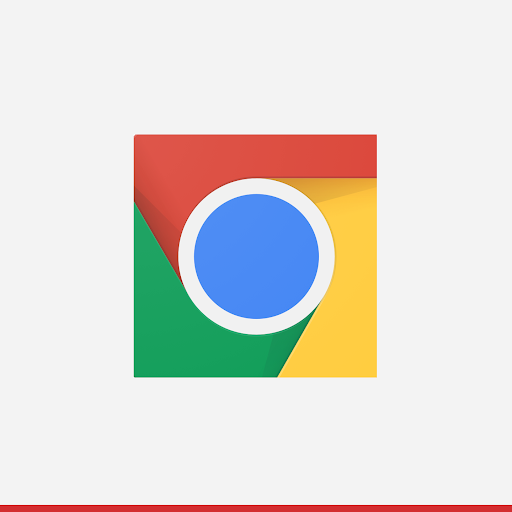
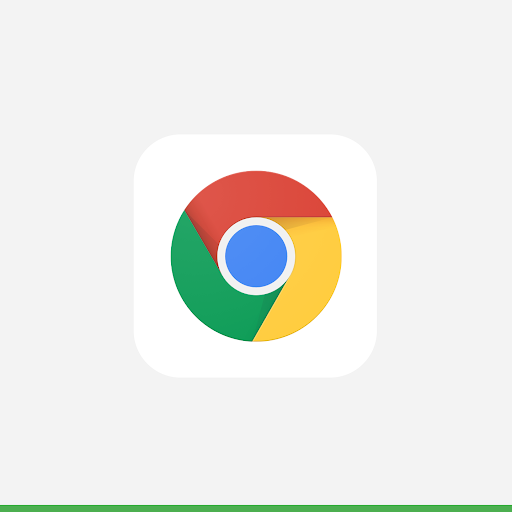
Corner radius
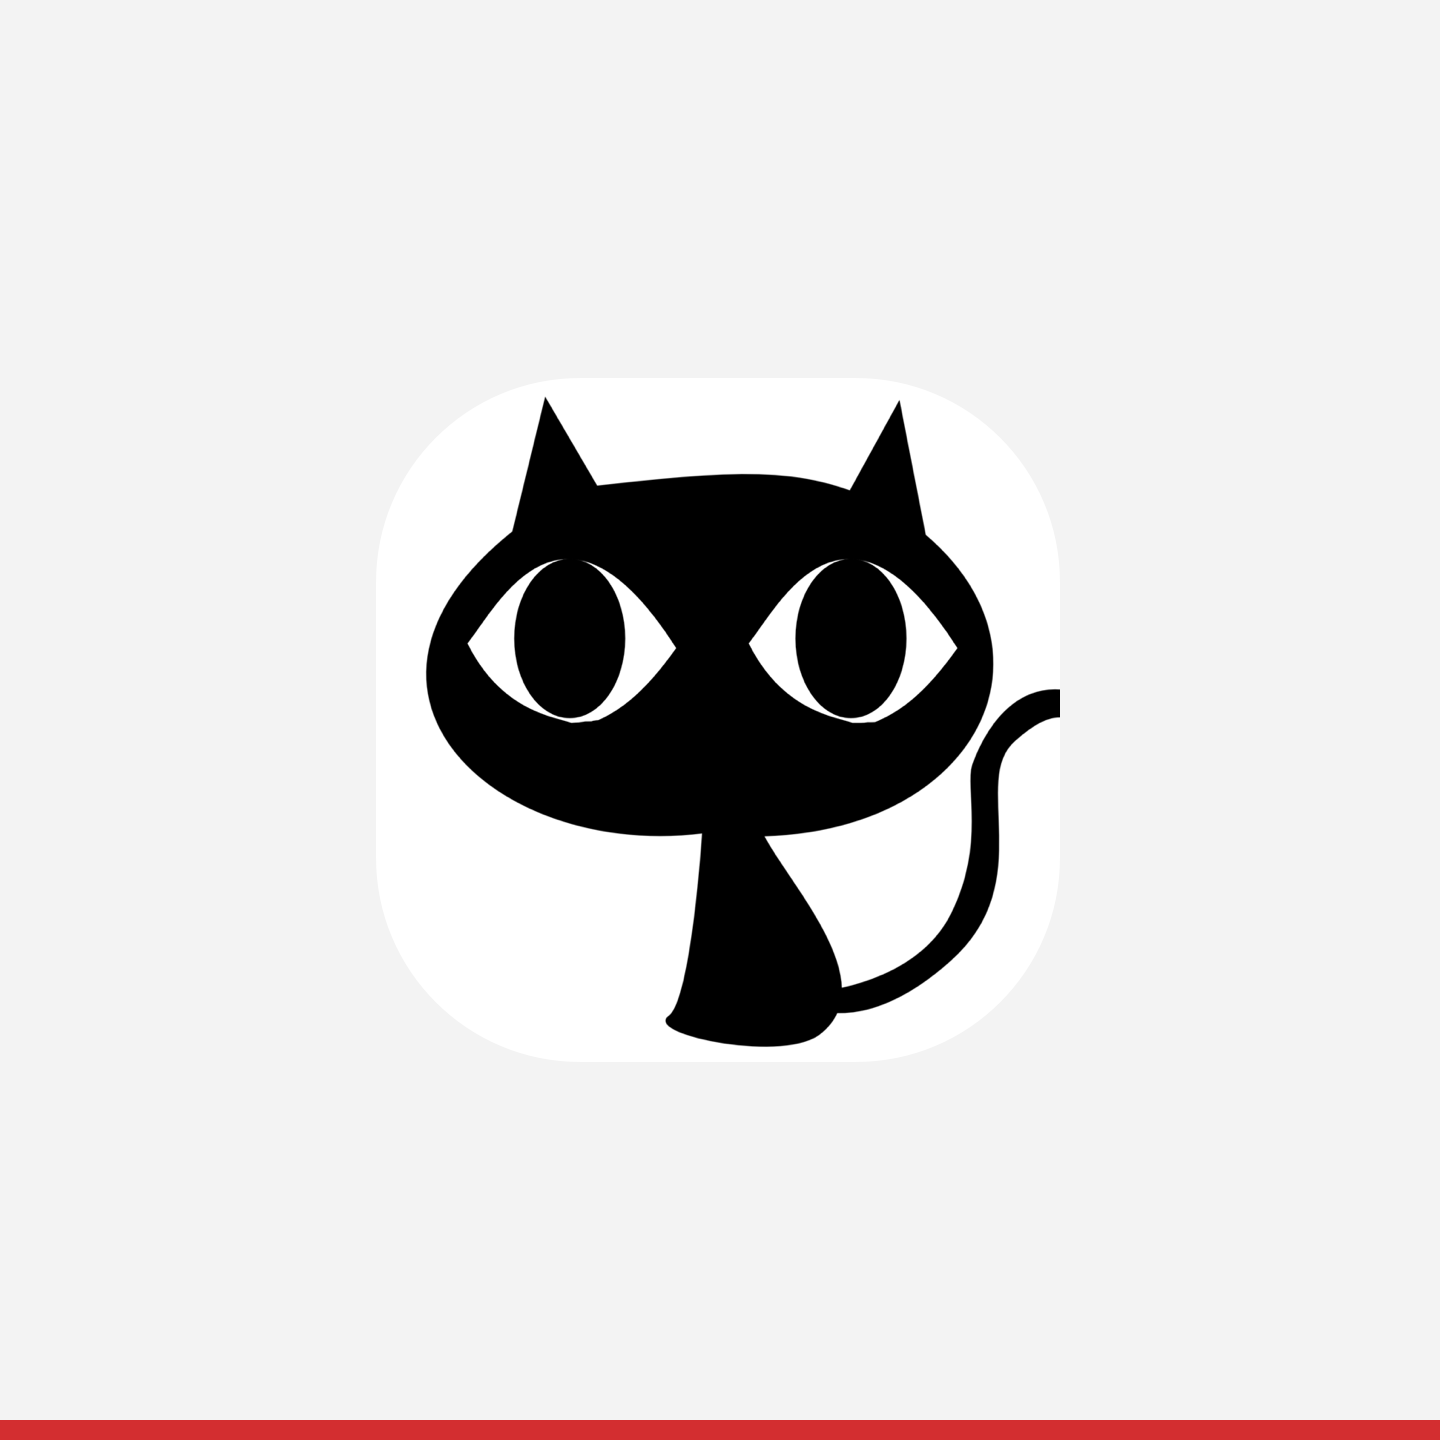
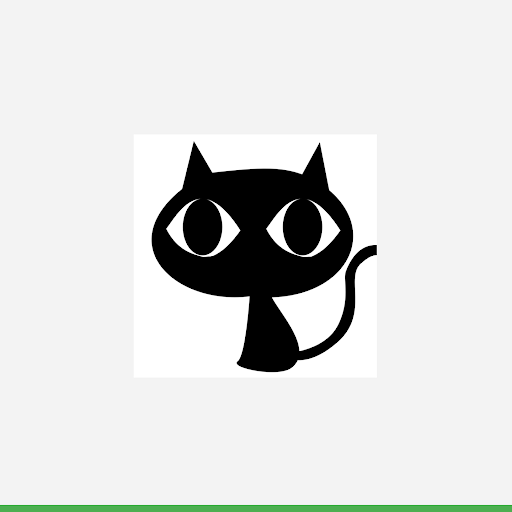
Don't deliver assets with rounded corners. Actions Center dynamically applies a corner radius and border to logos so the icon stays consistent when it's resized across different layouts. The radius is equal to 20% of the icon size.
Upload a logo
- Go to Configuration > Brands and select the Local VSS tab.
- Switch to Sandbox in the top environment switcher.
- Click + ADD LOCALIZATION under a brand, or click ⋮ > Edit on an existing localization.
- In the Logo field, click Select a photo and choose your PNG file.
- Confirm that all upload checks show a check mark.
- Click Save.
- Switch to Production and repeat steps 1 to 6.