API Google Fit, termasuk Google Fit REST API, tidak akan digunakan lagi pada tahun 2026. Mulai 1 Mei 2024, developer tidak dapat mendaftar untuk menggunakan API ini.
Mulai menggunakan Android
Tetap teratur dengan koleksi
Simpan dan kategorikan konten berdasarkan preferensi Anda.
Panduan ini menjelaskan cara memulai pengembangan dengan Google Fit di Android.
Penyiapan
Sebelum mulai membuat aplikasi, selesaikan langkah-langkah di bagian berikut.
Membuat Akun Google
Untuk menggunakan Google Fit API, Anda memerlukan Akun Google. Anda dapat membuat akun baru atau
menggunakan akun yang sudah ada. Sebaiknya buat akun terpisah untuk menguji aplikasi Anda dari perspektif pengguna.
Mendapatkan layanan Google Play
Dapatkan library klien terbaru untuk layanan Google Play di host pengembangan Anda:
Sebaiknya gunakan lingkungan pengembangan Android Studio untuk membuat aplikasi dengan Fitness API. Untuk mengetahui detail cara membuat project baru dan mengonfigurasinya di Android Studio, lihat
Membuat project.
Menambahkan library klien layanan Google Play
Di Android Studio, buka file build.gradle untuk modul Anda dan tambahkan library klien layanan Google Play sebagai dependensi:
Hal ini memastikan Gradle otomatis mendownload Fitness SDK saat mem-build aplikasi Anda.
Membangun dan menguji aplikasi Anda
Setelah menyelesaikan langkah-langkah penyiapan, Anda dapat mulai membangun aplikasi. Untuk mendapatkan
memulai, pelajari tentang jenis data yang dapat disimpan dan
dibaca oleh aplikasi Anda. Pelajari lebih lanjut cara menggunakan
data di Google Fit.
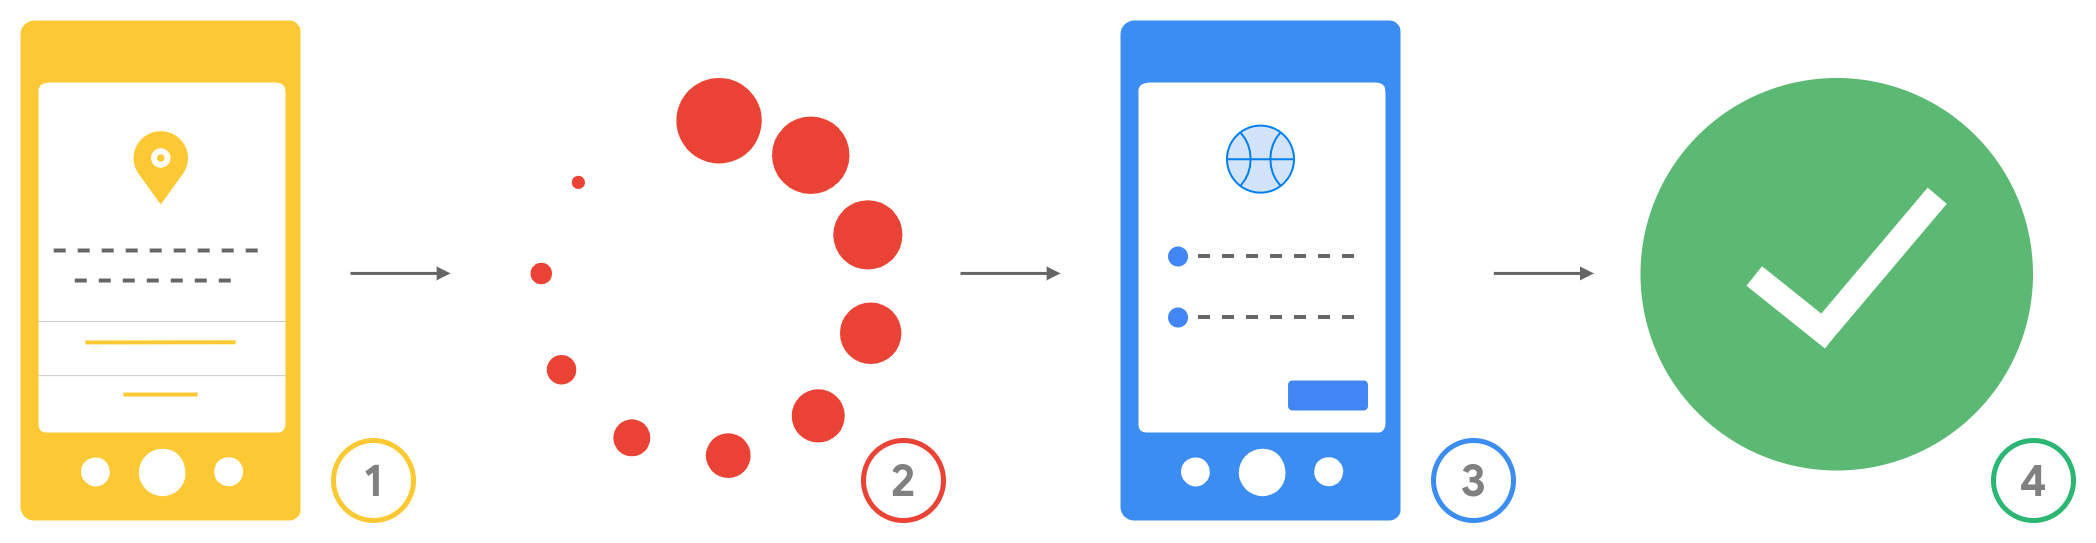
Berikut adalah alur otorisasi yang dihasilkan yang dialami pengguna saat mereka diminta izin:
Gambar 1.Alur otorisasi untuk pengguna.
Izin Android: Pengguna melihat izin Android yang diminta aplikasi Anda
sebelum mendownloadnya. Setelah didownload, aplikasi Anda akan
meminta izin runtime yang diperlukan, dan pengguna akan memberikan atau menolak
izin ini.
Periksa dan hubungkan: Aplikasi Anda memeriksa apakah izin
diberikan sebelum meminta akses ke jenis data lainnya.
Permintaan cakupan OAuth: Google meminta pengguna untuk memberikan aplikasi Anda
cakupan OAuth yang diperlukan untuk jenis data yang ingin diakses.
Akses diterapkan: Setelah pengguna memberikan izin, aplikasi Anda dapat
mengakses jenis data yang termasuk dalam cakupan yang telah diberikan
izin oleh pengguna.