기본 지도 표시하기
컬렉션을 사용해 정리하기
내 환경설정을 기준으로 콘텐츠를 저장하고 분류하세요.

이 예에서는 워싱턴주 시애틀을 중심으로 하는 지도를 만듭니다.
시작하기
샘플 코드를 사용하기 전에 개발 환경을 구성해야 합니다.
자세한 내용은 iOS용 Maps SDK 코드 샘플을 참고하세요.
코드 보기
Swift
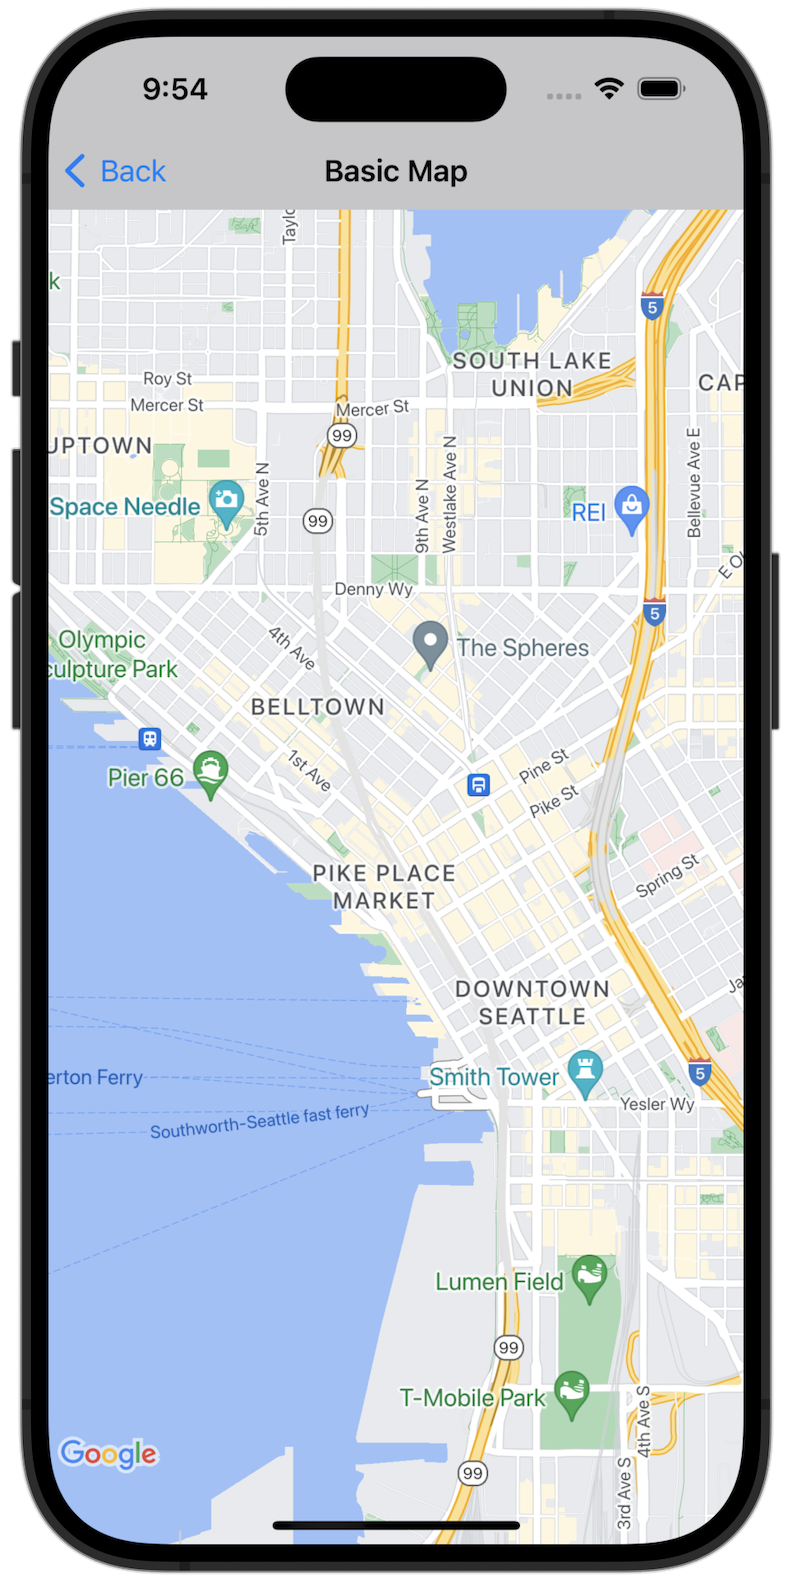
import GoogleMaps
import UIKit
class BasicMapViewController: UIViewController {
var statusLabel: UILabel!
override func viewDidLoad() {
super.viewDidLoad()
// Seattle coordinates
let camera = GMSCameraPosition(latitude: 47.6089945, longitude: -122.3410462, zoom: 14)
let mapView = GMSMapView(frame: view.bounds, camera: camera)
mapView.delegate = self
view = mapView
navigationController?.navigationBar.isTranslucent = false
statusLabel = UILabel(frame: .zero)
statusLabel.alpha = 0.0
statusLabel.backgroundColor = .blue
statusLabel.textColor = .white
statusLabel.textAlignment = .center
view.addSubview(statusLabel)
statusLabel.translatesAutoresizingMaskIntoConstraints = false
NSLayoutConstraint.activate([
statusLabel.topAnchor.constraint(equalTo: view.topAnchor),
statusLabel.heightAnchor.constraint(equalToConstant: 30),
statusLabel.leadingAnchor.constraint(equalTo: view.leadingAnchor),
statusLabel.trailingAnchor.constraint(equalTo: view.trailingAnchor),
])
}
}
extension BasicMapViewController: GMSMapViewDelegate {
func mapViewDidStartTileRendering(_ mapView: GMSMapView) {
statusLabel.alpha = 0.8
statusLabel.text = "Rendering"
}
func mapViewDidFinishTileRendering(_ mapView: GMSMapView) {
statusLabel.alpha = 0.0
}
}
Objective-C
#import "GoogleMapsDemos/Samples/BasicMapViewController.h"
#import <GoogleMaps/GoogleMaps.h>
@implementation BasicMapViewController {
UILabel *_statusLabel;
}
- (void)viewDidLoad {
[super viewDidLoad];
// Seattle coordinates
GMSCameraPosition *camera = [GMSCameraPosition cameraWithLatitude:47.6089945
longitude:-122.3410462
zoom:14];
GMSMapView *view = [GMSMapView mapWithFrame:CGRectZero camera:camera];
view.delegate = self;
self.view = view;
// Add status label, initially hidden.
_statusLabel = [[UILabel alloc] initWithFrame:CGRectMake(0, 0, 0, 30)];
_statusLabel.alpha = 0.0f;
_statusLabel.autoresizingMask = UIViewAutoresizingFlexibleWidth;
_statusLabel.backgroundColor = [UIColor blueColor];
_statusLabel.textColor = [UIColor whiteColor];
_statusLabel.textAlignment = NSTextAlignmentCenter;
[view addSubview:_statusLabel];
}
- (void)mapViewDidStartTileRendering:(GMSMapView *)mapView {
_statusLabel.alpha = 0.8f;
_statusLabel.text = @"Rendering";
}
- (void)mapViewDidFinishTileRendering:(GMSMapView *)mapView {
_statusLabel.alpha = 0.0f;
}
@end
로컬에서 전체 샘플 앱 실행
iOS용 Maps SDK 샘플 앱은 GitHub에서 다운로드 보관 파일로 제공됩니다.
다음 단계에 따라 iOS용 Maps SDK 샘플 앱을 설치하고 사용해 보세요.
git clone https://github.com/googlemaps-samples/maps-sdk-for-ios-samples.git
를 실행하여 샘플 저장소를 로컬 디렉터리에 클론합니다.
터미널 창을 열고 샘플 파일을 클론한 디렉터리로 이동한 다음 GoogleMaps 디렉터리로 드릴다운합니다.
Swift
cd maps-sdk-for-ios-samples-main/GoogleMaps-Swift
pod install
open GoogleMapsSwiftDemos.xcworkspace
Objective-C
cd maps-sdk-for-ios-samples-main/GoogleMaps
pod install
open GoogleMapsDemos.xcworkspace
- Xcode에서 컴파일 버튼을 눌러 현재 스키마로 앱을 빌드합니다. 빌드 오류가 발생하여 Swift의
SDKConstants.swift
파일 또는 Objective-C의 SDKDemoAPIKey.h
파일에 API 키를 입력하라는 메시지가 표시됩니다.
- iOS용 Maps SDK가 사용 설정된 프로젝트에서 API 키를 가져옵니다.
- Swift의 경우
SDKConstants.swift
파일을 수정하고 Objective-C의 경우 SDKDemoAPIKey.h
파일을 수정한 후 apiKey
또는 kAPIKey
상수의 정의에 API 키를 붙여넣습니다. 예를 들면 다음과 같습니다.
Swift
static let apiKey = "YOUR_API_KEY"
Objective-C
static NSString *const kAPIKey = @"YOUR_API_KEY";
SDKConstants.swift
파일 (Swift) 또는 SDKDemoAPIKey.h
파일 (Objective-C)에서 다음 줄을 삭제합니다. 이 줄은 사용자 정의 문제를 등록하는 데 사용됩니다.
Swift
#error (Register for API Key and insert here. Then delete this line.)
Objective-C
#error Register for API Key and insert here.
- 프로젝트를 빌드하고 실행합니다. iOS 시뮬레이터 창이 표시되고 Maps SDK 데모 목록이 표시됩니다.
- 표시된 옵션 중 하나를 선택하여 iOS용 Maps SDK의 기능을 실험합니다.
- GoogleMapsDemos에서 내 위치에 액세스하도록 허용하라는 메시지가 표시되면 허용을 선택합니다.
달리 명시되지 않는 한 이 페이지의 콘텐츠에는 Creative Commons Attribution 4.0 라이선스에 따라 라이선스가 부여되며, 코드 샘플에는 Apache 2.0 라이선스에 따라 라이선스가 부여됩니다. 자세한 내용은 Google Developers 사이트 정책을 참조하세요. 자바는 Oracle 및/또는 Oracle 계열사의 등록 상표입니다.
최종 업데이트: 2025-08-31(UTC)
[null,null,["최종 업데이트: 2025-08-31(UTC)"],[[["\u003cp\u003eThis guide demonstrates how to create a basic map centered on Seattle using the Google Maps SDK for iOS.\u003c/p\u003e\n"],["\u003cp\u003eIt provides code samples in both Swift and Objective-C to display the map.\u003c/p\u003e\n"],["\u003cp\u003eBefore running the code, you need to configure your development environment and obtain a Google Maps API key.\u003c/p\u003e\n"],["\u003cp\u003eThe guide includes steps to download, install, and run the full sample app, enabling exploration of various Maps SDK features.\u003c/p\u003e\n"]]],[],null,["This example creates a map that's centered on Seattle, Washington.\n\nGet started\n\nBefore you can try the sample code, you must configure your development environment.\nFor more information, see [Maps SDK for iOS code samples](/maps/documentation/ios-sdk/examples).\n\nView the code \n\nSwift \n\n```swift\nimport GoogleMaps\nimport UIKit\n\nclass BasicMapViewController: UIViewController {\n var statusLabel: UILabel!\n\n override func viewDidLoad() {\n super.viewDidLoad()\n\n // Seattle coordinates\n let camera = GMSCameraPosition(latitude: 47.6089945, longitude: -122.3410462, zoom: 14)\n let mapView = GMSMapView(frame: view.bounds, camera: camera)\n mapView.delegate = self\n view = mapView\n navigationController?.navigationBar.isTranslucent = false\n\n statusLabel = UILabel(frame: .zero)\n statusLabel.alpha = 0.0\n statusLabel.backgroundColor = .blue\n statusLabel.textColor = .white\n statusLabel.textAlignment = .center\n view.addSubview(statusLabel)\n statusLabel.translatesAutoresizingMaskIntoConstraints = false\n NSLayoutConstraint.activate([\n statusLabel.topAnchor.constraint(equalTo: view.topAnchor),\n statusLabel.heightAnchor.constraint(equalToConstant: 30),\n statusLabel.leadingAnchor.constraint(equalTo: view.leadingAnchor),\n statusLabel.trailingAnchor.constraint(equalTo: view.trailingAnchor),\n ])\n }\n}\n\nextension BasicMapViewController: GMSMapViewDelegate {\n func mapViewDidStartTileRendering(_ mapView: GMSMapView) {\n statusLabel.alpha = 0.8\n statusLabel.text = \"Rendering\"\n }\n\n func mapViewDidFinishTileRendering(_ mapView: GMSMapView) {\n statusLabel.alpha = 0.0\n }\n}https://github.com/googlemaps-samples/maps-sdk-for-ios-samples/blob/86408feffd008565cd2cafce8aff3dc27f1f41bb/GoogleMaps-Swift/GoogleMapsSwiftDemos/Swift/Samples/BasicMapViewController.swift#L14-L55\n \n```\n\nObjective-C \n\n```objective-c\n#import \"GoogleMapsDemos/Samples/BasicMapViewController.h\"\n\n#import \u003cGoogleMaps/GoogleMaps.h\u003e\n\n@implementation BasicMapViewController {\n UILabel *_statusLabel;\n}\n\n- (void)viewDidLoad {\n [super viewDidLoad];\n // Seattle coordinates\n GMSCameraPosition *camera = [GMSCameraPosition cameraWithLatitude:47.6089945\n longitude:-122.3410462\n zoom:14];\n GMSMapView *view = [GMSMapView mapWithFrame:CGRectZero camera:camera];\n view.delegate = self;\n self.view = view;\n\n // Add status label, initially hidden.\n _statusLabel = [[UILabel alloc] initWithFrame:CGRectMake(0, 0, 0, 30)];\n _statusLabel.alpha = 0.0f;\n _statusLabel.autoresizingMask = UIViewAutoresizingFlexibleWidth;\n _statusLabel.backgroundColor = [UIColor blueColor];\n _statusLabel.textColor = [UIColor whiteColor];\n _statusLabel.textAlignment = NSTextAlignmentCenter;\n\n [view addSubview:_statusLabel];\n}\n\n- (void)mapViewDidStartTileRendering:(GMSMapView *)mapView {\n _statusLabel.alpha = 0.8f;\n _statusLabel.text = @\"Rendering\";\n}\n\n- (void)mapViewDidFinishTileRendering:(GMSMapView *)mapView {\n _statusLabel.alpha = 0.0f;\n}\n\n@end \nhttps://github.com/googlemaps-samples/maps-sdk-for-ios-samples/blob/86408feffd008565cd2cafce8aff3dc27f1f41bb/GoogleMaps/GoogleMapsDemos/Samples/BasicMapViewController.m#L16-L54\n\n \n```\n\nRun the full sample app locally\n\nThe Maps SDK for iOS sample app is available as a\n[download archive](https://github.com/googlemaps-samples/maps-sdk-for-ios-samples/archive/main.zip)\nfrom [GitHub](https://github.com/googlemaps-samples/maps-sdk-for-ios-samples/tree/main/GoogleMaps).\nFollow these steps to install and try the Maps SDK for iOS sample app.\n\n1. Run `git clone https://github.com/googlemaps-samples/maps-sdk-for-ios-samples.git` to clone the samples repository into a local directory.\n2. Open a terminal window, navigate to the directory where you cloned the sample files, and\n drill down into the GoogleMaps directory:\n\n Swift \n\n cd maps-sdk-for-ios-samples-main/GoogleMaps-Swift\n pod install\n open GoogleMapsSwiftDemos.xcworkspace\n\n Objective-C \n\n cd maps-sdk-for-ios-samples-main/GoogleMaps\n pod install\n open GoogleMapsDemos.xcworkspace\n\n3. In Xcode, press the compile button to [build the app](https://developer.apple.com/documentation/xcode/building-and-running-an-app) with the current scheme. The build produces an error, prompting you to enter your API key in the `SDKConstants.swift` file for Swift or`SDKDemoAPIKey.h` file for Objective-C.\n4. [Get an API key](/maps/documentation/ios-sdk/get-api-key) from your project with the [Maps SDK for iOS enabled](/maps/documentation/ios-sdk/cloud-setup#enabling-apis).\n5. Edit the `SDKConstants.swift` file for Swift or`SDKDemoAPIKey.h` file for Objective-C and paste your API key into the definition of either the `apiKey` or `kAPIKey` constant. For example: \n\n Swift \n\n ```scdoc\n static let apiKey = \"YOUR_API_KEY\"\n ```\n\n Objective-C \n\n ```objective-c\n static NSString *const kAPIKey = @\"YOUR_API_KEY\";\n ```\n6. In the `SDKConstants.swift` file (Swift) or`SDKDemoAPIKey.h` file (Objective-C), remove the following line, because it's used to register the user-defined issue: \n\n Swift \n\n ```text\n #error (Register for API Key and insert here. Then delete this line.)\n ```\n\n Objective-C \n\n ```text\n #error Register for API Key and insert here.\n ```\n7. Build and run the project. The iOS simulator window appears, showing a list of **Maps SDK Demos**.\n8. Choose one of the options displayed, to experiment with a feature of the Maps SDK for iOS.\n9. If prompted to allow GoogleMapsDemos to access your location, choose **Allow**."]]