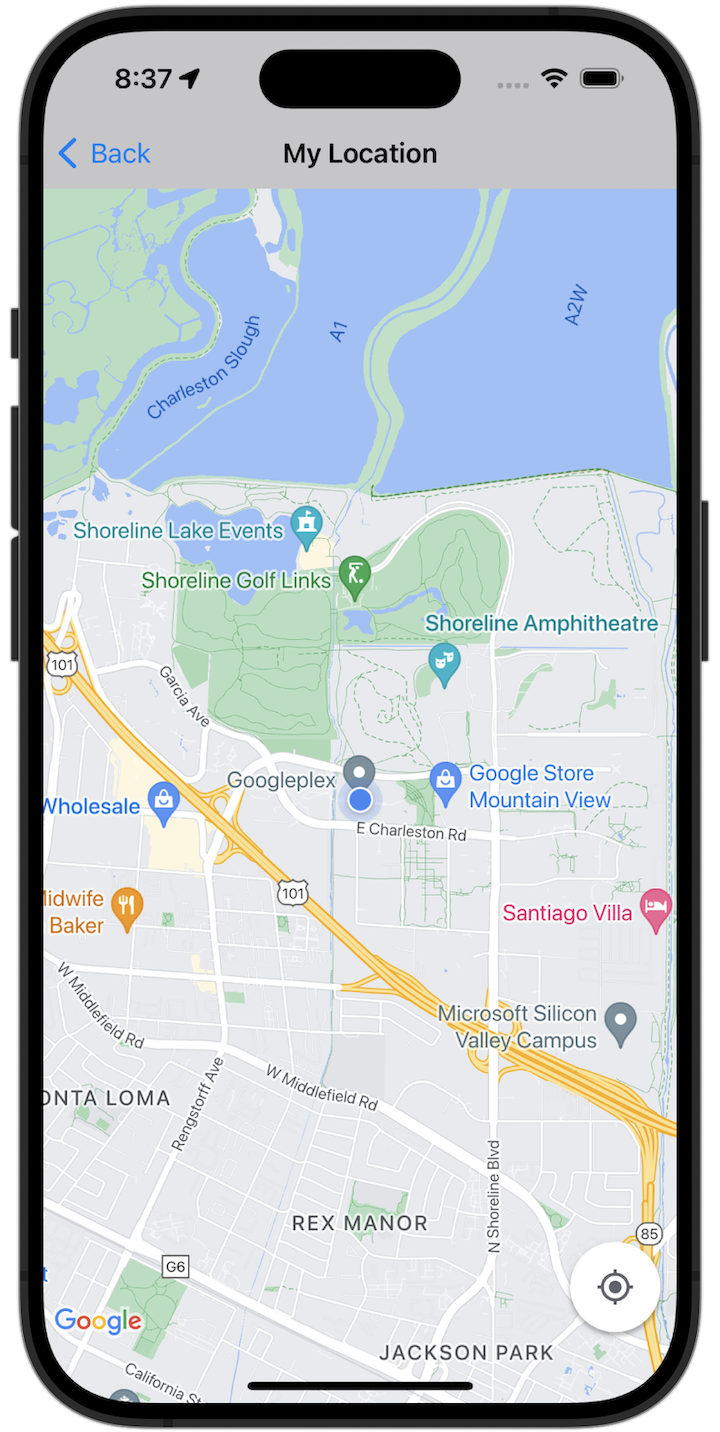
अपनी प्रोफ़ाइल बनाना शुरू करें
सैंपल कोड आज़माने से पहले, आपको अपना डेवलपमेंट एनवायरमेंट कॉन्फ़िगर करना होगा. ज़्यादा जानकारी के लिए, iOS के लिए Maps SDK के कोड सैंपल देखें.
कोड देखना
Swift
import GoogleMaps import UIKit class MyLocationViewController: UIViewController { private let cameraLatitude: CLLocationDegrees = -33.868 private let cameraLongitude: CLLocationDegrees = 151.2086 private let cameraZoom: Float = 12 lazy var mapView: GMSMapView = { let camera = GMSCameraPosition( latitude: cameraLatitude, longitude: cameraLongitude, zoom: cameraZoom) return GMSMapView(frame: .zero, camera: camera) }() var observation: NSKeyValueObservation? var location: CLLocation? { didSet { guard oldValue == nil, let firstLocation = location else { return } mapView.camera = GMSCameraPosition(target: firstLocation.coordinate, zoom: 14) } } override func viewDidLoad() { super.viewDidLoad() mapView.delegate = self mapView.settings.compassButton = true mapView.settings.myLocationButton = true mapView.isMyLocationEnabled = true view = mapView // Listen to the myLocation property of GMSMapView. observation = mapView.observe(\.myLocation, options: [.new]) { [weak self] mapView, _ in self?.location = mapView.myLocation } } deinit { observation?.invalidate() } } extension MyLocationViewController: GMSMapViewDelegate { func mapView(_ mapView: GMSMapView, didTapMyLocation location: CLLocationCoordinate2D) { let alert = UIAlertController( title: "Location Tapped", message: "Current location: <\(location.latitude), \(location.longitude)>", preferredStyle: .alert) alert.addAction(UIAlertAction(title: "OK", style: .default)) present(alert, animated: true) } }
Objective-C
#import "GoogleMapsDemos/Samples/MyLocationViewController.h" #import <GoogleMaps/GoogleMaps.h> @implementation MyLocationViewController { GMSMapView *_mapView; BOOL _firstLocationUpdate; } - (void)viewDidLoad { [super viewDidLoad]; GMSCameraPosition *camera = [GMSCameraPosition cameraWithLatitude:-33.868 longitude:151.2086 zoom:12]; _mapView = [GMSMapView mapWithFrame:CGRectZero camera:camera]; _mapView.delegate = self; _mapView.settings.compassButton = YES; _mapView.settings.myLocationButton = YES; // Listen to the myLocation property of GMSMapView. [_mapView addObserver:self forKeyPath:@"myLocation" options:NSKeyValueObservingOptionNew context:NULL]; self.view = _mapView; // Ask for My Location data after the map has already been added to the UI. GMSMapView *mapView = _mapView; dispatch_async(dispatch_get_main_queue(), ^{ mapView.myLocationEnabled = YES; }); } - (void)mapView:(GMSMapView *)mapView didTapMyLocation:(CLLocationCoordinate2D)location { NSString *message = [NSString stringWithFormat:@"My Location Dot Tapped at: [lat: %f, lng: %f]", location.latitude, location.longitude]; UIAlertController *alertController = [UIAlertController alertControllerWithTitle:@"Location Tapped" message:message preferredStyle:UIAlertControllerStyleAlert]; UIAlertAction *okAction = [UIAlertAction actionWithTitle:@"OK" style:UIAlertActionStyleDefault handler:^(UIAlertAction *action){ }]; [alertController addAction:okAction]; [self presentViewController:alertController animated:YES completion:nil]; } - (void)dealloc { [_mapView removeObserver:self forKeyPath:@"myLocation" context:NULL]; } #pragma mark - KVO updates - (void)observeValueForKeyPath:(NSString *)keyPath ofObject:(id)object change:(NSDictionary *)change context:(void *)context { if (!_firstLocationUpdate) { // If the first location update has not yet been received, then jump to that location. _firstLocationUpdate = YES; CLLocation *location = [change objectForKey:NSKeyValueChangeNewKey]; _mapView.camera = [GMSCameraPosition cameraWithTarget:location.coordinate zoom:14]; } } @end
पूरे सैंपल ऐप्लिकेशन को स्थानीय तौर पर चलाएं
iOS के लिए Maps SDK का सैंपल ऐप्लिकेशन, GitHub से डाउनलोड किए जा सकने वाले संग्रह के तौर पर उपलब्ध है. Maps SDK for iOS के सैंपल ऐप्लिकेशन को इंस्टॉल करने और आज़माने के लिए, यह तरीका अपनाएं.
- सैंपल रिपॉज़िटरी को किसी लोकल डायरेक्ट्री में क्लोन करने के लिए,
git clone https://github.com/googlemaps-samples/maps-sdk-for-ios-samples.gitचलाएं. टर्मिनल विंडो खोलें. इसके बाद, उस डायरेक्ट्री पर जाएं जहां आपने सैंपल फ़ाइलों को क्लोन किया है. इसके बाद, GoogleMaps डायरेक्ट्री में जाएं:
Swift
cd maps-sdk-for-ios-samples/GoogleMaps-Swift
open GoogleMapsSwiftXCFrameworkDemos.xcodeproj
Objective-C
cd maps-sdk-for-ios-samples-main/GoogleMaps
open GoogleMapsDemos.xcodeproj- Xcode प्रोजेक्ट में, File > Add Package Dependencies पर जाएं.
यूआरएल के तौर पर
https://github.com/googlemaps/ios-maps-sdkडालें. इसके बाद, पैकेज को पुल करने के लिए Enter दबाएं और पैकेज जोड़ें पर क्लिक करें. - Xcode में, कंपाइल बटन दबाकर मौजूदा स्कीम के साथ ऐप्लिकेशन बनाएं. बिल्ड में गड़बड़ी होती है. इसलिए, आपको Swift के लिए
SDKConstants.swiftफ़ाइल या Objective-C के लिएSDKDemoAPIKey.hफ़ाइल में अपनी एपीआई कुंजी डालनी होगी. - Maps SDK for iOS की सुविधा चालू करके, अपने प्रोजेक्ट से एपीआई पासकोड पाएं.
- Swift के लिए
SDKConstants.swiftफ़ाइल या Objective-C के लिएSDKDemoAPIKey.hफ़ाइल में बदलाव करें. इसके बाद, अपनी एपीआई कुंजी कोapiKeyयाkAPIKeyकॉन्स्टेंट की परिभाषा में चिपकाएं. उदाहरण के लिए:Swift
static let apiKey = "YOUR_API_KEY"Objective-C
static NSString *const kAPIKey = @"YOUR_API_KEY";
SDKConstants.swiftफ़ाइल (Swift) याSDKDemoAPIKey.hफ़ाइल (Objective-C) में, यहां दी गई लाइन हटाएं. इसका इस्तेमाल, उपयोगकर्ता की तय की गई समस्या को रजिस्टर करने के लिए किया जाता है:Swift
#error (Register for API Key and insert here. Then delete this line.)
Objective-C
#error Register for API Key and insert here.
- प्रोजेक्ट बनाएं और उसे चलाएं. iOS सिम्युलेटर विंडो दिखती है. इसमें Maps SDK के डेमो की सूची दिखती है.
- iOS के लिए Maps SDK टूल की किसी सुविधा को आज़माने के लिए, दिखाए गए विकल्पों में से कोई एक विकल्प चुनें.
- अगर GoogleMapsDemos को आपकी जगह की जानकारी ऐक्सेस करने की अनुमति देने के लिए कहा जाए, तो अनुमति दें को चुनें.
