
مقدمه
این آموزش به شما نشان میدهد که چگونه یک نقشه گوگل را به برنامه Flutter خود اضافه کنید. این نقشه شامل یک نشانگر است که به آن پین نیز گفته میشود و یک مکان خاص را نشان میدهد.
گرفتن کد
مخزن نمونههای Flutter را کپی یا دانلود کنید. کد نمونه را میتوانید در دایرکتوری google_maps پیدا کنید.
راهاندازی پروژه توسعه شما
قبل از ادامهی این مبحث، مطمئن شوید که مراحل ذکر شده در راهنمای راهاندازی پروژهی فلاتر را تکمیل کردهاید.
۱. بسته Google Maps for Flutter را وارد کنید
- فایل
main.dartخود را در IDE مورد نظر خود باز کنید. - تأیید کنید که عبارت import زیر به فایل اضافه شده است:
import 'package:google_maps_flutter/google_maps_flutter.dart';
۲. نقشههای گوگل را به برنامه Flutter خود اضافه کنید
درون ویجت Scaffold ، یک ویجت GoogleMap به عنوان بدنه اضافه کنید.
GoogleMap(
   initialCameraPosition: CameraPosition(
      target: _center,
      zoom: 11.0,
   ),
   markers: {
      const Marker(
         markerId: MarkerId('Sydney'),
         position: LatLng(-33.86, 151.20),
      )
   },
)
- گزینه
markerIdنشانگر شما را برچسبگذاری میکند. - گزینه
position، محل نمایش نشانگر روی نقشه شما را تعیین میکند.
۳. ساخت و اجرای برنامه شما
برنامه Flutter را با استفاده از یکی از گزینههای زیر اجرا کنید:
- از IDE خود، روی دکمهی
Runکلیک کنید. - از خط فرمان،
flutter runرا اجرا کنید.
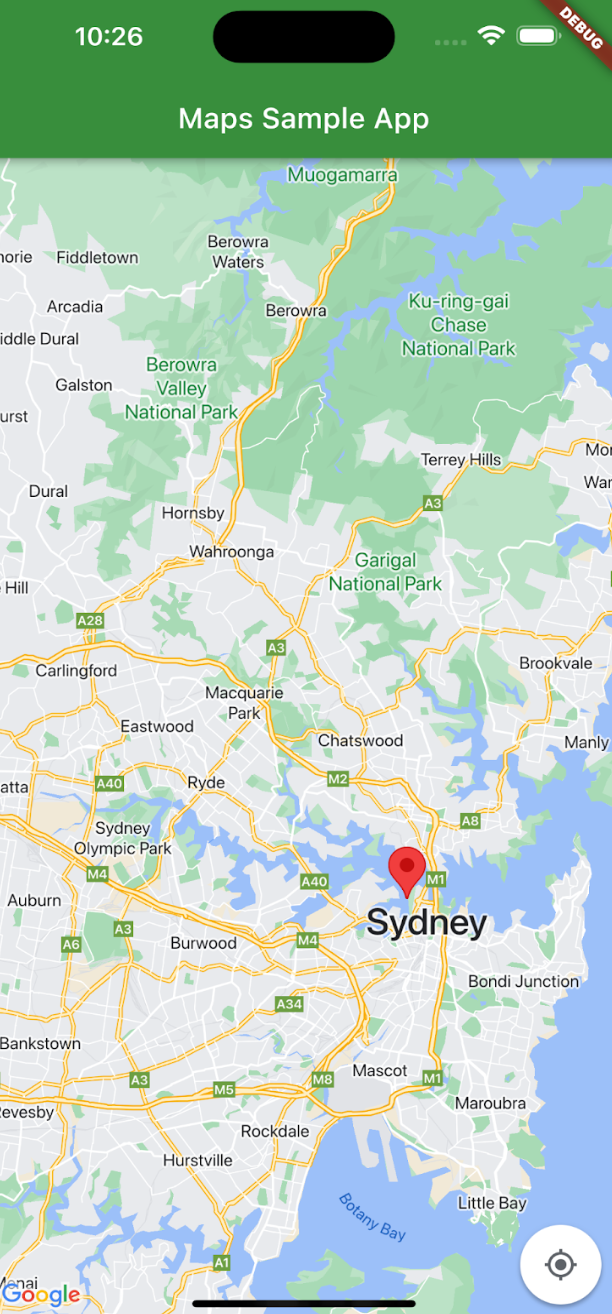
شما باید نقشهای را ببینید که نشانگر آن سیدنی در ساحل شرقی استرالیا را نشان میدهد، مشابه تصویر این صفحه.
عیبیابی
- اگر نقشهای نمیبینید، بررسی کنید که آیا کلید API را دریافت کرده و آن را به برنامه اضافه کردهاید یا خیر.
- اگر از شناسه بسته iOS برای محدود کردن کلید API استفاده کردهاید، کلید را ویرایش کنید تا شناسه بسته برای برنامه اضافه شود:
com.google.examples.map-with-marker. - مطمئن شوید که اتصال وایفای یا جیپیاس شما خوب است.
- برای مشاهده گزارشها و اشکالزدایی برنامه، از Flutter DevTools استفاده کنید.
- میتوانید درباره اجرای یک برنامه Flutter اطلاعات بیشتری کسب کنید.
۴. درک کد
این کد را میتوان در گیتهاب یافت.
- بستههای لازم را وارد کنید و برنامه را راهاندازی اولیه کنید.
   import 'package:flutter/material.dart';
   import 'package:google_maps_flutter/google_maps_flutter.dart';

   void main() => runApp(const MyApp());

   class MyApp extends StatefulWidget {
   const MyApp({super.key});

   @override
      State<MyApp> createState() => _MyAppState();
   }
- یک نقشه با محوریت سیدنی، استرالیا ایجاد کنید.
class _MyAppState extends State<MyApp> {

   late GoogleMapController mapController;

   final LatLng _center = const LatLng(-33.86, 151.20);

   void _onMapCreated(GoogleMapController controller) {
      mapController = controller;
   }
- ابزارکهای مورد نیاز برای نمایش نقشه در یک برنامه را اضافه کنید.
@override
Widget build(BuildContext context) {
    return MaterialApp(
      home: Scaffold(
        appBar: AppBar(
          title: const Text('Maps Sample App'),
          backgroundColor: Colors.green[700],
        ),
        body: GoogleMap(
            onMapCreated: _onMapCreated,
            initialCameraPosition: CameraPosition(
              target: _center,
              zoom: 11.0,
            ), // CameraPosition
        ), // GoogleMap
      ), // Scaffold
    ); // MaterialApp
  }
}
- ویجتهای نشانگر را اضافه کنید تا ویجت به برنامه شما اضافه شود.
   body: GoogleMap(
      onMapCreated: _onMapCreated,
      initialCameraPosition: CameraPosition(
         target: _center,
         zoom: 11.0,
      ),
      markers: {
         const Marker(
               markerId: const MarkerId("Sydney"),
               position: LatLng(-33.86, 151.20),
            ), // Marker
      }, // markers
   ), // GoogleMap
   ...
- یک پنجره اطلاعات به نشانگر اضافه کنید.
      const Marker(
            markerId: const MarkerId("Sydney"),
            position: LatLng(-33.86, 151.20),
            infoWindow: InfoWindow(
               title: "Sydney",
               snippet: "Capital of New South Wales",
            ), // InfoWindow
      ), //Marker
      ...
تبریک! شما یک برنامه Flutter ساختهاید که یک نقشه گوگل را با یک نشانگر برای نشان دادن یک مکان خاص نمایش میدهد و اطلاعات اضافی را در یک پنجره اطلاعات ارائه میدهد. همچنین یاد گرفتهاید که چگونه از بسته Google Maps برای Flutter استفاده کنید.