О теге Google
Оптимизируйте свои подборки
Сохраняйте и классифицируйте контент в соответствии со своими настройками.
Тег Google (gtag.js) – это единый тег для работы с различными продуктами и сервисами Google, такими как Google Реклама, Аналитика, Менеджер кампаний, Дисплей и Видео 360 и Поисковая реклама 360. Вы можете добавить такой тег на любые страницы сайта и связать его с нужными продуктами и сервисами, вместо того чтобы поддерживать отдельные теги для каждого из них.
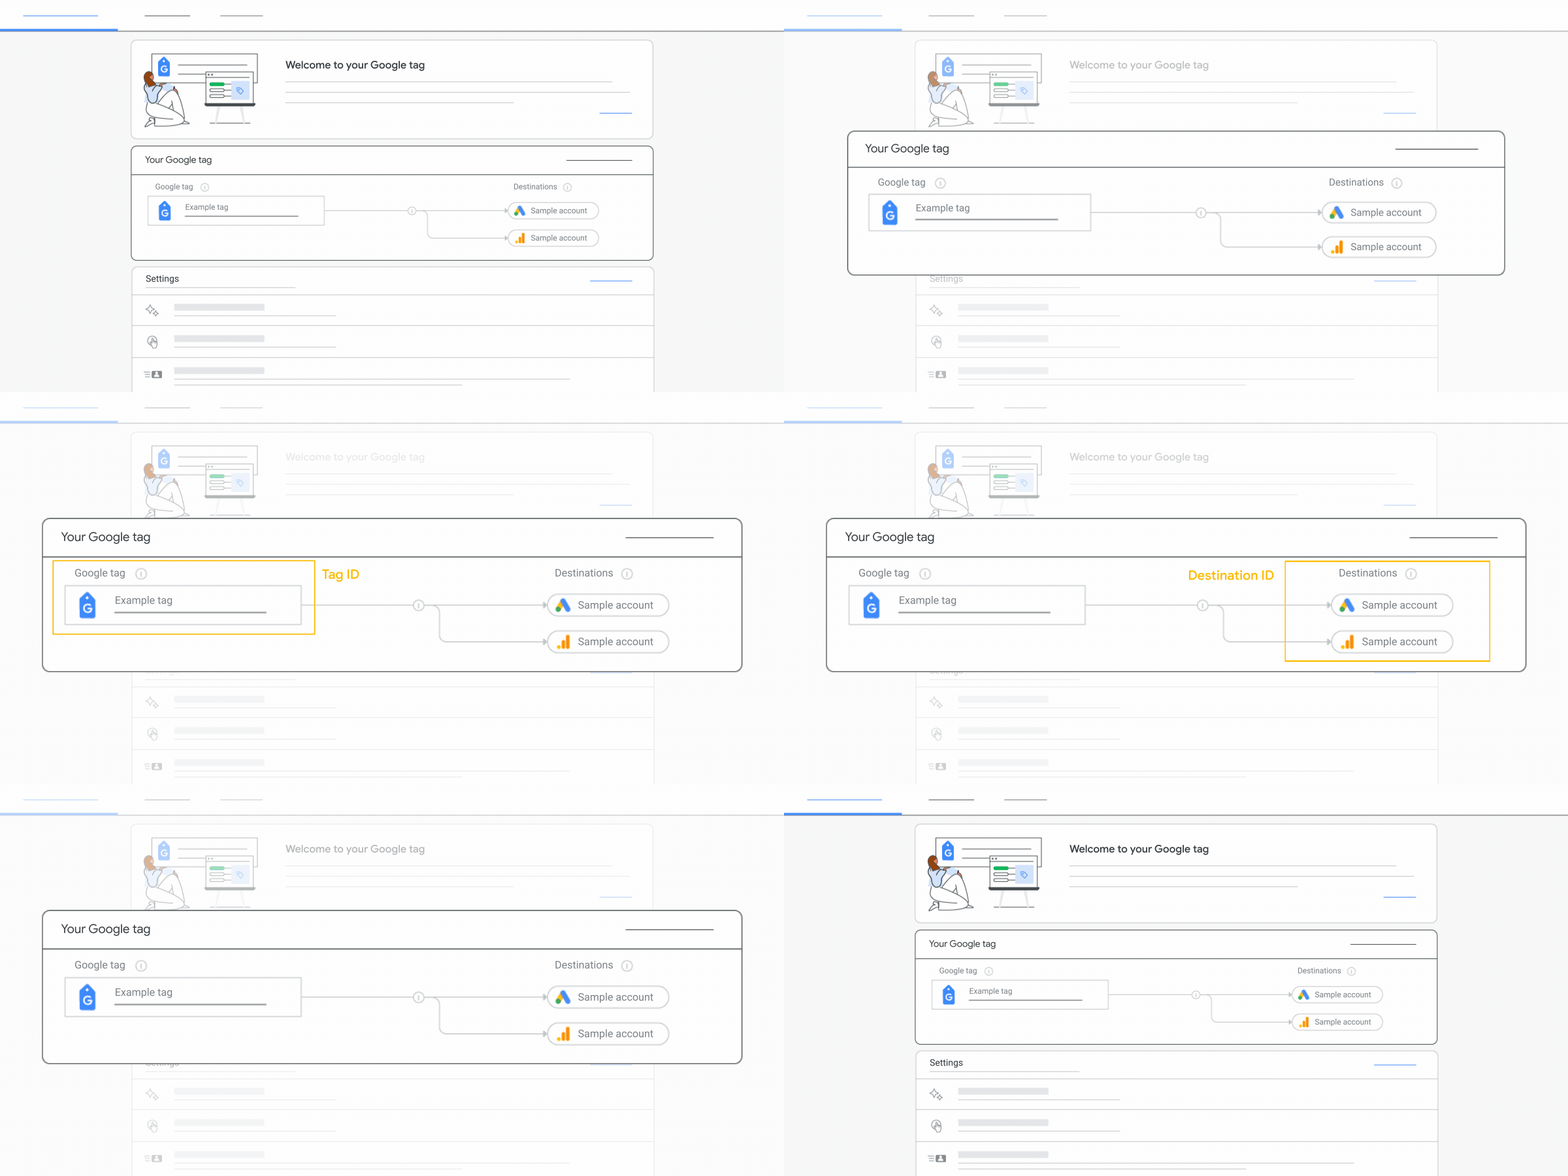
Подробнее о теге Google…
Преимущества
Если ваша цель — отслеживание конверсий и оптимизация маркетинговых решений Google, то мы рекомендуем добавить теги на все страницы сайта. Вы получите доступ к самым разным преимуществам и функциям этих решений:
- Отслеживание конверсий сейчас и в будущем. Актуальные функции и интеграции будут доступны по мере их появления. Вы сможете точно отслеживать конверсии даже в случае изменений.
- Управление тегами без кода. Вы можете включить функции для управления в сервисах Google, не меняя теги на странице вручную.
- Удобная и быстрая интеграция. Глобальный тег поддерживает разные продукты Google, такие как Аналитика и Google Реклама.
- Более точное отслеживание конверсий. Благодаря Google-тегу вы можете точно отслеживать конверсии, даже если файлы cookie недоступны, а также восстанавливать данные о конверсиях, которые сегодня не отслеживаются из-за отраслевых факторов.
Как пользоваться тегом Google
Выполните следующие действия:
- Добавьте тег Google на каждую страницу сайта.
- Настройте передачу данных в сервисы Google (Рекламу, Аналитику и пр.) с помощью команды
gtag()
.
Добавленный ранее тег можно настроить для работы с другими сервисами.
Документация по сервисам
Документация по работе с тегом Google в разных сервисах доступна по следующим ссылкам:
Что дальше?
Если не указано иное, контент на этой странице предоставляется по лицензии Creative Commons "С указанием авторства 4.0", а примеры кода – по лицензии Apache 2.0. Подробнее об этом написано в правилах сайта. Java – это зарегистрированный товарный знак корпорации Oracle и ее аффилированных лиц.
Последнее обновление: 2024-02-06 UTC.
[null,null,["Последнее обновление: 2024-02-06 UTC."],[[["\u003cp\u003eThe Google tag is a versatile tag that streamlines the use of various Google products like Google Ads and Analytics, replacing the need for multiple individual tags.\u003c/p\u003e\n"],["\u003cp\u003eImplementing the Google tag offers benefits like future-proof conversion measurement, codeless tag management, easier integration with other Google products, and more accurate conversion tracking.\u003c/p\u003e\n"],["\u003cp\u003eTo use the Google tag, copy your tag ID from a Google product (e.g., Google Ads, Analytics), paste it into the provided code snippet, and place the snippet on every page you want to track.\u003c/p\u003e\n"],["\u003cp\u003eVerify your Google tag implementation using Tag Assistant to ensure it's sending data correctly by checking for your tag ID and consulting the Tag Manager help center for troubleshooting.\u003c/p\u003e\n"]]],["The Google tag, a single tag for Google measurement and advertising products, can be implemented across an entire website via the gtag.js framework. To set up, users need to locate their Google tag ID within Google Ads, Analytics, or Floodlight, copy it, and paste it into the provided code snippet within the `\u003chead\u003e` of each web page. Verification involves using Tag Assistant to confirm tag detection and to ensure data is being sent. Once confirmed, the tag must be configured with the config command.\n"],null,["# Set up the Google tag with gtag.js\n\nThe Google tag is a single tag you can add to your website to use\nGoogle measurement and advertising products like Google Ads, Google\nAnalytics, Campaign Manager, Display \\& Video 360, and Search Ads 360. Instead of\nmanaging multiple tags for different Google products, you can use the\nGoogle tag across your entire site and connect the tag to multiple destinations.\n\n[Learn more about the Google tag](https://support.google.com/tagmanager/answer/11994839)\n\nThis page explains how to set up and deploy a Google tag on your site using\nthe gtag.js framework. If you're unfamiliar with javascript, we recommend using\n[Google Tag Manager](/tag-platform/tag-manager) instead of gtag.js.\n\nBenefits\n--------\n\nThe best way to measure conversions and optimize the value of your\nGoogle marketing investment is to place tags on every page of your site. By\nimplementing the Google tag across your site, you gain access to the following\nbenefits:\n\n- **Future-proof conversion measurement.** Benefit from the latest features and integrations as they become available so that you are better equipped to continue measuring conversions accurately if changes occur.\n- **Codeless tag management.** Turn on measurement features within Google products without having to manually change the tags on your page.\n- **Faster and easier integration.** Streamlined, simpler implementation and integration with other Google products, such as Analytics and Google Ads.\n- **More accurate conversion measurement.** The Google tag helps you achieve more accurate conversion measurement when cookies are not available and recover conversions not observed today due to industry factors.\n\nAdd the Google tag to your website\n----------------------------------\n\nTo collect data with the Google tag:\n\n1. Open a Google product you use and access the Google tag screen.\n How to find your tag ID in:\n\n - [Google Ads](https://ads.google.com/aw/tagsettings)\n - [Google Analytics](https://support.google.com/analytics/answer/9539598)\n - [Google Floodlight](https://support.google.com/searchads/answer/2466080)\n\n \u003cbr /\u003e\n\n2. Copy your Google tag ID.\n\n3. Paste your Google tag ID in the following code sample. Place the Google tag\n snippet immediately after the opening `\u003chead\u003e` HTML tag on every page you want\n to measure.\n\n \\\u003c!-- Google tag (gtag.js) --\\\u003e\n \\\u003cscript async src=\"https://www.googletagmanager.com/gtag/js?id=\u003cvar translate=\"no\"\u003eTAG_ID\u003c/var\u003e\"\\\u003e\\\u003c/script\\\u003e\n \\\u003cscript\\\u003e\n window.dataLayer = window.dataLayer \\|\\| \\[\\];\n function gtag(){dataLayer.push(arguments);}\n gtag('js', new Date());\n gtag('config', '\u003cvar translate=\"no\"\u003eTAG_ID\u003c/var\u003e');\n \\\u003c/script\\\u003e\n\n The `config` command is needed to send data to Google advertisement products.\n Many features require the `config` command to be set on your website, such as\n automatically collected events and conversion linking.\n [Learn more about the config command](https://developers.google.com/tag-platform/gtagjs/reference#config)\n\nVerify the Google tag\n---------------------\n\nTo verify that your tag is sending data:\n\n1. Go to [tagassistant.google.com/](https://tagassistant.google.com/).\n2. Click **Add domain**.\n3. Enter the URL of the website you want to debug, starting with \"https://\" or \"http://\".\n4. Click **Connect**.\n\nWhen you connect Tag Assistant to your website, check if your Google tag ID\nappears in the header **Google tags found** . If Tag Assistant doesn't recognize\nyour tag, find debug tips in the\n[Tag Manager help center](https://support.google.com/tagassistant/answer/10039345)\n\nYou can also access the [tag coverage summary](https://support.google.com/tagmanager/answer/12270036) for an overview of your site's\ntagging status.\n\nNext steps\n----------\n\nNow that you've set up your Google tag, [configure Google products and send event data](/tag-platform/gtagjs/configure)."]]