Page Summary
-
This test plan outlines the steps to test the integration with Google Wallet, covering provisioning, presentation, and management of digital credentials (DCs).
-
The provisioning section details how to test approved, rejected, and extended review ID scenarios, including the expected notifications and user flows.
-
The presentation section provides instructions for testing NFC and QR code presentment using a holder device and a reader device, along with prerequisite device settings.
-
The management section includes testing procedures for notifications of updates, issuer-based deletion, device-based deletion, and viewing detailed DC information within the Wallet app.
-
The content outlines test cases for different device interactions, such as NFC taps, reader app usage, and device unlocking, ensuring proper function and verification of data presentation.
The following test plan is intended to help you test your integration with Google Wallet.
Provisioning
Approved ID Provisioning
- Follow the provisioning flow with an ID that will be auto-approved.
Rejected ID Provisioning
- Complete the provisioning flow using a rejected or expired ID
- Close the provisioning flow screen or manually navigate to the Wallet homescreen
- Click the DL in the wallet
- Reject enrollment on the backend
You should receive a notification that the VDC request was rejected.

A notification should also appear indicating that the VDC request was rejected
Clicking on either the notification or the rejection card should take you to a page explaining that the application was rejected
- Refer to the rejection page for more details
Closing the rejection card directly, or clicking Got it on the rejection page, should clear state and allow you to re-apply
Extended Review Provisioning
- Complete the provisioning flow using an extended review ID
- Close the provisioning flow screen or manually navigate to the Wallet homescreen
- Refer to the extended review page for expected behavior
Extended Review to Approval
- Complete the provisioning flow using an extended review ID
- Close the provisioning flow screen or manually navigate to the Wallet homescreen
- Approve the enrollment request from the backend
- You get a notification that VDC request is approved and VDC will be automatically downloaded onto Wallet
Extended Review to Rejected
- Complete the provisioning flow using an extended review ID
- Close the provisioning flow screen or manually navigate to the Wallet homescreen
- Reject the enrollment request from the backend
- A notification should appear indicating that the VDC request was rejected after a little while.
Presentation
Pre work
- Complete the provisioning flow so that you have a VDC provisioned and ready-to-use on the ('holder') device
- Ensure that Bluetooth, Location Services, and NFC are all enabled on the device
- Have a second 'reader' device with the reader App Verifier apk installed
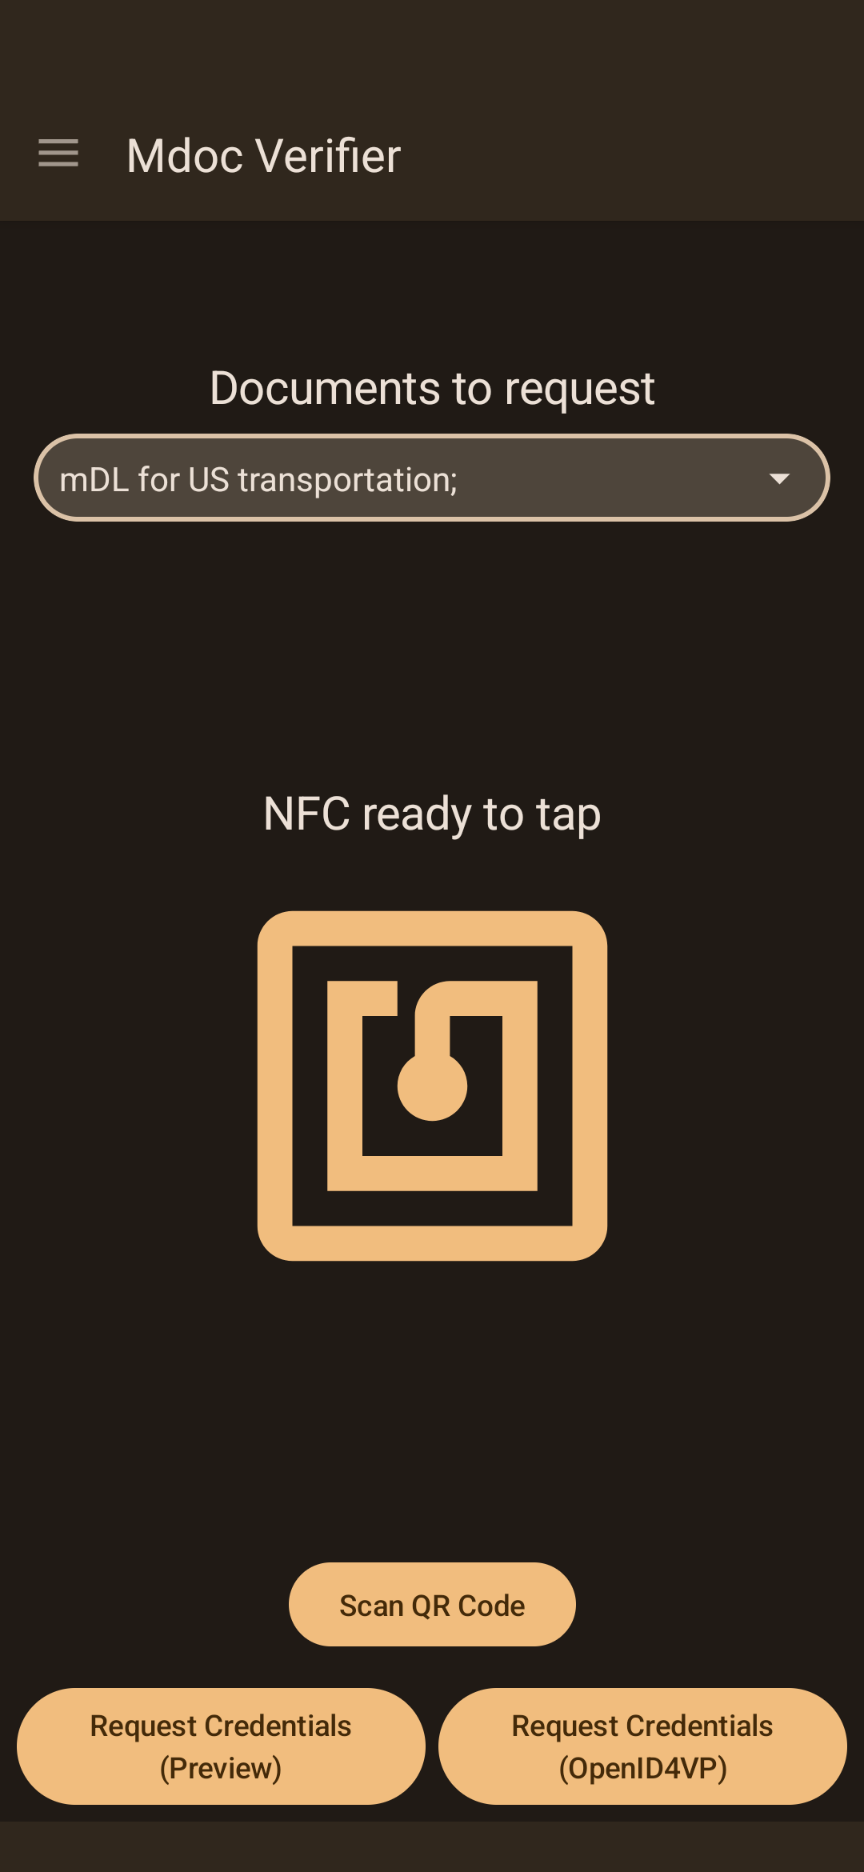
NFC presentment
Open the reader app on the reader device
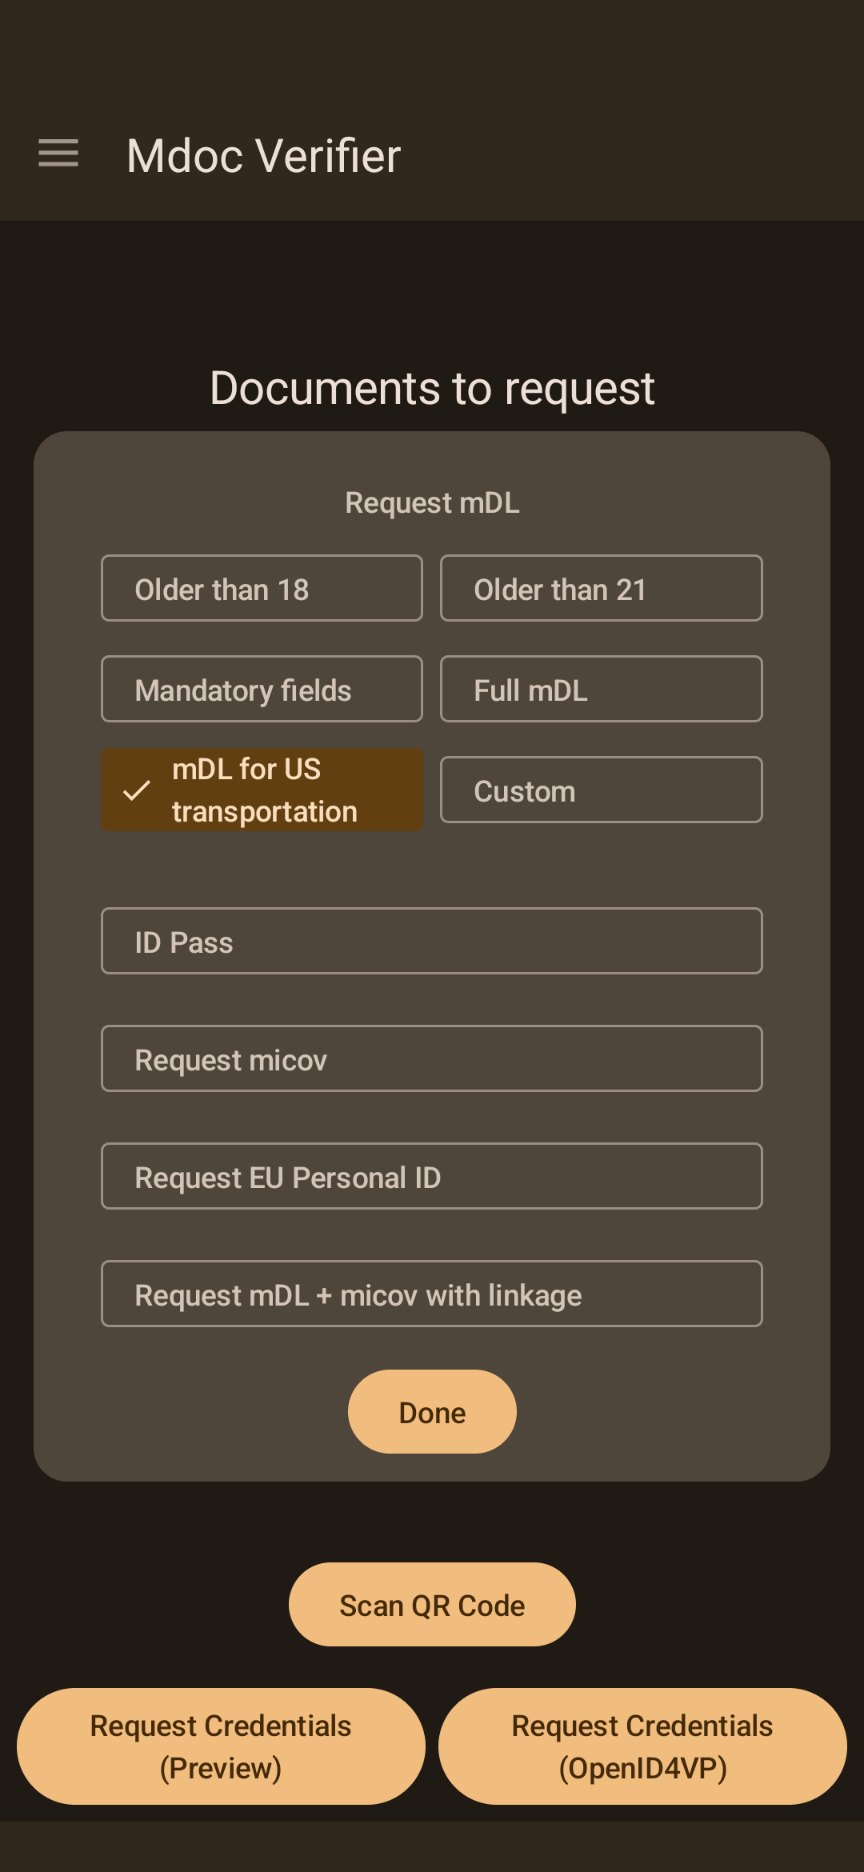
- Verify the appropriate option is selected in the drop-down menu for your test case.
Unlock the device with the VDC
- Hold the two devices ~1 inch apart from each other and perform an NFC tap
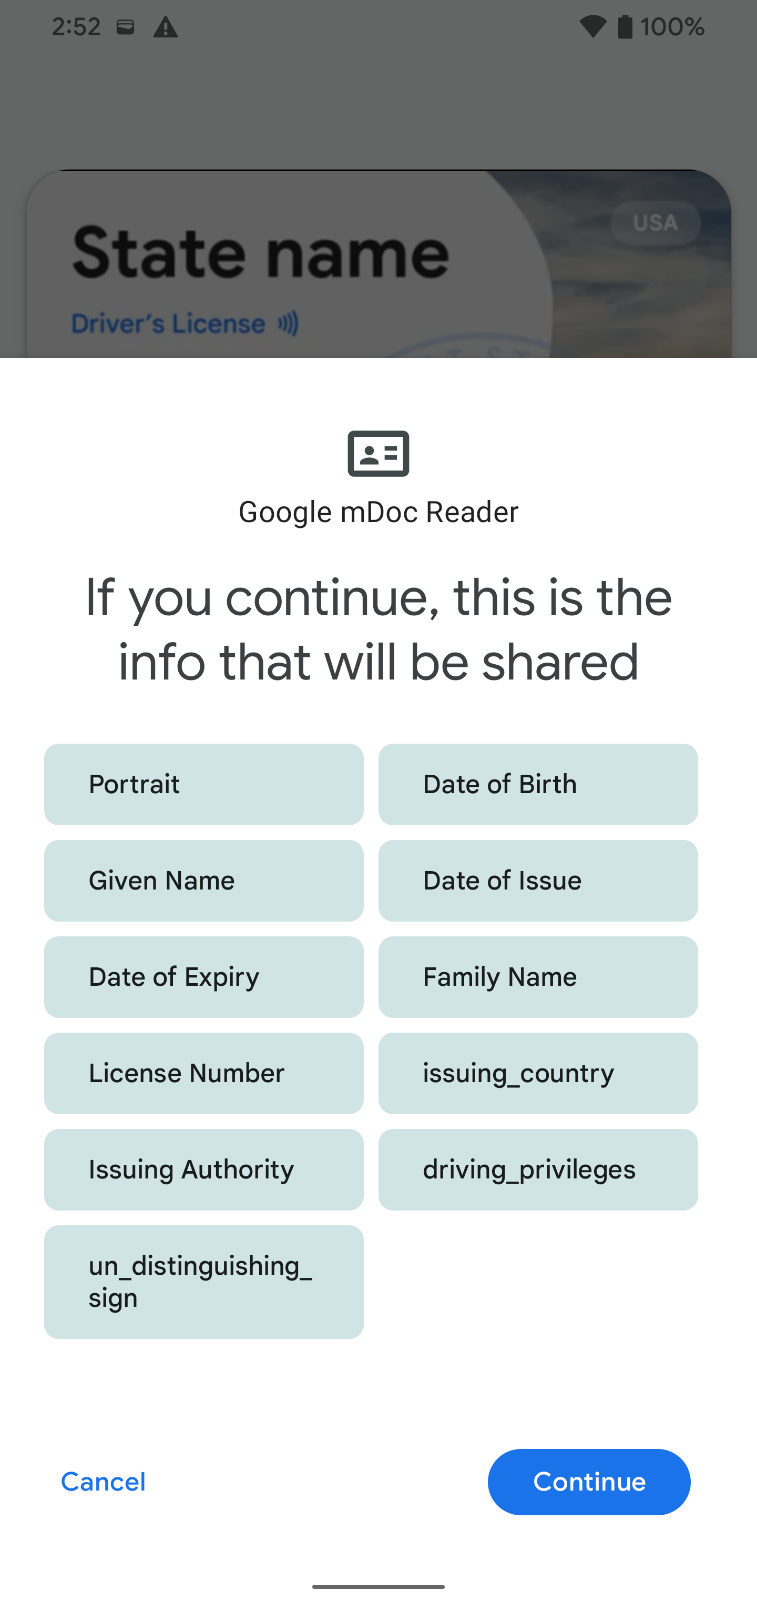
- The holder device should buzz, followed by a loading screen, followed by the list of requested fields (Separate the phones and try again if the screen does not appear)
Click Continue
- Use PIN or Biometric to verify
- Transmission animation should appear on holder device

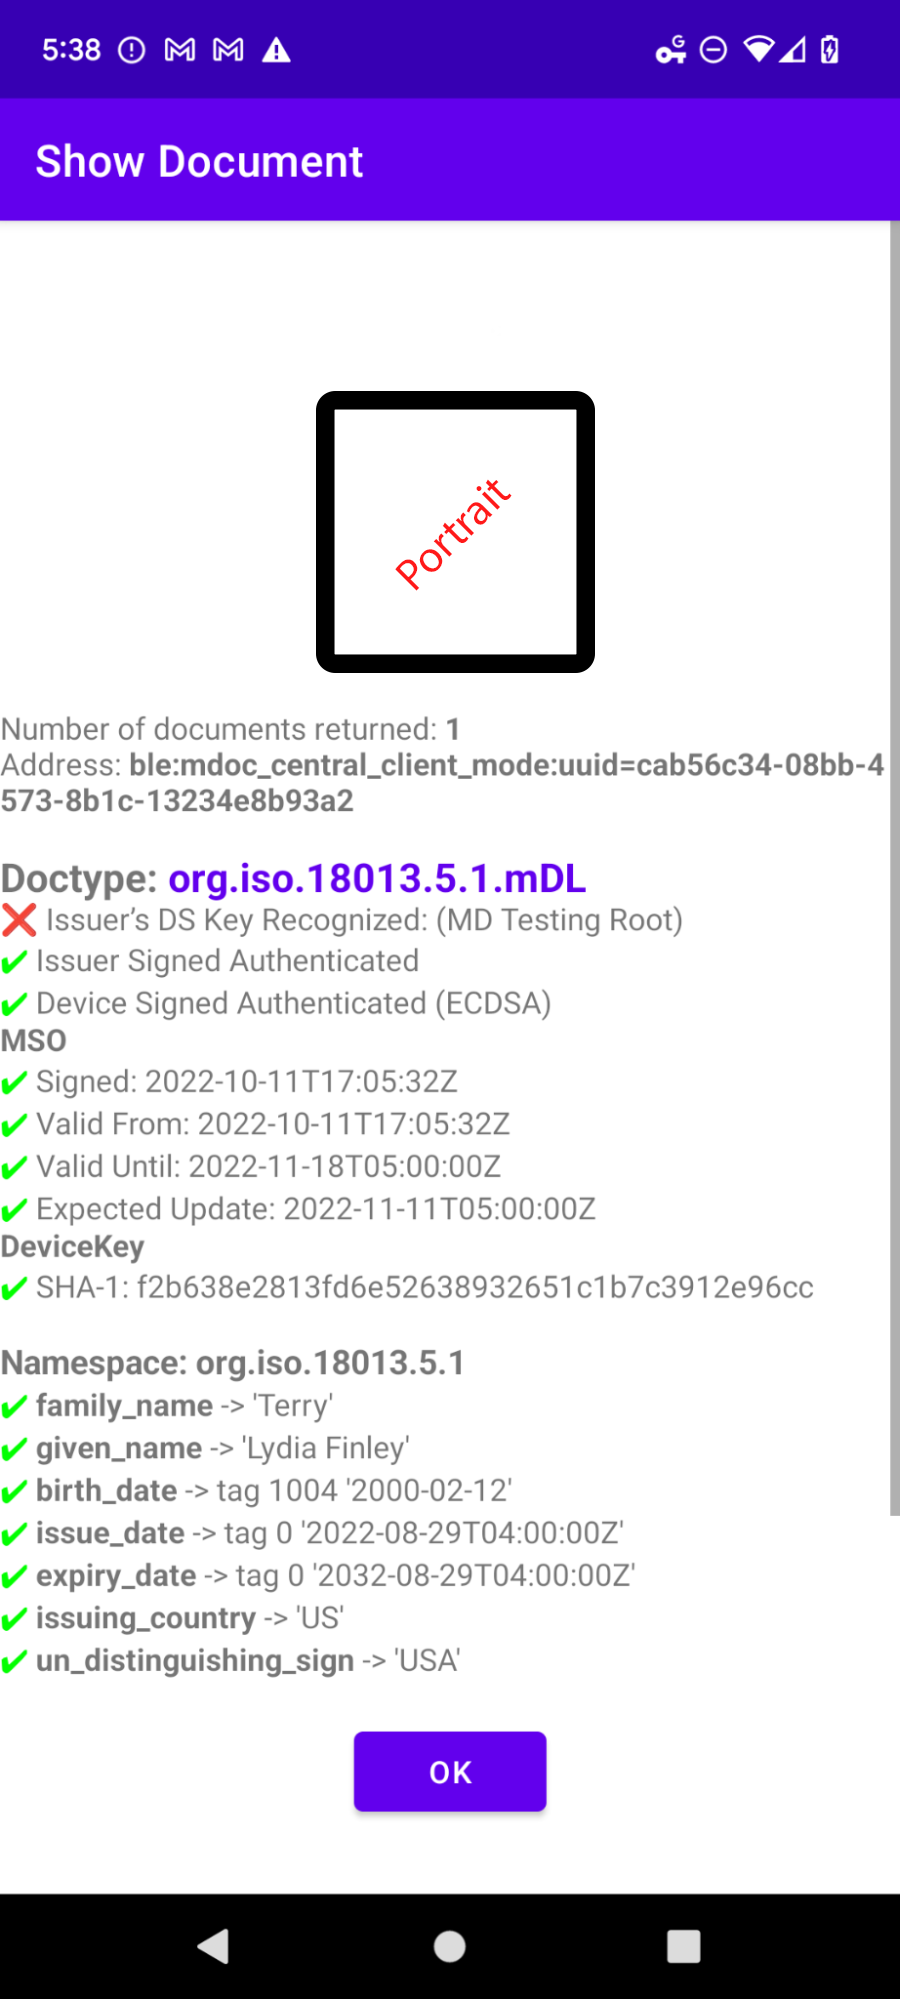
After sending the data, the VDC device will briefly disconnect. You'll then see the VDC details appear on the reader device. Make sure all the checks show a green checkmark except for "Issuer's DS Key recognized."
QR code presentment
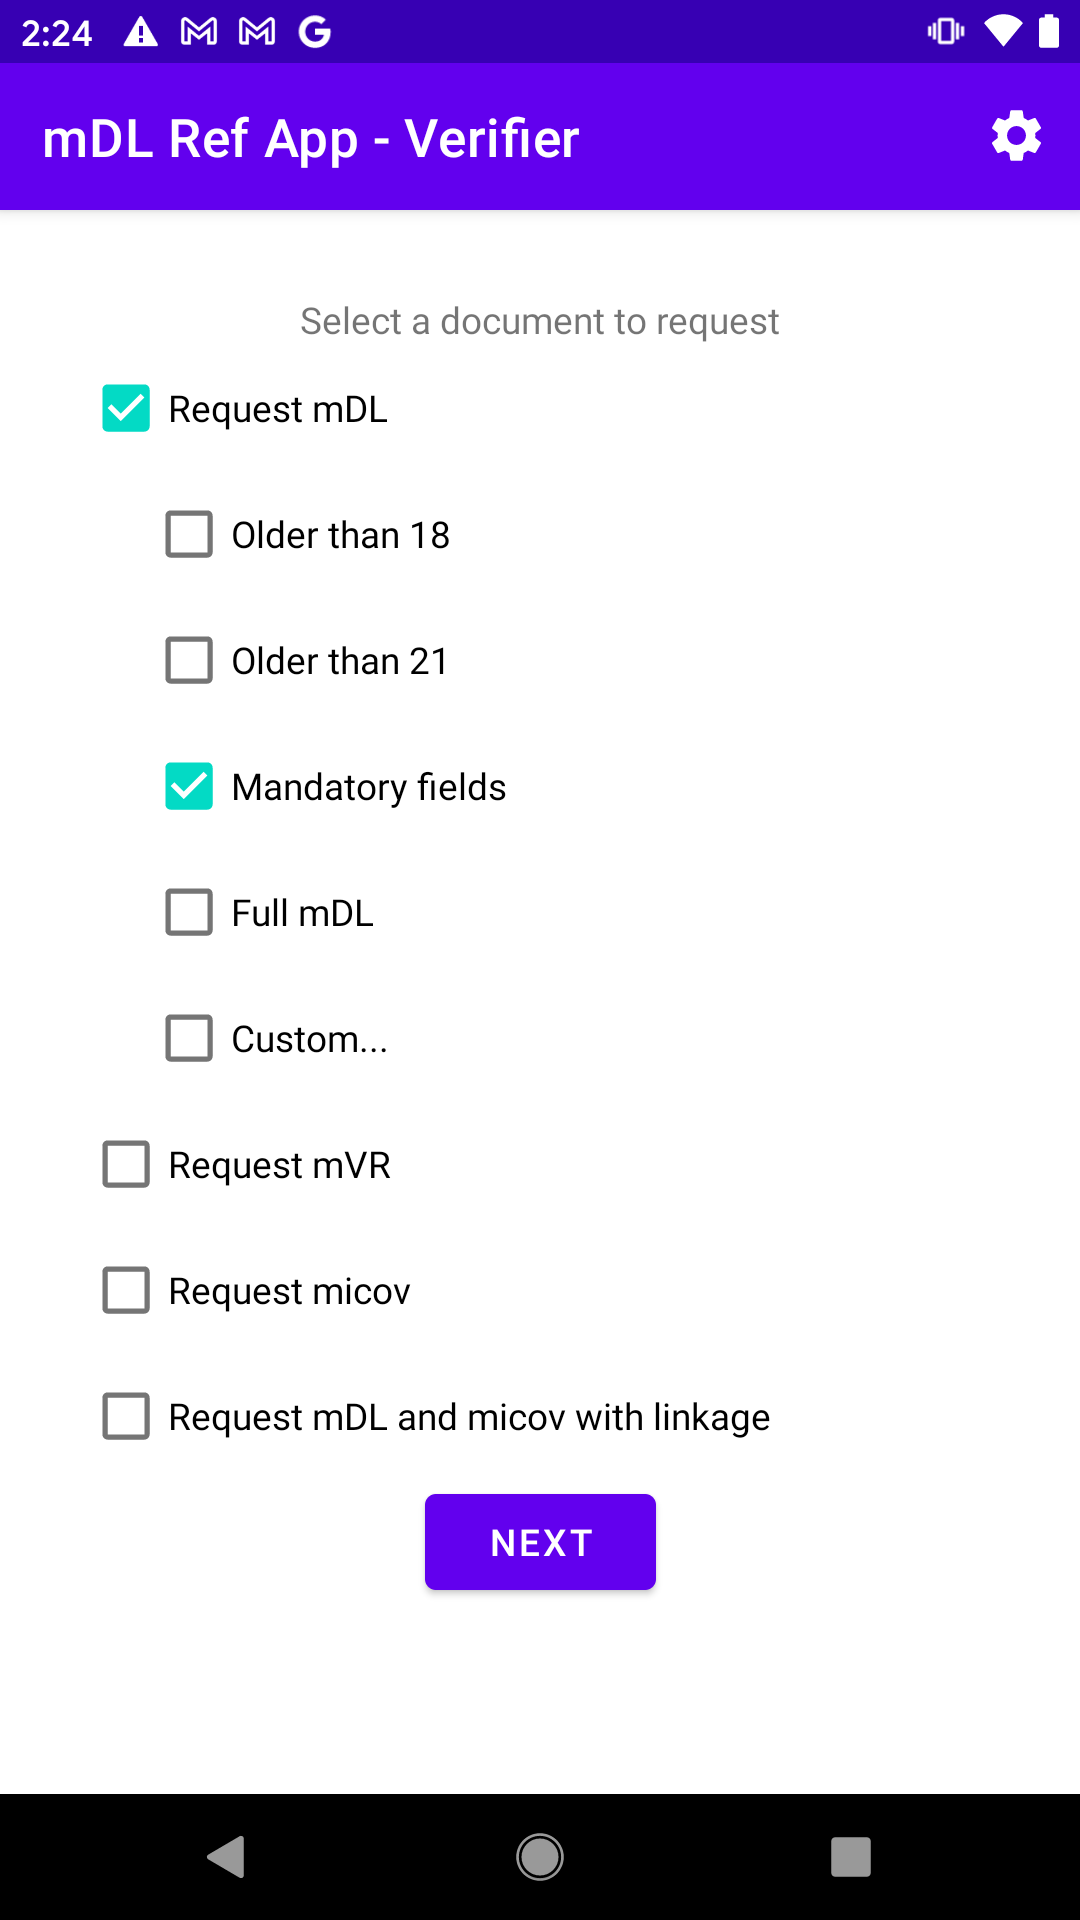
Open the reader app on the reader device
- Check the Request mDL and Mandatory fields boxes
- Click Next
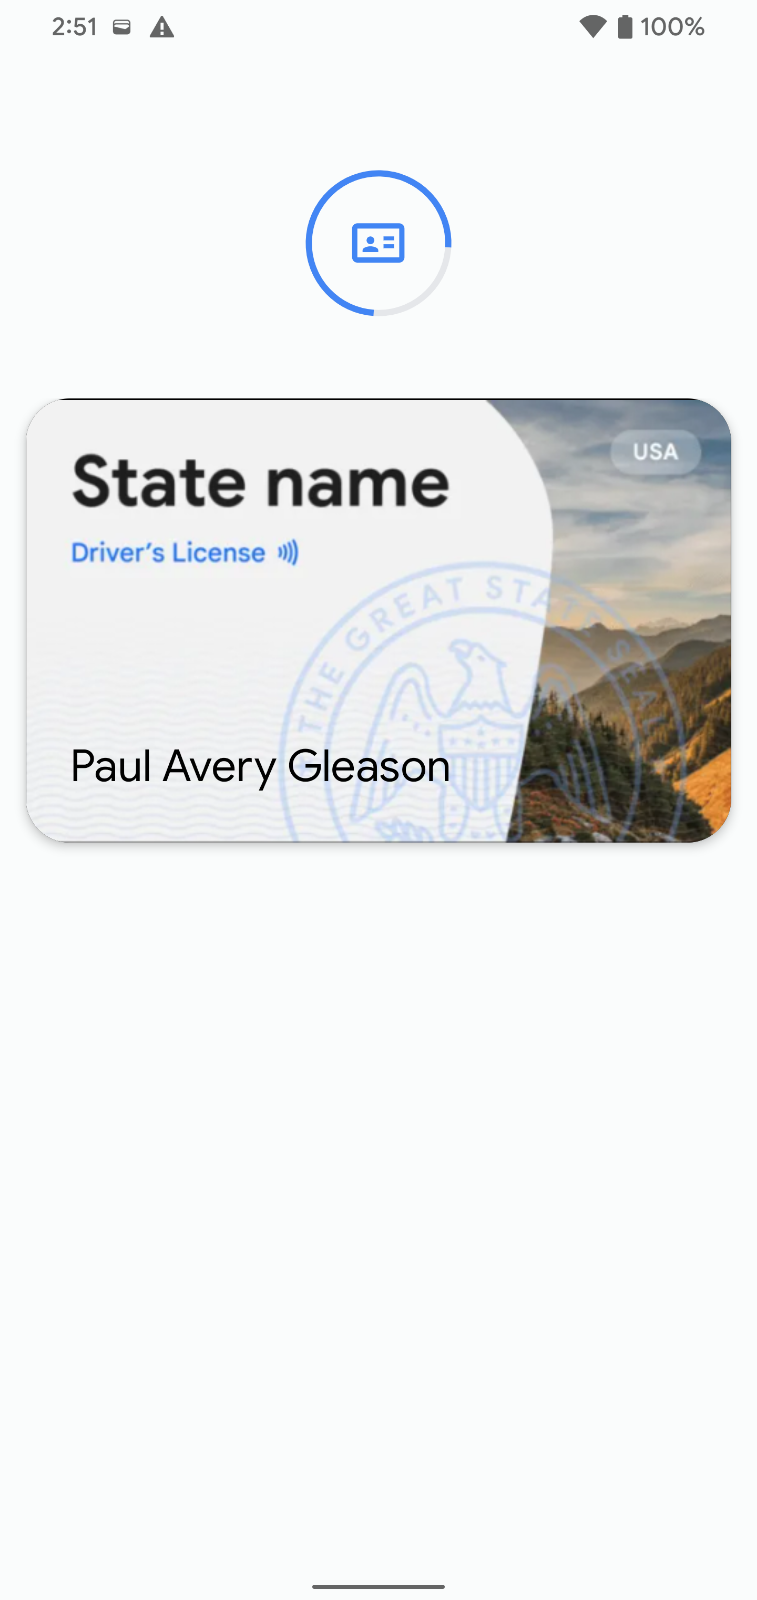
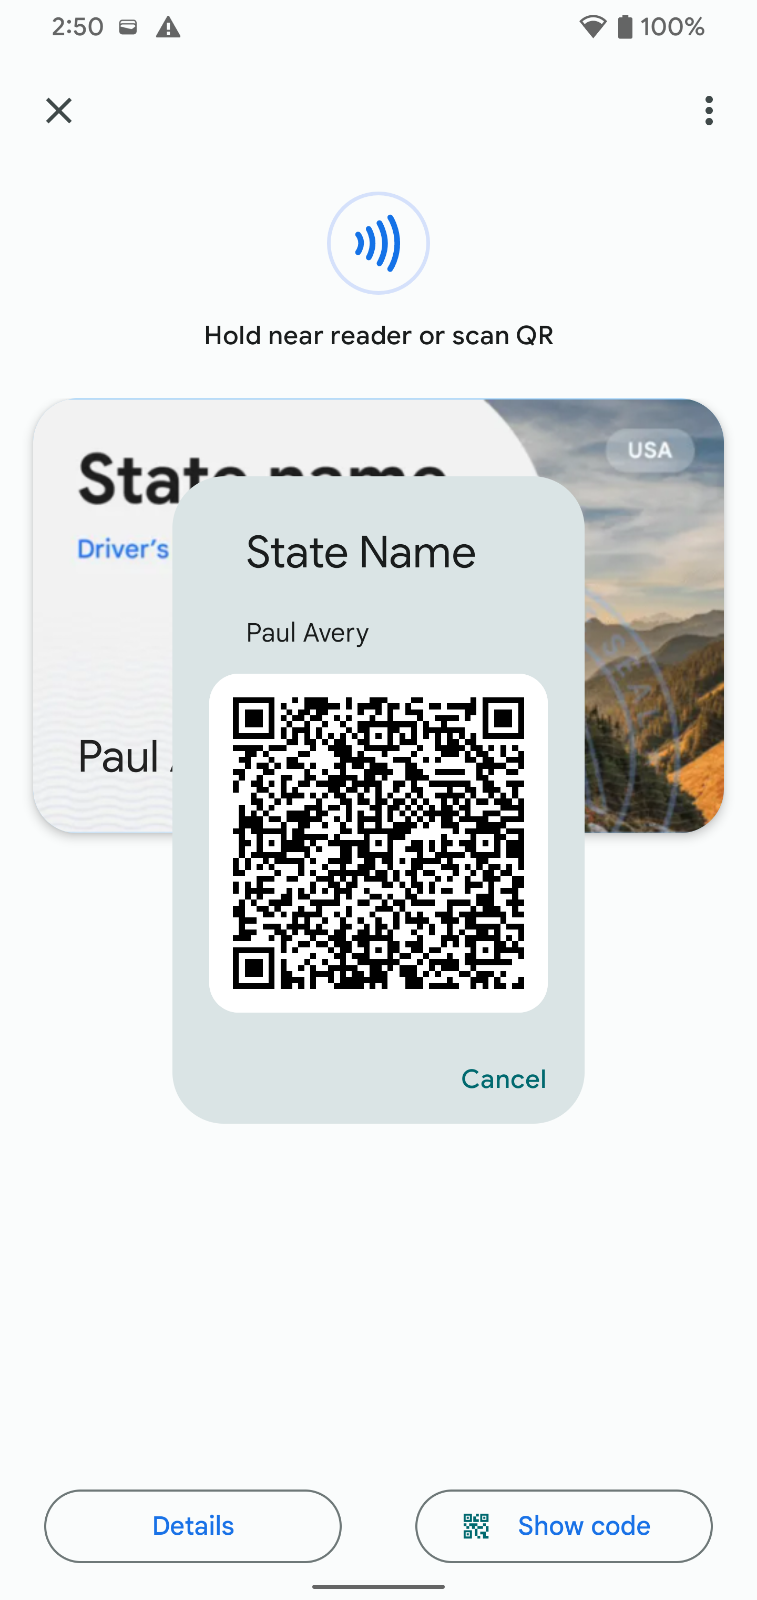
Unlock the device with the VDC, open the VDC and click the Show code button on the bottom of the screen
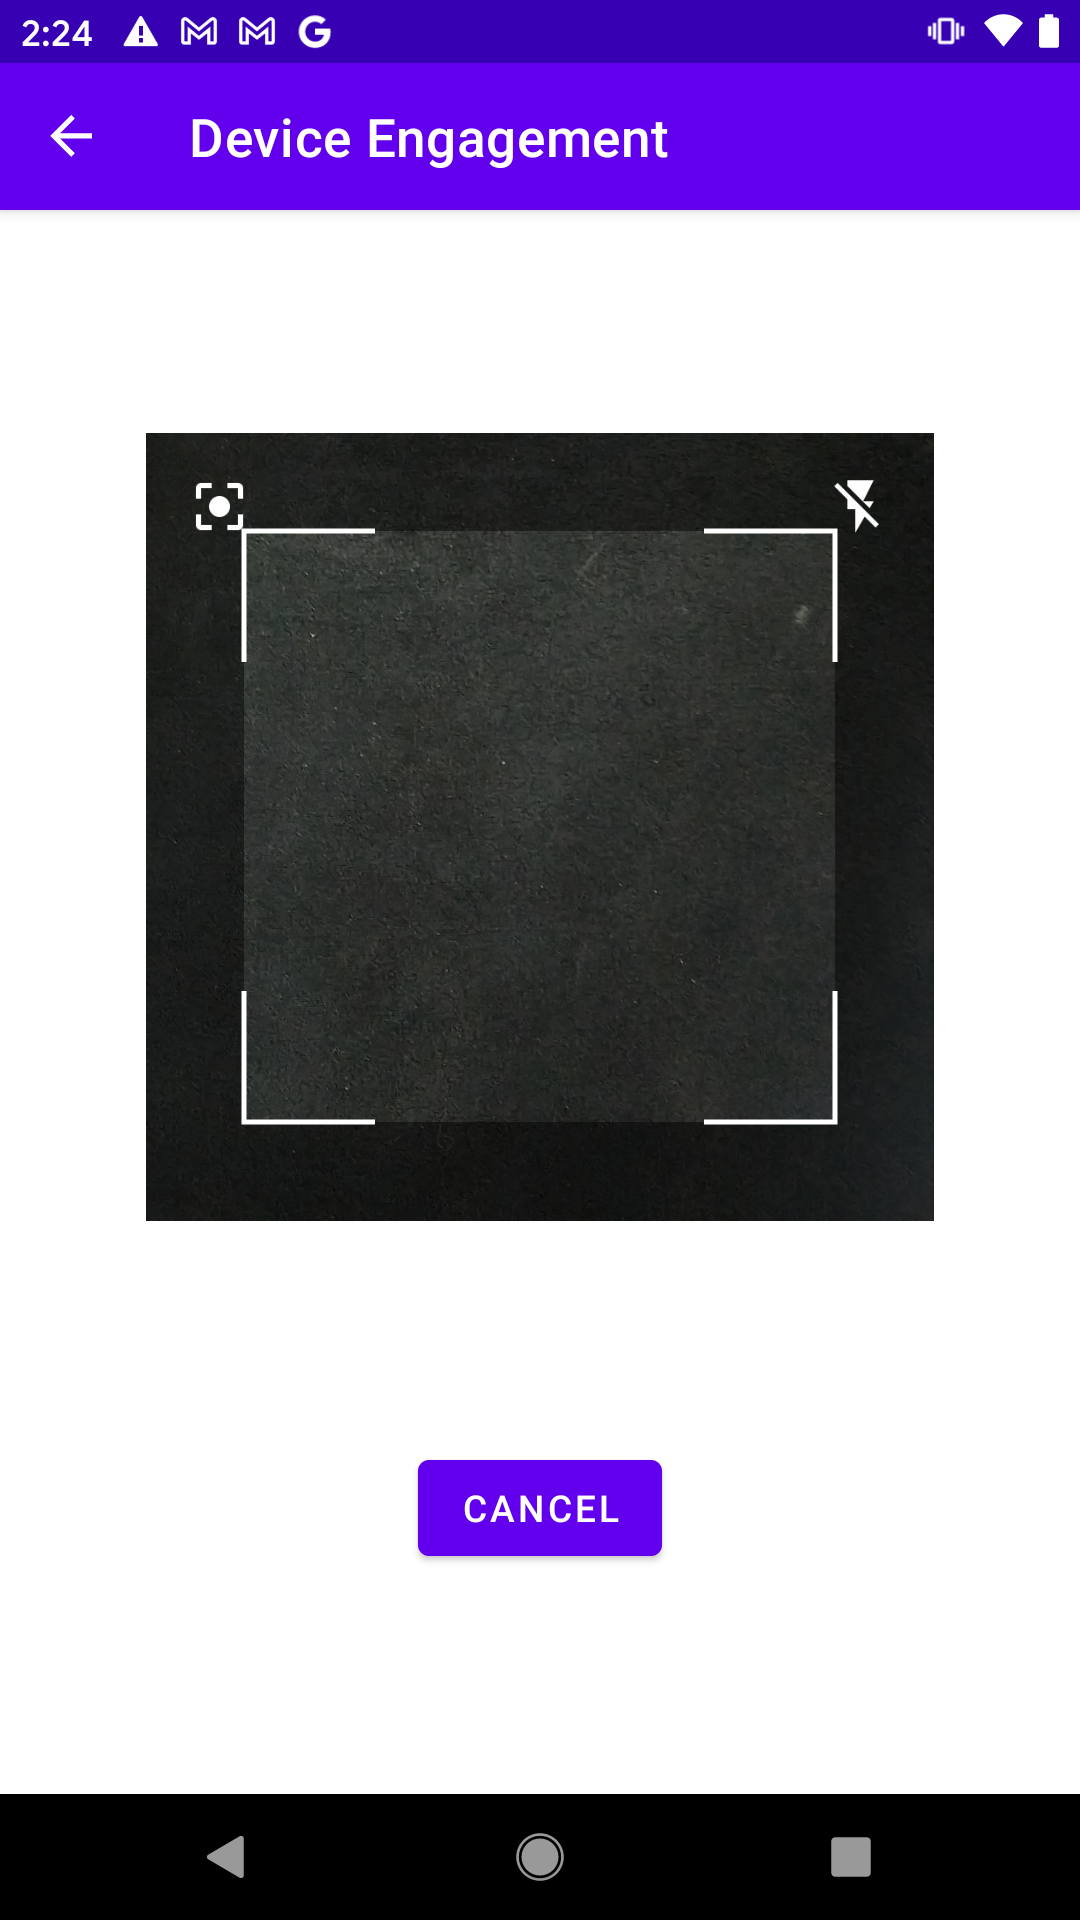
Scan the barcode with the reader device
- The requested fields should appear on the holder device
- Click Continue
Use PIN or Biometric to verify, transmission animation should appear on holder device
After sending the data, the VDC device will briefly disconnect. You'll then see the VDC details appear on the reader device. Make sure all the checks show a green checkmark except for "Issuer's DS Key recognized."
NFC Presentation from Lockscreen
Prerequisite: The device must be running Android 15 or higher for this test.
- Lock the device
- Perform an NFC tap
- Verify the following
- You are prompted to unlock the device
- Once you unlock, a consent screen will appear, showing you the information the terminal is requesting.
- Continue and verify presentation works as expected
Management
Notification of updates
- Provision a VDC following the provisioning flow
- After the VDC is fully approved and available in your Wallet, update the details for the VDC from the backend.
- You should see a notification of the update.
Issuer based deletion
- Provision a VDC following the provisioning flow
- After the VDC is fully approved and available in your Wallet, cancel the VDC from the backend.
- The ID should be deleted from the wallet.
Delete from Device
- Complete the provisioning flow so that you have a fully provisioned VDC available on the device, ready for presentation.
- Open the VDC card from the Wallet homescreen
- Click the 3-dot menu and select Delete
- Click Cancel and confirm that the card is still available. You should still be looking at the card.
- Click the 3-dot menu and select Delete again
- Click Confirm
- Verify the following:
- You are taken to the Wallet homescreen
- The VDC is no longer in the card list
- You can start the provisioning flow again
View VDC Information
- Complete the provisioning flow so that you have a fully provisioned VDC available on the device, ready for presentation.
- Open the VDC from the Wallet homescreen
- Click the View Details -> State ID Information buttons
- Verify the following:
- Prompted for unlock
- All VDC fields appear, and view is scrollable to see all the available details
- All fields are formatted correctly and human-readable