Page Summary
-
There are four ways to add links to a transit pass, including associating links with all passes of a class or individual passes.
-
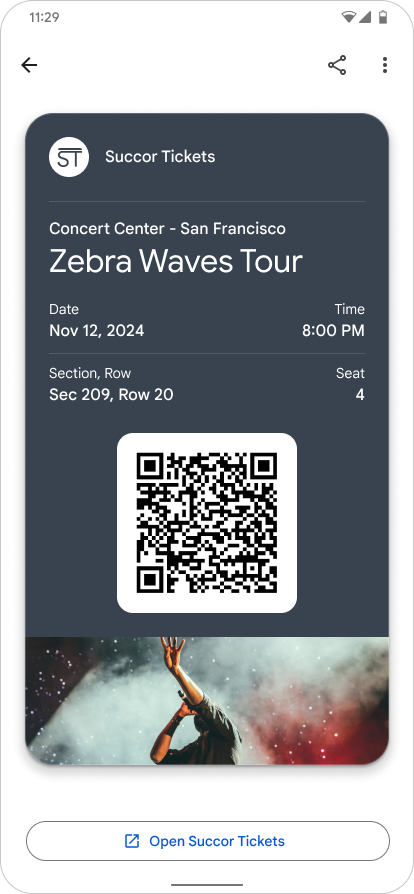
App linking empowers call-to-actions within Google Wallet passes, allowing navigation to branded experiences by placing links at the bottom of the pass.
-
The
appLinkDatafield is used to configure the link, accepting a URI or package name and allowing for Android or web app targets. -
The
displayTextfield, with a 30-character limit, is used to customize the link's display within the Google Wallet pass.
There are four ways to add links to a transit pass.
- Use
TransitClass.LinksModuleDatato add links to all transit passes that are associated with theTransitClass. - Use
TransitObject.LinksModuleDatato add a link to a specific transit passTransitObject. - Use
TransitObject.appLinkDatato place an app link at the bottom of that particular Pass. - Use
TransitClass.appLinkDatato place an app link at the bottom of all the passes of that class.
One benefit of app linking is that it empowers your call-to-action to navigate users to your branded experiences from Google Wallet. Links with this feature appear at the bottom of the Pass.
Feature example

|
| Issuer |
Set the app link on your Google Wallet pass
For a given transit pass, set the field TransitObject.appLinkData
to the URI or Package name of your app or website.
See the format and context of the appLinkData field in the following source code:
The displayText field is limited to 30 characters.
  {
    "id": string,
    "classId": string,
    …
    …
    …
    "appLinkData": {
      "androidAppLinkInfo": {
        "appTarget": {
          "packageName": "com.google.android.gm",
        }
      },
      "webAppLinkInfo": {
        "appTarget": {
           "targetUri": {
              "uri": "https://mail.google.com/mail/",
              "description": "Web link for Gmail"
           }
        }
      }
      "displayText": {
        "defaultValue": {
           "value": "Our awesome app!"
        }
      }
    }
  }
{
  "id": string,
  "classId": string,
  …
  …
  …
  "appLinkData": {
    "androidAppLinkInfo": {
      "appTarget": {
        "targetUri": {
          "uri": "https://play.google.com/store/apps/details?id=com.google.android.gm",
            "description": "Play store link for Gmail app"
        }
      }
    }
  }
}
