
برای اینکه «دستیار Google» به دستورات متناسب با دستگاه شما و زمینه داده شده پاسخ دهد، «دستیار» به اطلاعاتی درباره دستگاه خاص شما نیاز دارد. شما این اطلاعات را که شامل فیلدهایی مانند نوع دستگاه و سازنده است، به عنوان مدل دستگاه ارائه می دهید. شما می توانید این مدل را به عنوان یک کلاس کلی از دستگاه ها در نظر بگیرید - مانند ربات چراغ، بلندگو یا اسباب بازی.
سپس این اطلاعات برای دستیار قابل دسترسی است و با شما مرتبط می شودپروژه اکشن کنسول.هیچ پروژه دیگری به اطلاعات مدل و دستگاه شما دسترسی ندارد.
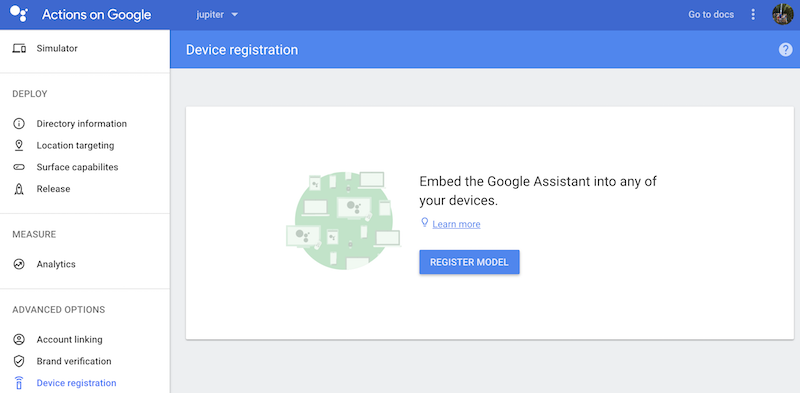
از رابط کاربری ثبت نام استفاده کنید
برای ثبت مدل دستگاه از رابط کاربری ثبت نام در کنسول Actions استفاده کنید.
روی دکمه REGISTER MODEL کلیک کنید.
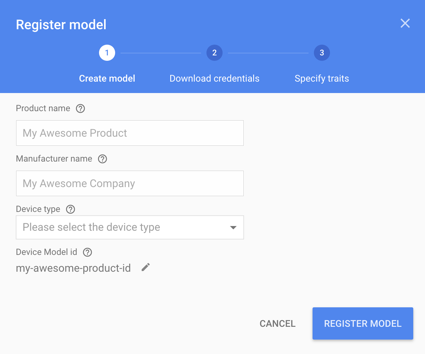
مدل ایجاد کنید
تمام فیلدهای دستگاه خود را پر کنید. هر نوع دستگاهی مانند Light را انتخاب کنید.
مدل دستگاه JSON را ببینیدمرجعبرای اطلاعات بیشتر در این زمینه ها
وقتی کارتان تمام شد، روی ثبت مدل کلیک کنید.
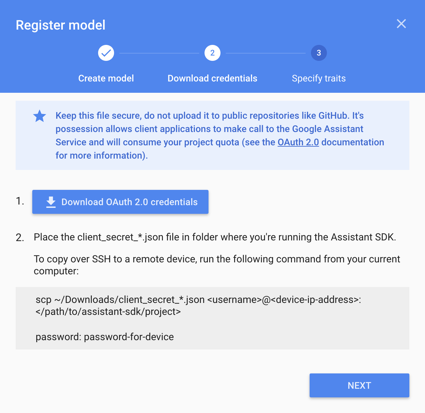
دانلود مدارک
فایل client_secret_<client-id>.json باید در دستگاه قرار داشته باشد. این فایل حاوی شناسه مشتری و رمز سرویس گیرنده است، اما نشانه دسترسی ندارد. بعداً، یک ابزار مجوز را اجرا میکنید و به این فایل ارجاع میدهید تا به نمونه Google Assistant SDK مجوز دهید تا درخواستهای Google Assistant را انجام دهد (برای اطلاعات بیشتر به اسناد OAuth 2.0 مراجعه کنید). نام این فایل را تغییر ندهید.
این فایل را دانلود کرده و به دستگاه انتقال دهید. روی NEXT کلیک کنید.
فقط برای Raspberry Pi
مطمئن شوید که این فایل در /home/pi قرار دارد. اگر می خواهید فایل را در دستگاه آپلود کنید، موارد زیر را انجام دهید:
یک پنجره ترمینال جدید باز کنید. دستور زیر را در این ترمینال جدید اجرا کنید:
scp ~/Downloads/client_secret_client-id.json pi@raspberry-pi-ip-address:/home/pi/
password: password-for-device
این پنجره ترمینال را ببندید.
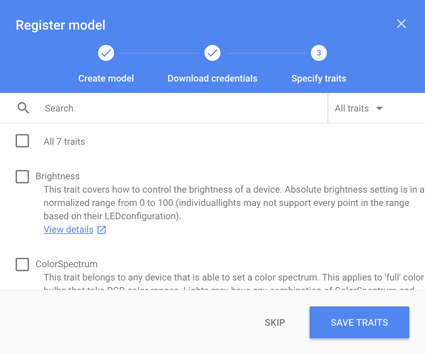
صفات را مشخص کنید
بعداً توانایی های مختلفی را که دستگاه شما پشتیبانی می کند در این صفحه مشخص می کنید. اما در حال حاضر روی دکمه SKIP کلیک کنید.
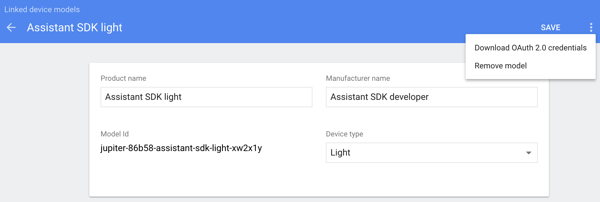
مدل را ویرایش کنید
اگر نیاز به ویرایش مدل دارید، روی ردیف آن در لیست کلیک کنید. مطمئن شوید که پس از هر گونه ویرایش روی ذخیره کلیک کنید.

اگر نیاز به دانلود مجدد فایل اعتبارنامه دارید، روی بیضی ها کلیک کنید. می توانید مدل را نیز از این منو حذف کنید.
راه های جایگزین برای ثبت نام
همچنین می توانید از ابزار ثبت نام (شامل نمونه های SDK دستیار Google) یا REST API برای ثبت مدل دستگاه استفاده کنید.
شما باید مالک یا ویرایشگر یک پروژه Action Console معین باشید تا مدلهایی را برای آن ثبت کنید. این نقشها را برای سایر کاربران در کنسول Cloud Platform اضافه کنید—به مستندات IAM مراجعه کنید.