 Google uses AI technology to translate content into your preferred language. AI translations can contain errors.
Zarejestruj cechy
Zadbaj o dobrą organizację dzięki kolekcji
Zapisuj i kategoryzuj treści zgodnie ze swoimi preferencjami.
Asystent Google musi być w stanie powiązać zapytanie z poleceniem, które ma zostać wysłane na Twoje urządzenie. Aby to działało, musisz zadeklarować, jakie funkcje obsługuje Twoje urządzenie. Są to tzw. cechy. Te cechy deklarujesz w ramach modelu urządzenia.
Firma Google stworzyła już wiele wspólnych cech, które występują na wielu urządzeniach. Te cechy nie są powiązane tylko z jednym typem urządzenia – możesz ich używać według własnego uznania.
Dodaj cechę
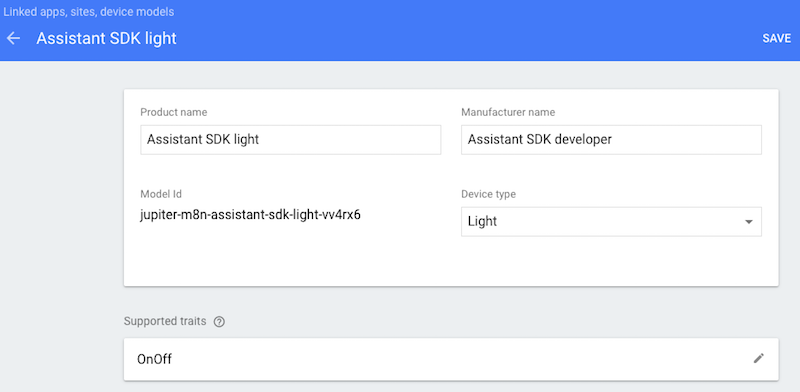
Masz już zdefiniowany model, a teraz zaktualizuj go, dodając cechę. W tym przypadku dodaj funkcję włączania/wyłączania, by sterować diodą LED podłączoną do urządzenia.
Otwórz projekt w Konsoli Actions.
Na lewym pasku nawigacyjnym wybierz kartę Rejestracja urządzenia.
Kliknij model na liście, aby go edytować.

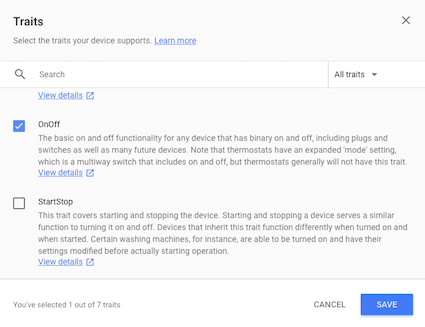
Kliknij ołówek w polu Obsługiwane cechy, aby dodać cechę.

Zaznacz pole wyboru OnOff. Kliknij ZAPISZ.
Pamiętaj, aby zapisać zmiany w modelu. Ponownie kliknij ZAPISZ.
Następny krok
Obsługa poleceń
O ile nie stwierdzono inaczej, treść tej strony jest objęta licencją Creative Commons – uznanie autorstwa 4.0, a fragmenty kodu są dostępne na licencji Apache 2.0. Szczegółowe informacje na ten temat zawierają zasady dotyczące witryny Google Developers. Java jest zastrzeżonym znakiem towarowym firmy Oracle i jej podmiotów stowarzyszonych.
Ostatnia aktualizacja: 2025-07-25 UTC.
[null,null,["Ostatnia aktualizacja: 2025-07-25 UTC."],[],["Device functionality is enabled by declaring supported abilities, known as traits, within a device model. These traits, provided by Google, are reusable across various devices. To add a trait, users must access the Actions Console, navigate to Device Registration, select a model, and edit its Supported traits. For instance, to add On/Off control for an LED, the OnOff trait is selected and saved in the device's model, with another save step to finalize.\n"]]
