To add support for Google Pay device tokens, you will need to complete the following steps in order:
1. Access the Issuer Console onboarding platform
- Navigate to the Issuer Console and sign in with your corporate email address. If your corporate email is not associated with a Google Account, you will need to complete the association process prior to creating your financial institution account.
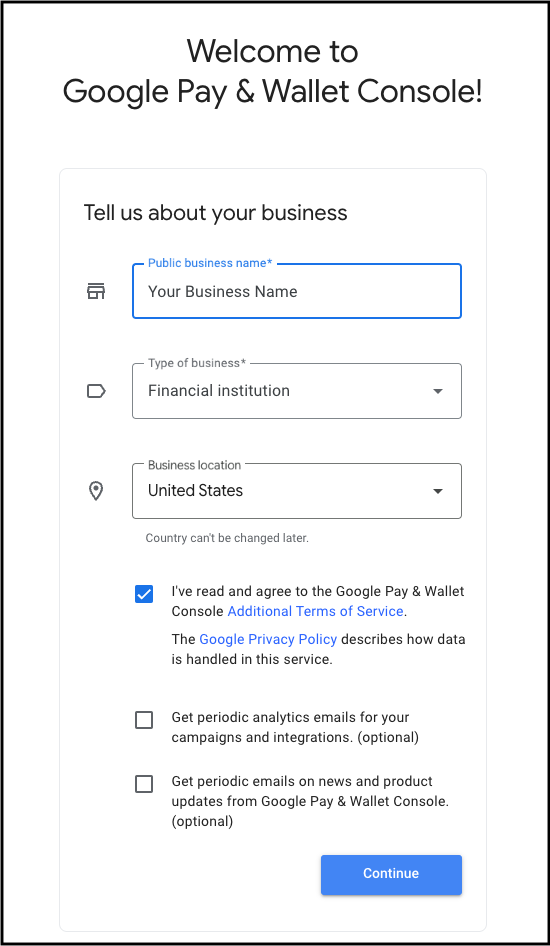
Input your public business name, business location, and ensure 'Financial Institution' is selected as the business type.
Agree to the Console Terms of Service, and click 'Continue'.
2. Establish a Business Profile
- After completing Step 1, proceed to the Business Profile tab within Issuer Console and click 'Get Started'.

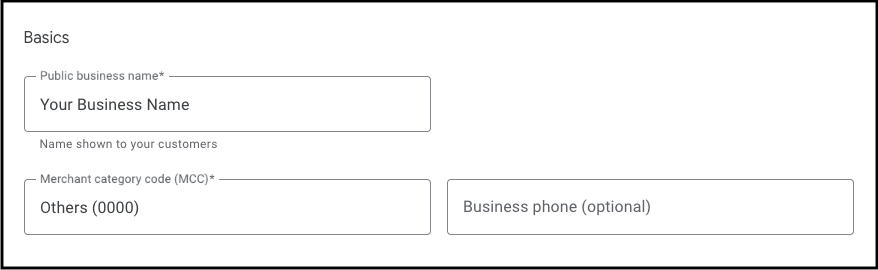
Begin by creating a payments profile for your financial institution by providing the name and address of the business in the Business Identity section.
Complete the business profile by filling in the remainder of the Business Information section with the required details. For Merchant Category Code, financial institutions should utilize 'Others (0000)'.
3. Retrieve your Merchant ID
Your Merchant ID is displayed in the top right corner of the Business Profile
page. You need this ID for various integrations and support requests. 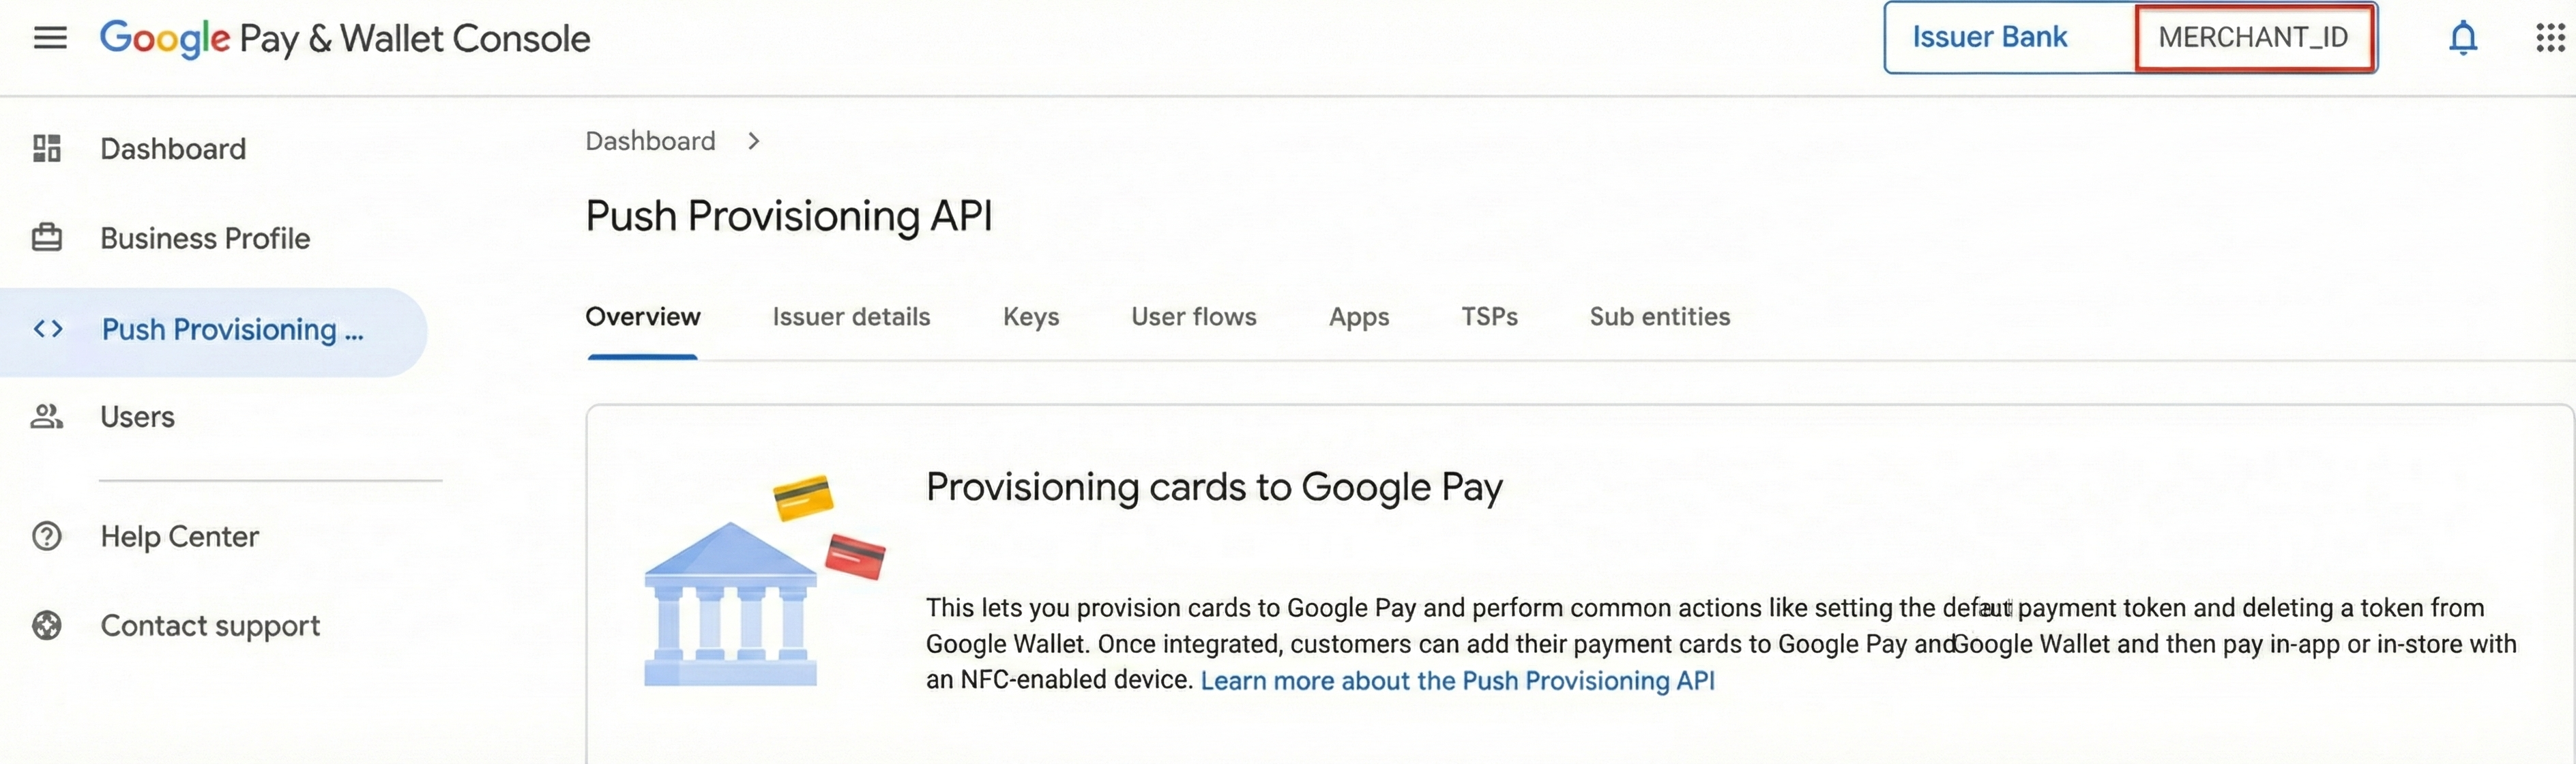
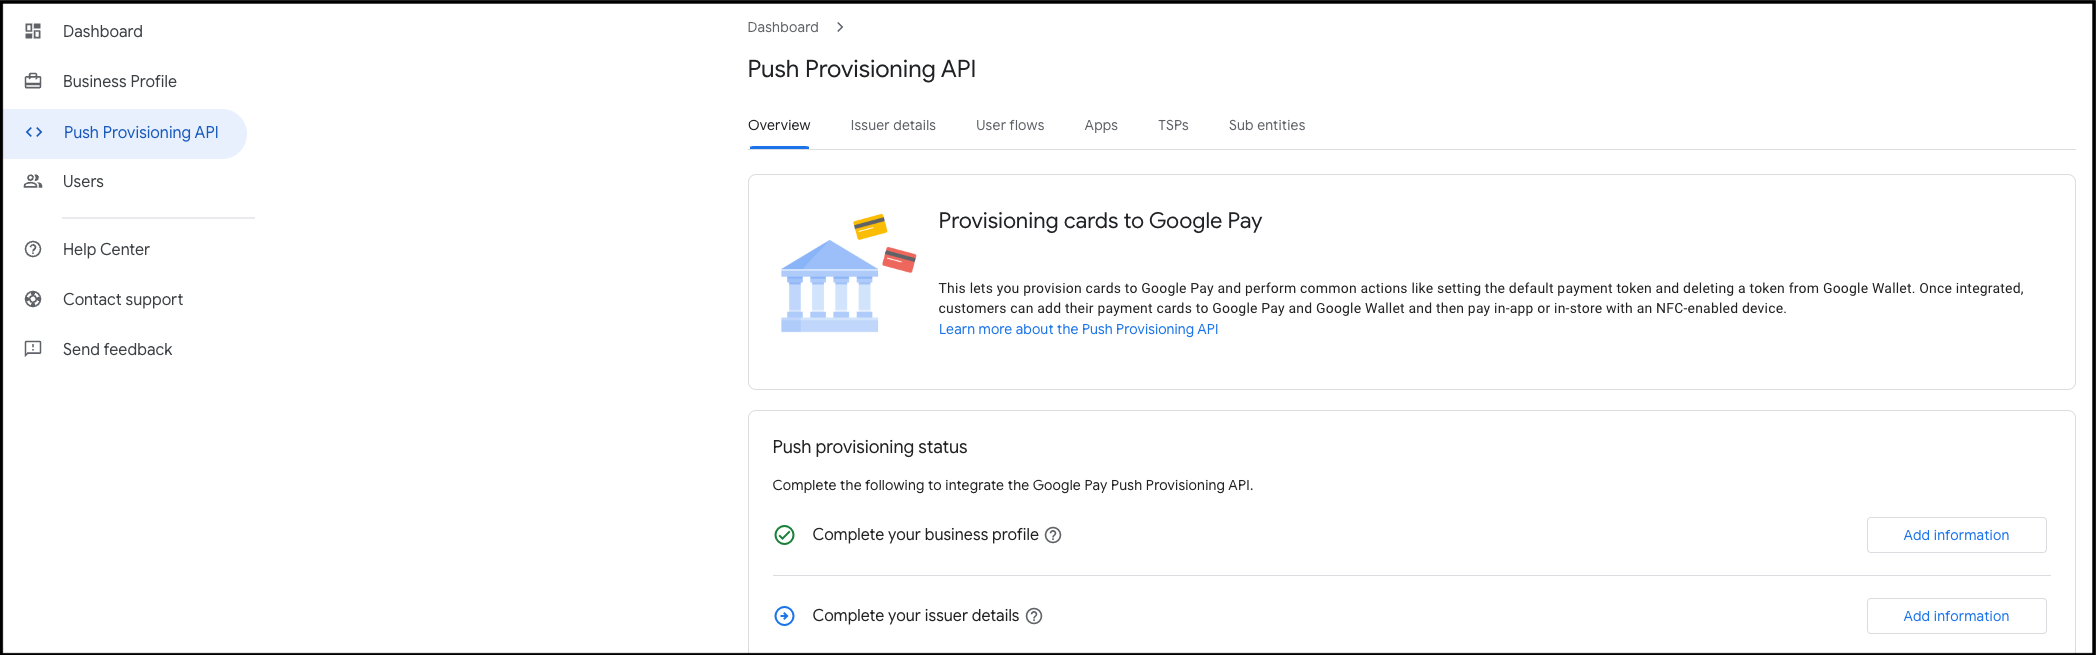
4. Provide Issuer Details
- Upon creating a business profile, navigate to the Push Provisioning API menu, accept the Google API Terms of Service, and provide the issuer details by clicking 'Add Information'.
Begin by adding the information of the authorized signatory for your financial institution. The email address provided in this section will first receive the NDA, and once the NDA is signed, the signatory will then be sent the Google Pay Click To Accept Agreement (CTA). Both the NDA and CTA will be sent from the email address dse_na2@docusign.net.
Fill in the remaining information and click the 'Save changes' button. Once complete, the information will be reviewed and Google will proceed with either sending the NDA directly, or reaching out to confirm specific details. The issuer details section will remain in the status of "In Review" until both the NDA and CTA have been signed.
The signatory will receive a link to both the NDA and CTA from the email alias dse_na2@docusign.net within 2 US business days of submission if all required information is provided initially. If the signatory is having trouble finding the email, have them search for an email from that address and check their spam filter.
Issuers with existing NDA and CTA agreements are not required to sign new ones. However, both the Business Profile and Issuer Details sections in the Issuer Console must still be completed. Upon completion, the NDA and CTA status in the Console will be pre-populated and updated using the existing agreements.
5. Access Push Provisioning API documentation
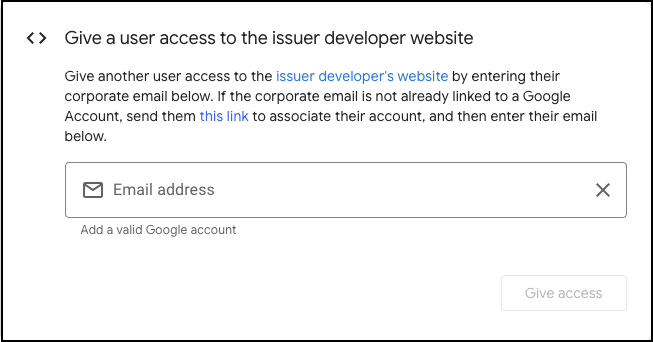
Once the NDA is signed, you will have the ability to view all of the Push Provisioning API documentation. Request documentation access for others by adding their corporate emails (no personal emails permitted) that have been associated with a Google Account in the box on the bottom right of the Push Provisioning status page. Clicking the 'Give Access' button will automatically provision access to the developer documentation.
6. Google Pay technical implementation
After both the NDA and CTA have been signed, you are ready to begin integration work with your Token Service Provided (TSP)! Your TSP should be able to guide you through the process of configuring their systems and integrating with their APIs related to device tokenization. The integration with TSP section of this site explains Google Pay product behavior, including Google Pay specific requirements for how you configure the settings at your TSP. Once your TSP integration is complete, you can return to the Issuer Console to integrate with the Push Provisioning API. If you have any issues along the way, our support page explains where to get help.
BIN Sponsors or Program Managers
If you are a BIN Sponsor or program manager who has already signed the CTA but would like to launch a new program or sub-entity, you can notify Google by selecting the option 'BIN Sponsor or Program Manager notification' option within the general inquiry form. As part of the notification, Google expects that standard testing requirements have been met for manual tokenization, or the program manager launch process has been followed for a push provisioning launch.