Page Summary
-
Sceneform's
SceneViewenables 3D scene rendering without AR, ideal for object previews or supporting non-AR devices. -
User interactions are handled through touch event propagation, allowing for custom node behaviors and gesture detection via
ArFragment. -
Scene customization options include creating custom nodes, animating nodes with
ObjectAnimatororonUpdate(), adding lights, and modifying plane visualization. -
Shadows enhance realism by allowing lights and renderables to cast shadows on renderables and the
PlaneRenderer.
This page contains common tips for building a Scene and interacting with it.
Render a scene without AR
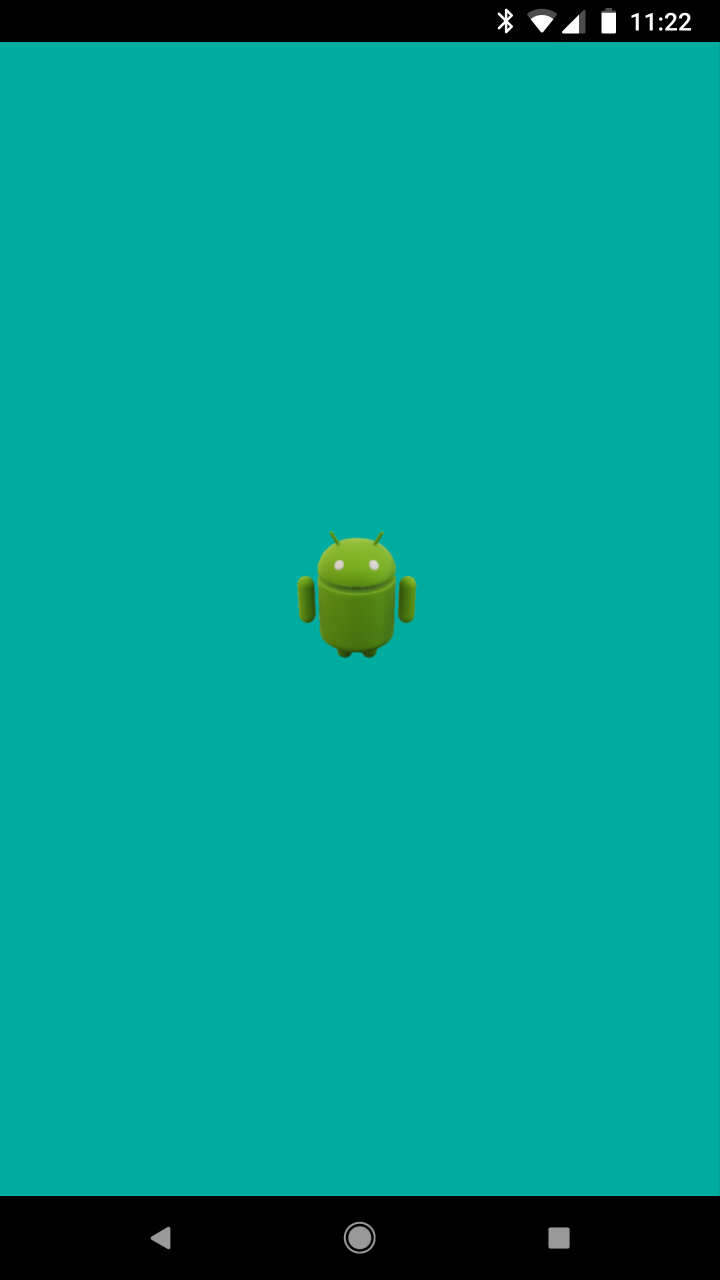
The SceneView class lets you render a 3D scene without requiring the use of the device's camera or an AR session. This is useful for previewing 3D objects in your app without AR, or providing alternative functionality on devices that don't support AR.
By default, SceneView does not display the image from the AR camera and uses a black background. To change the background color, you can either call view.setBackgroundColor() or define a background color in the layout as shown below:
<com.google.ar.sceneform.SceneView
    android:id="@+id/scene_view"
    android:layout_width="match_parent"
    android:layout_height="match_parent"
    android:background="@color/deep_teal"/>
The scene's Camera node is placed at the origin (position 0,0,0) and facing forward (direction 0,0,-1). Because the camera's position and rotation is not tied to AR motion tracking, you can reposition or animate it like any other node.
Camera camera = sceneView.getScene().getCamera();
camera.setLocalRotation(Quaternion.axisAngle(Vector3.right(), -30.0f));
Interactions
Handle user touch
When the user touches the screen, Sceneform propagates the touch event to the event handlers and listeners attached to nodes and the scene. This behavior is similar to how touch events propagate to views and view groups in Android. Here's the order of propagation:
The event is sent to any listener added in
scene.addOnPeekTouchListener().This is similar to
viewGroup.intercept(), except that the scene's on peek touch listener cannot consume the event.The event is passed to the first node that the ray intersects with.
- The node can consume the event by defining an
onTouchEvent()method set that returnstrue. - If the
onTouchEvent()method returnsfalse, or no listener is defined, the event is propagated to the node's parent. This process continues until the event is consumed, or the scene is reached.
- The node can consume the event by defining an
Finally, if no listener has consumed the event, the event is passed to
scene.onTouchListener().
Detect gestures
ArFragment has built in support for tap (selection), drag (move), pinch (scale), and twist (rotate) gestures.
For example, see HelloSceneformActivity.java in the HelloSceneform sample app.
Create custom nodes
Similar to creating custom Android views, you can create custom nodes by subclassing Node. Here are some situations when you might want to create a custom node:
- You want to access events in the node lifecycle, such as
onUpdate(),onActivate, andonDeactivate(). - You want to create a node that is composed of a group of nodes.
- You are duplicating a lot of code, and can factor it out to a subclass.
For an example, see Planet.java in the Solar System sample app.
Animate nodes
There are two ways to animate nodes:
- Use
ObjectAnimatorfrom the standard Android Animation API. - Create a custom node class and override
onUpdate()
Animate with ObjectAnimator
Here's an example that animates a spotlight's intensity:
final int durationInMilliseconds = 1000;
final float minimumIntensity = 1000.0f;
final float maximumIntensity = 3000.0f;
ValueAnimator intensityAnimator =
    ObjectAnimator.ofFloat(
        spotlightNode.getLight(), "intensity", minimumIntensity, maximumIntensity);
intensityAnimator.setDuration(durationInMilliseconds);
intensityAnimator.setRepeatCount(ValueAnimator.INFINITE);
intensityAnimator.setRepeatMode(ValueAnimator.REVERSE);
intensityAnimator.start();
For more information, see Animating with ObjectAnimator.
Animate in onUpdate
Override the node's onUpdate()
to animate it frame to frame. The following example, from Planet.java in the Solar System sample app, adjusts the infocard every frame to face the user, even as the planet rotates.
@Override
public void onUpdate(FrameTime frameTime) {
  Vector3 cameraPosition = getScene().getCamera().getWorldPosition();
  Vector3 cardPosition = infoCard.getWorldPosition();
  Vector3 direction = Vector3.subtract(cameraPosition, cardPosition);
  Quaternion lookRotation = Quaternion.lookRotation(direction, Vector3.up());
  infoCard.setWorldRotation(lookRotation);
}
Add lights
Lights can be attached to any node in the scene. By default, every Sceneform scene includes a Sun node, which has a directional light attached.
You can modify the sun or add your own lights to a scene. The following example adds a spotlight:
Light spotLightYellow =
    Light.builder(this, Light.Type.FOCUSED_SPOTLIGHT)
        .setColor(new Color(android.graphics.Color.YELLOW))
        .setShadowCastingEnabled(true)
        .build();
Then call setLight() to attach it to a node.
Customize plane visualization
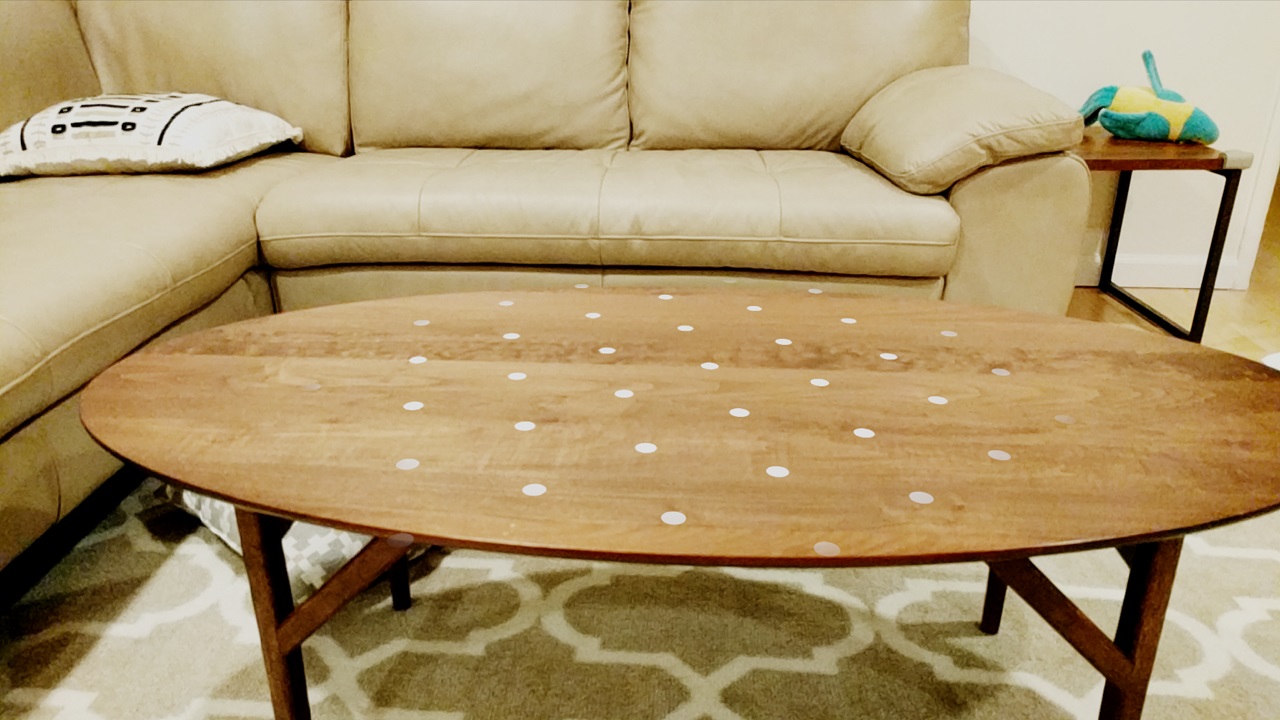
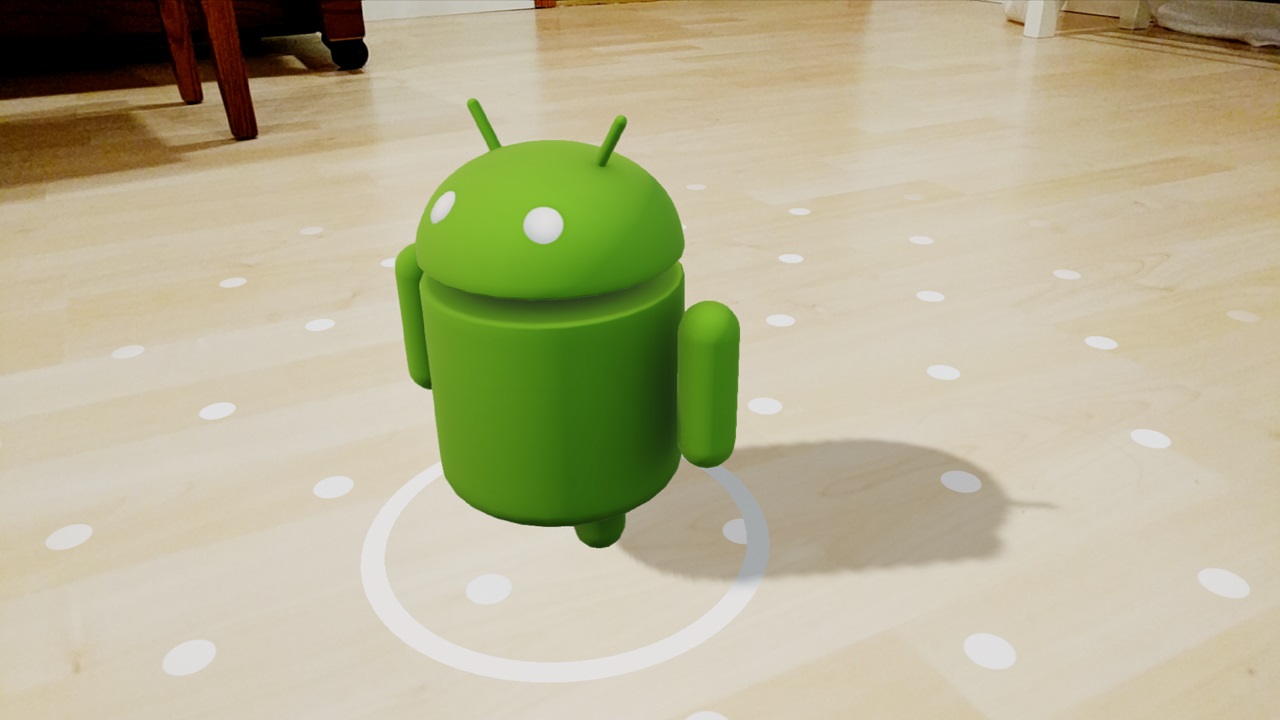
By default, the scene has a PlaneRenderer that highlights Planes when they have been detected by ARCore. It looks like this:
You can modify the default material and texture used to render detected planes. Here's how to change the texture:
Texture.Sampler sampler =
        Texture.Sampler.builder()
                .setMinFilter(Texture.Sampler.MinFilter.LINEAR)
                .setWrapMode(Texture.Sampler.WrapMode.REPEAT)
                .build();

// R.drawable.custom_texture is a .png file in src/main/res/drawable
Texture.builder()
        .setSource(this, R.drawable.custom_texture)
        .setSampler(sampler)
        .build()
        .thenAccept(texture -> {
          arSceneView.getPlaneRenderer()
                  .getMaterial().thenAccept(material ->
                  material.setTexture(PlaneRenderer.MATERIAL_TEXTURE, texture));
        });
Shadows
Shadows make renderables appear grounded in the world and give users a sense of depth and space.
In Sceneform, there are objects that can cast shadows and objects that can receive shadows.
LightsandRenderablescan cast shadowsBy default, shadow casting is enabled on the sun, but not for lights. Call
setShadowCastingEnabled()to turn it on.RenderablesandPlaneRenderercan receive shadows.By default, shadow receiving is enabled. Call
setShadowReceiver()to turn it off.
If a renderable both casts and receives shadows, it can cast shadows on itself.


