다른 언어로 프로젝트의 메타데이터를 다른 언어로 번역해야 하는 경우
번역사에게 콘솔에 대한 액세스 권한을 부여하면
프로젝트의
리소스 문자열로서의 메타데이터입니다. 그런 다음 이러한 문자열을 외부 번역
다시 프로젝트로 가져옵니다
번역을 위해 프로젝트의 메타데이터를 내보내려면 다음 단계를 따르세요.
상단 메뉴에서 배포를 클릭합니다.
왼쪽 메뉴에서 디렉터리 정보를 클릭합니다.
오른쪽에 있는 더보기more_vert 아이콘을 클릭합니다.
언어 선택기를 선택하고 번역을 위해 내보내기를 클릭하여 ZIP 파일을 다운로드합니다.
그림 4. 디렉터리 정보 내보내기를 통해 개인정보처리방침을 정의할 수 있습니다.
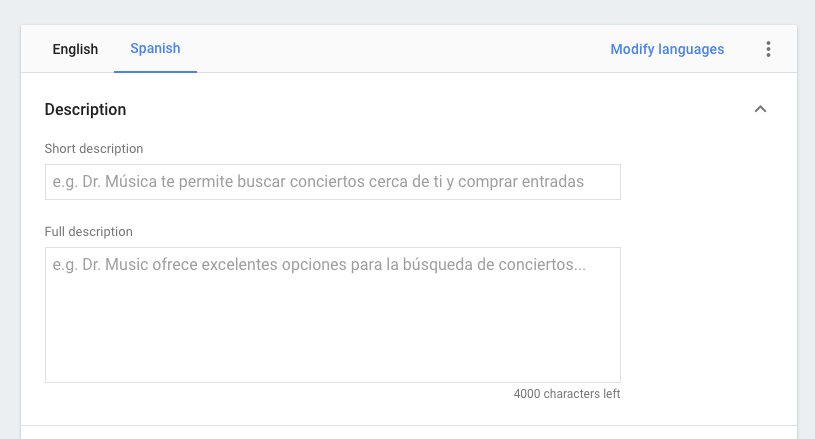
ZIP 파일에는 각 언어에 대한 XLF 파일이 포함됩니다. 각 파일에는 이 작업의 설명에서 각 필드에 대한 <source> 및 <target> 번역이 포함되어 있습니다.
<trans-unit id="tu3" resname="shortDescription">
<source xml:lang="en">short description</source>
<target xml:lang="it">short description</target>
<note>The default short description for the Action (if there is not a translation available). This is limited to 80 characters.</note>
</trans-unit>
<target> 문자열을 파일 언어에 맞게 번역된 문자열로 바꿉니다.
<trans-unit id="tu3" resname="shortDescription">
<source xml:lang="en">short description</source>
<target xml:lang="it">Breve descrizione</target>
<note>The default short description for the Action (if there is not a translation available). This is limited to 80 characters.</note>
</trans-unit>
현재 번역된 모든 XLF 파일이 포함된 폴더를 다시 압축합니다.
디렉터리 정보로 다시 이동합니다.
언어 선택기 오른쪽에 있는 ⋮를 클릭합니다.
번역 가져오기를 클릭하여 보관 파일을 업로드합니다.
타겟 위치
Actions 콘솔을 사용하면
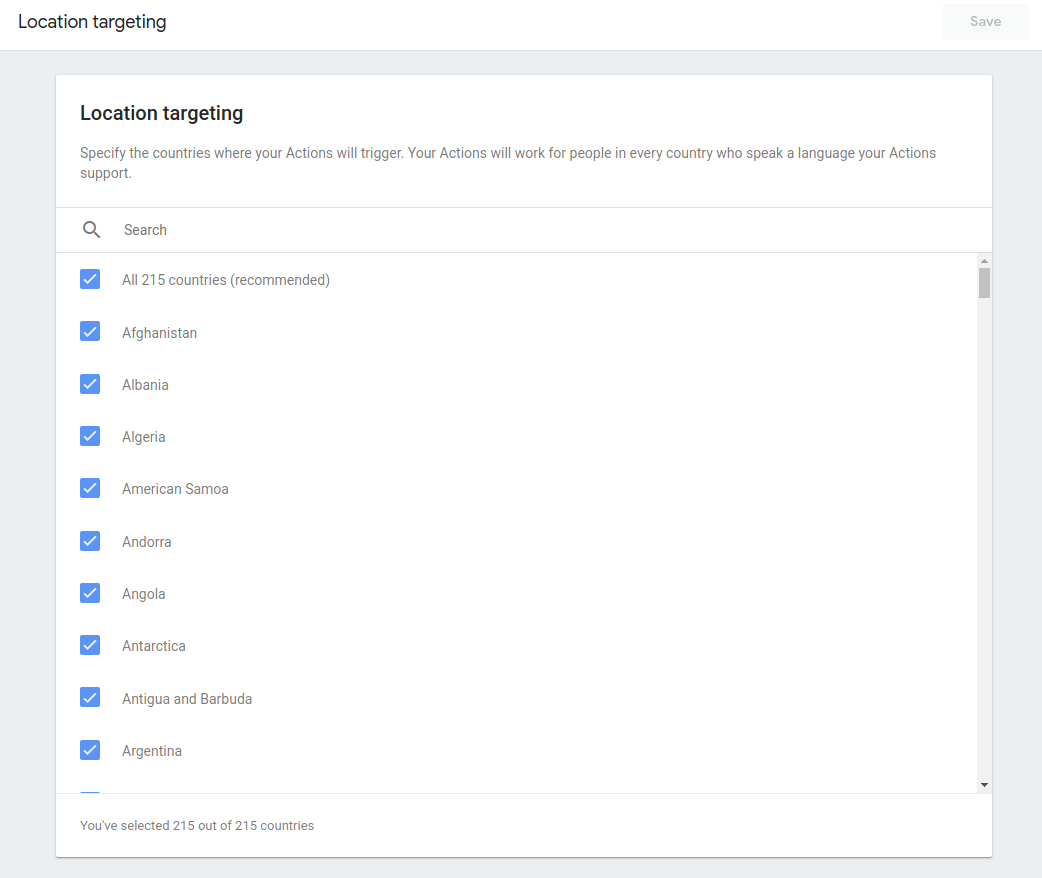
위치 타겟팅 설정: 작업에서 지원하는 지역을 지정합니다.
기기 지역은 언어가 아닌 물리적 위치에 따라 결정됩니다.
지역은 현재 국가 수준으로 설정되어 있습니다.
단, 다음 경우에만 허용하는 액션이 있는 경우 위치 타겟팅을 사용할 수 있음
액션이 사용자에게 물리적으로 의존하는 경우
특정 국가에서 사용해야 합니다.
하지만 가능한 한 많은 지역에서 작업을 사용할 수 있도록 해야 합니다.
예를 들어 사용자에게 미국에 관해 가르치는 작업을 만든다면
모든 지역에서 해당 작업을 사용할 수 있도록 해야
데이터 애널리스트가 사용할 수 있습니다.
[null,null,["최종 업데이트: 2025-07-26(UTC)"],[[["\u003cp\u003eThe Actions console allows you to customize your Action's release settings, including regional availability, localized descriptions, and TTS voices.\u003c/p\u003e\n"],["\u003cp\u003eYou can tailor your Action's directory information for specific languages or locales, providing users with relevant content based on their settings.\u003c/p\u003e\n"],["\u003cp\u003eMetadata for different locales can be exported, translated externally, and then imported back into your project to support multilingual Actions.\u003c/p\u003e\n"],["\u003cp\u003eLocation targeting lets you control the regions where your Action is available, while still aiming for broad accessibility whenever possible.\u003c/p\u003e\n"],["\u003cp\u003eYou can customize the TTS voice used by your Action to match a desired persona or accent, overriding the user's default Assistant language settings.\u003c/p\u003e\n"]]],["The Actions console enables customization of Action release settings for different languages, locales, and regions. You can add language or locale-specific directory information and export/import project metadata for translation via XLF files. Location targeting, based on physical device location, controls regional availability. A default TTS voice based on the user's locale is set but you can override to force a specific voice for your action by unselecting the match user's language setting and choosing the desired voice from a drop-down menu.\n"],null,["# Release localized Actions\n\nThe Actions console lets you customize your Action release settings for\ndifferent languages, locales, and regions. These include which regions in which\nyour Action is available, any localized Action descriptions, and customization\nof TTS voices.\n\nLanguage and locale specific directory information\n--------------------------------------------------\n\nYou can specify different Assistant directory information at the language or\nlocale level:\n\n- **Language granularity**: Your Action's information applies to all locales of that language.\n- **Locale granularity**: Each locale has its own Action information. This information is then displayed in the Assistant directory appropriately, depending on the user's locale.\n\nRead more about [languages and locales](/assistant/console/languages-locales).\n\n### Add details for other languages\n\nIf you've added support for more languages to your Action, you can add metadata\nfor each language in your project:\n\n1. Go to **Deploy \\\u003e Directory information**.\n2. Select a language from the tabs in the upper-left corner of the information\n page.\n\n **Figure 3.** Adding directory information for a language.\n3. Fill out [directory information](/assistant/console/directory-information)\n for the selected language.\n\n4. Click **Save**.\n\n### Export metadata for translation\n\nIf you need to translate your project's metadata for different locales without\ngranting translators access to the console, you can export your project's\nmetadata as resource strings. These strings can then be externally translated\nand imported back into your project.\n\nTo export your project's metadata for translation, follow these steps:\n\n1. Click **Deploy** in the top menu.\n2. Click **Directory information** in the left menu.\n3. Click the **More** *more_vert* icon to the right\n of the language selector and **Export for translation** to download a ZIP file.\n\n **Figure 4.** Exporting directory information.\n4. The ZIP file contains XLF files for each locale. Each file includes a `\u003csource\u003e` and `\u003ctarget\u003e` translation for each field in the description for this Action:\n\n \u003ctrans-unit id=\"tu3\" resname=\"shortDescription\"\u003e\n \u003csource xml:lang=\"en\"\u003eshort description\u003c/source\u003e\n \u003ctarget xml:lang=\"it\"\u003eshort description\u003c/target\u003e\n \u003cnote\u003eThe default short description for the Action (if there is not a translation available). This is limited to 80 characters.\u003c/note\u003e\n \u003c/trans-unit\u003e\n\n5. Replace the `\u003ctarget\u003e` strings with translated strings for the file's locale:\n\n \u003ctrans-unit id=\"tu3\" resname=\"shortDescription\"\u003e\n \u003csource xml:lang=\"en\"\u003eshort description\u003c/source\u003e\n \u003ctarget xml:lang=\"it\"\u003eBreve descrizione\u003c/target\u003e\n \u003cnote\u003eThe default short description for the Action (if there is not a translation available). This is limited to 80 characters.\u003c/note\u003e\n \u003c/trans-unit\u003e\n\n6. Re-zip the folder containing all of the now-translated XLF files.\n\n7. Navigate back to **Directory information**.\n\n8. Click ⋮ to the right of the language selector.\n\n9. Click **Import translations** to upload your archive.\n\nTarget locations\n----------------\n\nThe Actions console lets you control region availability with the\n**Location targeting** setting, which specifies the regions your Action supports.\nA device's region is determined by its physical location and not by its locale.\nRegions are currently set at the country level.\n\nYou might want to use location targeting if you have an Action that only allows\npurchases in certain countries or if your Action relies on the user physically\nbeing in a specific country to use it.\n\nHowever, you should make your Action available to as many regions as possible.\nFor instance, if you create an Action that teaches users about United States\nhistory, you should make the Action available to all regions to get the most\nusage and exposure.\n\nTo set location targeting:\n\n1. Go to the **Overview** section of your project in the [Actions Console](https://console.actions.google.com).\n2. Navigate to **Deploy \\\u003e Location targeting**.\n3. Specify the regions that your Action supports. By default, all regions are supported.\n\n| **Note:** The user's Assistant locale must still be set to a supported locale to use the Action.\n\nCustomize TTS voice\n-------------------\n\nBy default, your Action uses the TTS voice associated with the user's Assistant\nlocale setting. This setting is usually the same as the device's locale setting,\nbut can be different if the user explicitly changes the Assistant's locale\non their device.\n\nIf desired, you can force a specific TTS voice for your Action, regardless of\nthe Assistant locale setting. For example, your Action might have a persona that\nmust have an American or British English accent.\n\nTo set a specific TTS voice for your Action:\n\n1. Go to the [Actions Console](https://console.actions.google.com) and click on your project. The **Overview** page appears.\n2. Navigate to **Setup \\\u003e Decide how your Action is invoked** . Alternatively, navigate to **Develop \\\u003e Invocation \\\u003e Settings**.\n3. On the **Google Assistant voice** field, the default setting of **Match user's language setting** is selected by default.\n4. To override the default setting, deselect the **Match user's language setting** checkbox and choose the desired TTS voice from the drop-down menu.\n\nYou can now follow the steps from [Prepare to release your Action](/assistant/console/publish#publish)\nto submit your Action for review."]]