适用范围:此功能在 Android、iOS、JavaScript 和 Maps Static 中提供。
您可以在用户查看地图时所用的缩放级别下突出显示地图项,提供更符合用户需求的地图体验。例如,您可以在用户放大查看特定位置时,突出显示相关地图注点或道路。
您可以为地图项元素设置样式,使其在地图的所有缩放级别都显示相同的效果;对于某些元素,您可以针对不同的缩放级别创建不同的样式。
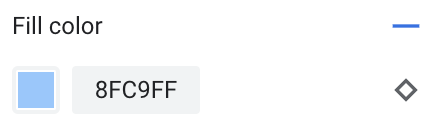
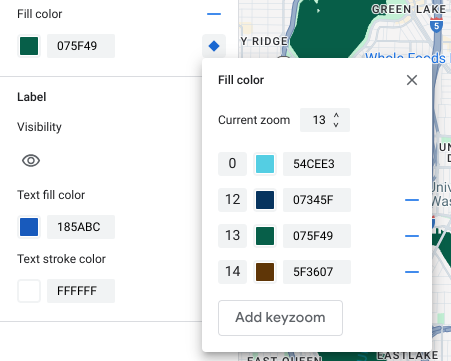
并非所有地图项都支持自定义缩放级别。如果相应地图项元素支持设置缩放级别样式,右侧会显示一个菱形图标。
![]()
了解缩放级别样式
缩放级别的范围为 0 到 22,0 表示缩小到最低级别(显示整个世界),22 表示放大到最高级别(详细显示地图上的一小部分)。Keyzoom 是您希望开始应用新样式的起始缩放级别。
当您为地图项设置不同缩放级别的样式时,相应样式将应用于所有更高的缩放级别(放得更大的级别),直至遇到另一个缩放级别样式。系统总是会为缩放级别 0 添加当前样式。
例如,如果您针对缩放级别 5 和 10 设置样式:
- 缩放级别 5 的样式将应用于缩放级别 5-9。
- 缩放级别 10 的样式将应用于缩放级别 10-22。
- 缩放级别 0-4 则保留当前样式。
如果您为地图项自定义缩放级别样式,该样式会覆盖整个地图项的所有自定义样式。
了解 3D 地图的缩放级别过渡
倾斜 3D 地图并在缩放级别之间过渡时,您可能会看到超出所设置缩放级别样式的过渡颜色。
例如,如果您按如下方式设置缩放级别样式:
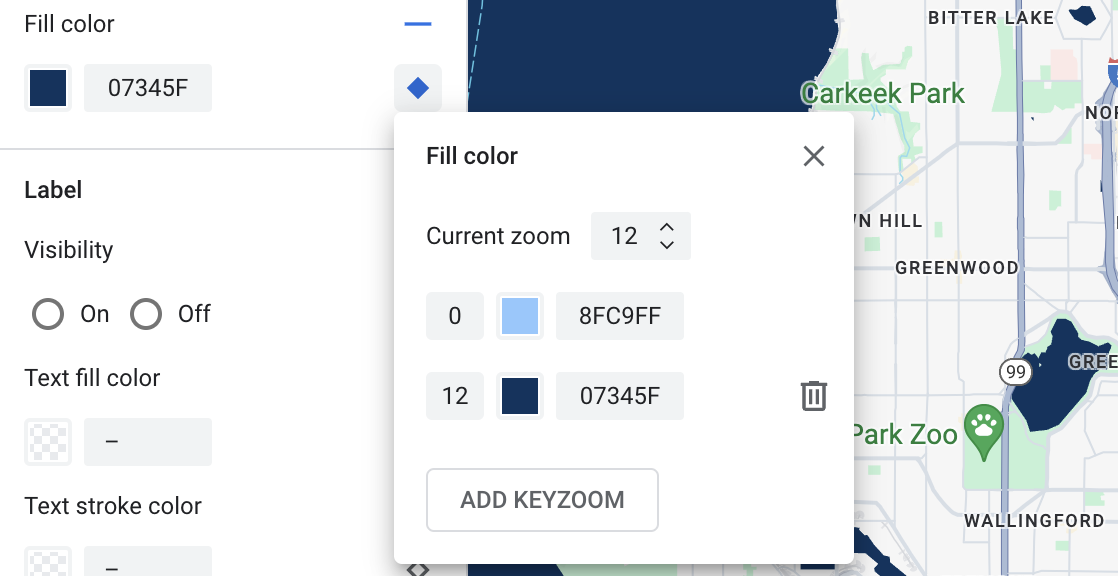
- 对于缩放级别 10,水域填充颜色 = 黑色。
- 对于缩放级别 11,水域填充颜色 = 白色。
在两个缩放级别之间过渡时,水域填充颜色可能会显示为灰色,如下图所示:

自定义不同的缩放级别
在 Cloud 控制台中,前往 地图样式 页面, 然后根据需要选择项目。
创建或打开一个地图样式,然后选择自定义 。 如需了解详情,请参阅创建地图样式。
在地图项 面板中,选择要自定义的地图项。系统会打开样式面板,显示支持自定义的元素。
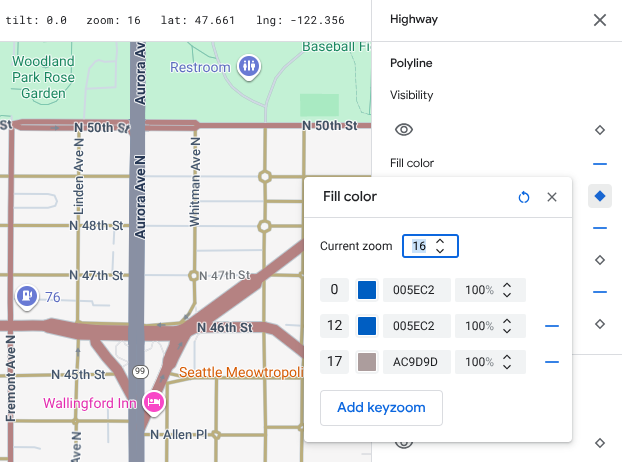
在要添加缩放级别样式的元素旁边,选择右侧的缩放菱形图标,打开 keyzoom 面板。
在当前缩放级别 旁边,选择要 自定义的缩放级别。预览地图即会调整到该缩放级别。
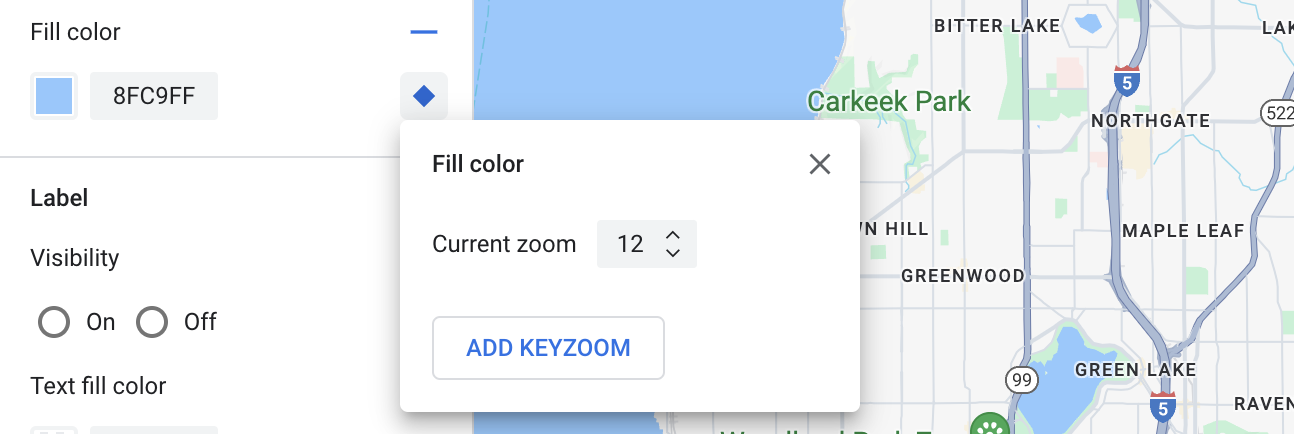
选择添加 Keyzoom ,在所选缩放级别添加新的 keyzoom,并显示相应的默认底图值。

根据需要设置此缩放级别和任何其他缩放级别的样式。
若要设置其他缩放级别的样式,请更改当前缩放级别 ,然后再次选择添加 Keyzoom ,在列表中添加其他缩放级别。继续添加和设置缩放级别样式,直至完成。
完成后,关闭 keyzoom 面板。
覆盖元素的默认底图颜色值
如需覆盖元素在各个缩放级别下的所有默认底图颜色值,请先设置元素的样式。添加 keyzoom 时,keyzoom 会使用您为元素设置的颜色,而不是默认底图颜色。
保存并发布缩放级别样式
若要保存地图样式更改,请选择保存。
若要将更改应用到与地图样式关联的地图 ID,请选择发布。
移除缩放级别样式
在地图项 面板中,选择已自定义的地图项。
在样式元素旁边,选择右侧的菱形图标。 具有自定义缩放级别样式的元素会显示一个蓝色的实心菱形图标。

在 keyzoom 面板中,选择减号图标以删除缩放级别。
移除所有缩放级别样式
如果您要移除地图项元素的所有自定义样式,可以执行以下操作之一:
- 在样式面板中,选择元素名称旁边的减号图标。
- 在 keyzoom 面板 中,选择元素名称旁边的 重置图标。
预览道路级详情
您可以在现有样式中预览缩放级别 17 及以上的增强道路级详情,例如逼真的道路宽度、人行道、车道标线以及部分城市中的其他地图项。您必须为每个样式编辑器会话启用预览。这些道路详情地图项仅在支持道路级详情的 SDK 或 API 上可见。如需在应用中使用这些地图项,您必须将关联的 SDK 或 API 更新到支持道路级详情的版本。如需详细了解 API 和 SDK 版本,请参阅 Google Maps Platform 的道路 级详情。
如需启用道路详情预览,请执行以下操作:
在 Google Cloud 控制台中,前往地图样式 页面。
选择现有样式,或选择创建样式 。
点击自定义 。
在样式编辑器中,点击道路详情预览 。
在预览对话框中,将道路详情 切换为“开启”状态。
如需详细了解可以设置哪些道路级详情的样式,请参阅可以在地图上设置哪些元素的样式。
添加缩放级别样式,以柔化缩放级别 17 及以上的样式过渡
在缩放级别 17 及以上且启用了道路级详情的情况下,道路地图项会消失,并改为显示 Surface 地图项。放大时,适用于 Surface 地图项的任何已设置样式的元素都会显示出来,并替换道路地图项和样式。
如需让地图项样式之间的过渡更平滑,您可以添加缩放级别样式,以锁定特定缩放级别之间的样式颜色。您还可以使用缩放级别样式来控制何时平滑过渡到新的样式颜色。
例如,在缩放级别 16,列出的地图项的样式如下所示:
- 主干道为红色。
- 高速公路为蓝色。
- 局部道路为黄色。
- Surface 为米黄色。
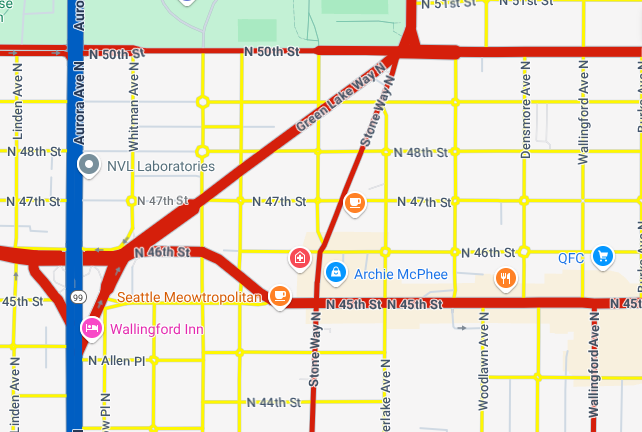
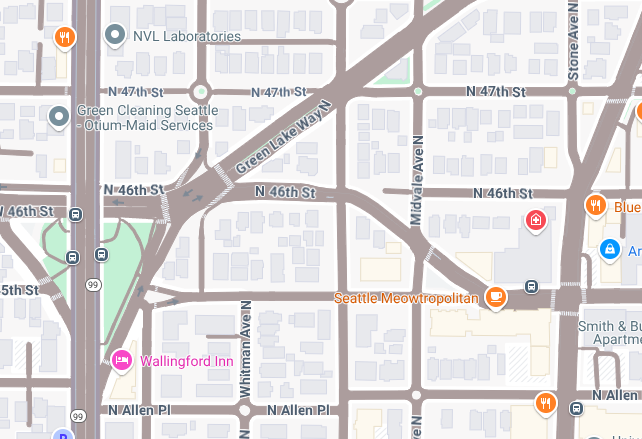
当您放大到缩放级别 17 时,主干道、高速公路和局部道路会更改为 Surface 地图项,其样式为米黄色。
如需在道路地图项和 Surface 地图项之间创建更平滑的过渡,请添加以下 keyzoom 和缩放级别样式:
| 地图项 | 缩放级别 0 | 缩放级别 12 | 缩放级别 17 |
|---|---|---|---|
| 主干道 | 红色 | 红色 | 米黄色 |
| 高速公路 | 蓝色 | 蓝色 | 米黄色 |
| 局部道路 | 黄色 | 黄色 | 米黄色 |
添加缩放级别样式后,当您放大时,会发生以下情况:
- 主干道、高速公路和局部道路会显示缩放级别 0 到 12 的自定义样式颜色。
- 在缩放级别 12 之后,样式颜色开始逐渐淡化为米黄色,直到在缩放级别 17 完全过渡为 Surface 地图项样式的米黄色。