Zadbaj o dobrą organizację dzięki kolekcji
Zapisuj i kategoryzuj treści zgodnie ze swoimi preferencjami.
Dodawanie mapy ze znacznikiem
W tym samouczku pokazujemy, jak dodać do aplikacji na iOS mapę Google ze znacznikiem. Jest on przeznaczony dla osób, które mają podstawową lub średnio zaawansowaną wiedzę o językach Swift i Objective-C oraz ogólną wiedzę o Xcode. Zaawansowany przewodnik po tworzeniu map znajdziesz w przewodniku dla programistów.
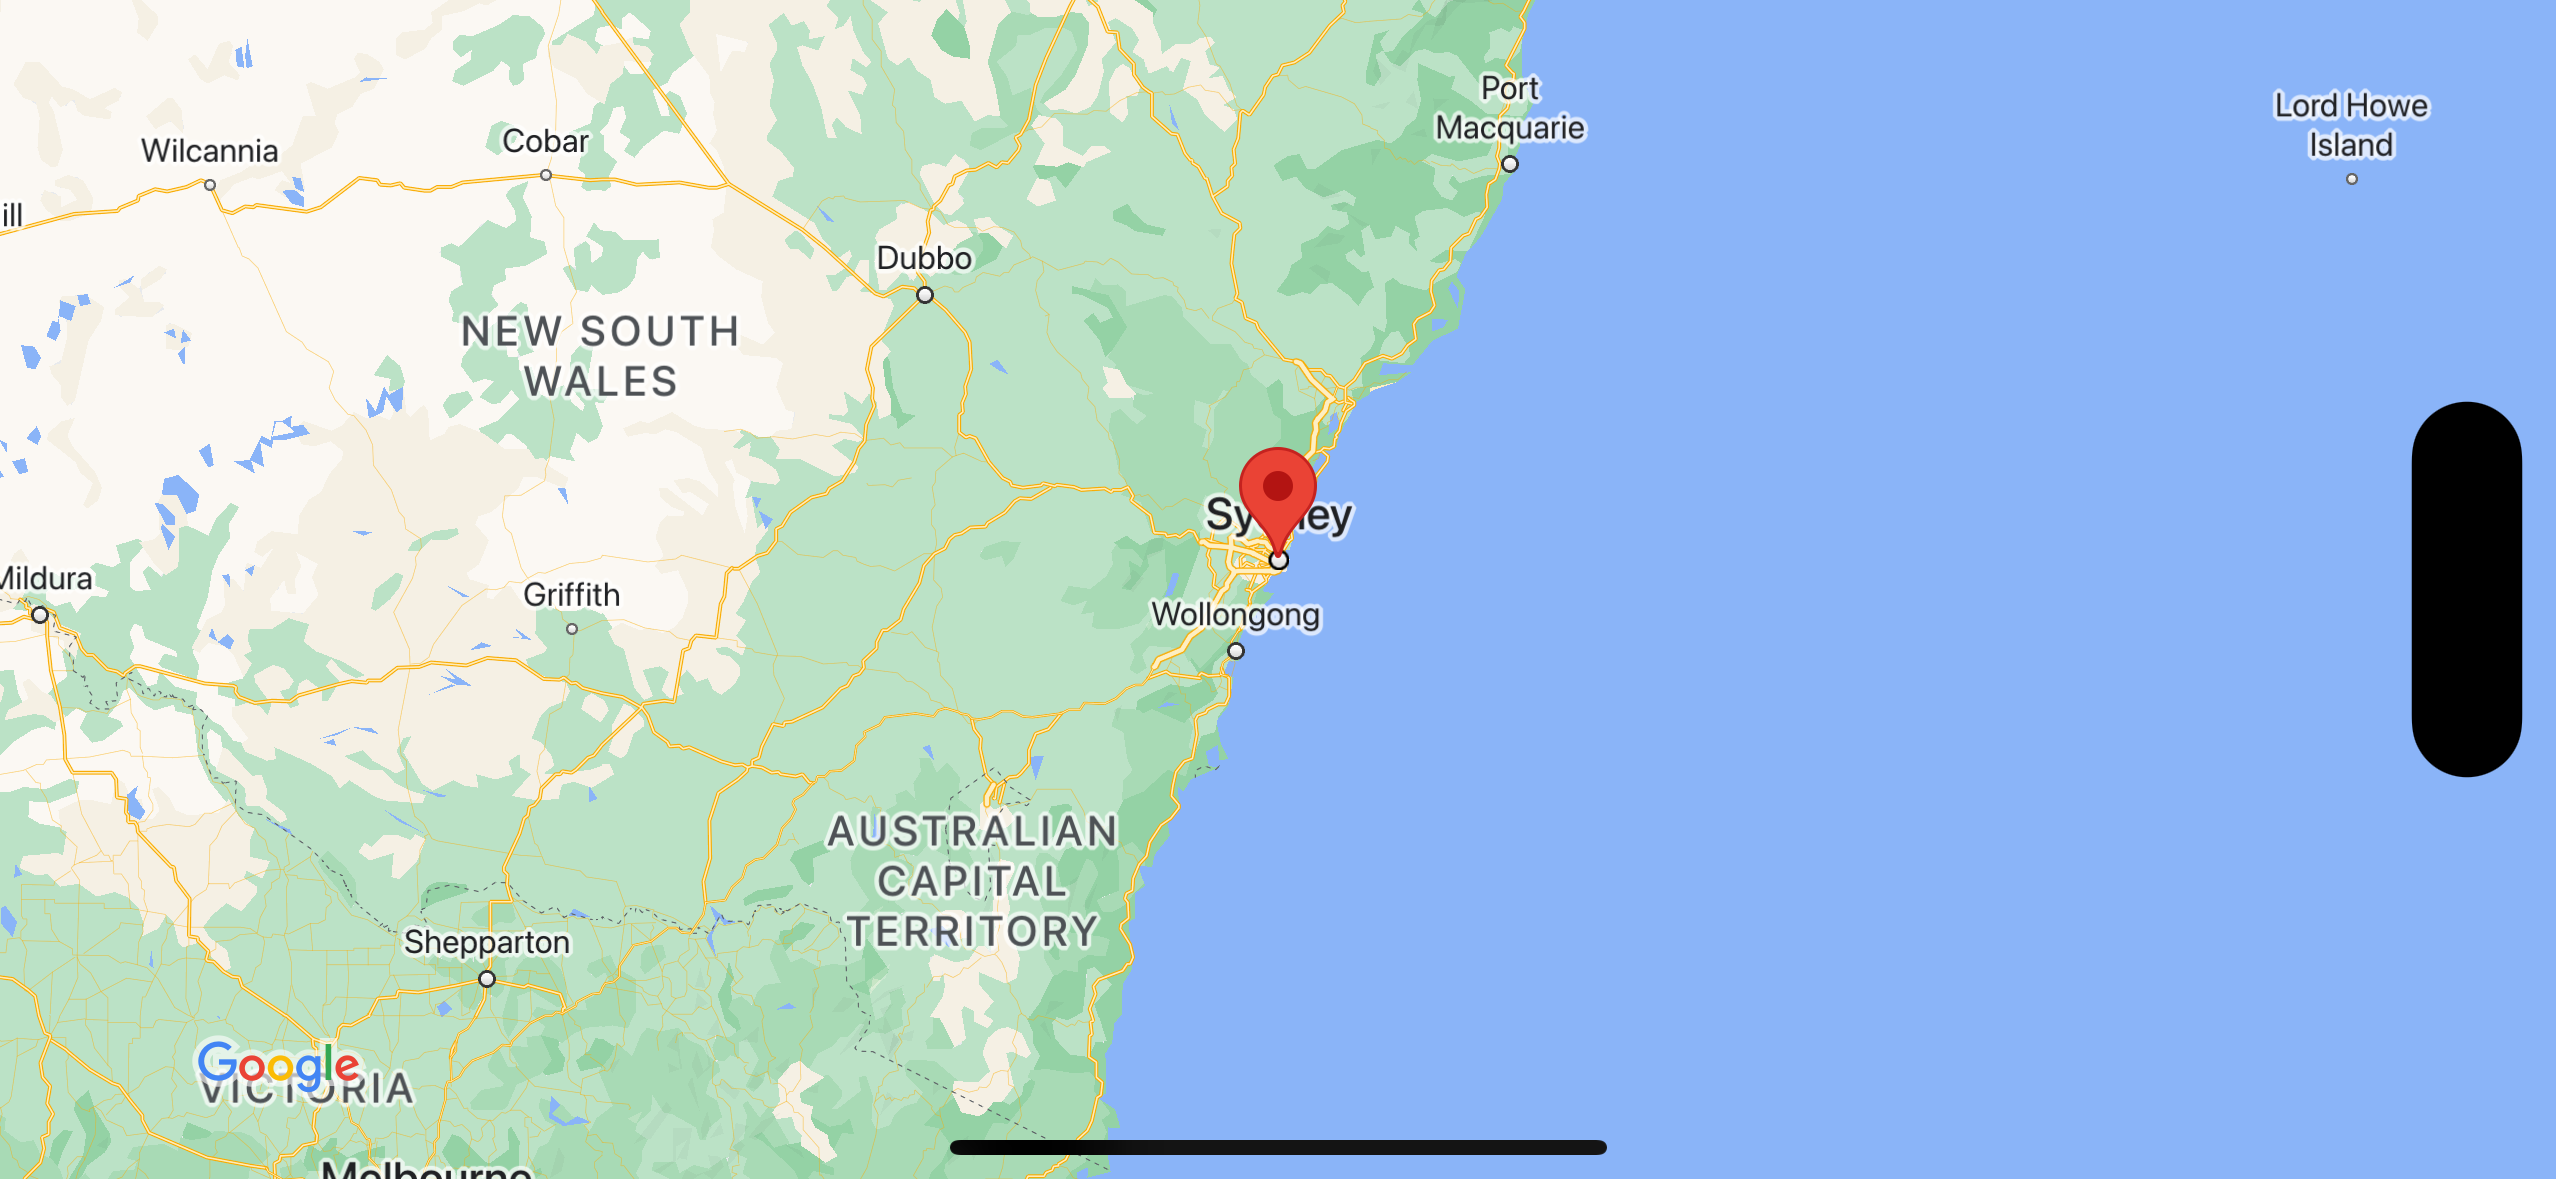
W tym samouczku utworzysz mapę, która będzie wyglądać tak: Znacznik jest umieszczony w Sydney w Australii.
importUIKitimportGoogleMapsclassViewController:UIViewController{overridefuncviewDidLoad(){super.viewDidLoad()// Do any additional setup after loading the view.// Create a GMSCameraPosition that tells the map to display the// coordinate -33.86,151.20 at zoom level 6.letcamera=GMSCameraPosition.camera(withLatitude:-33.86,longitude:151.20,zoom:6.0)letmapView=GMSMapView.map(withFrame:self.view.frame,camera:camera)self.view.addSubview(mapView)// Creates a marker in the center of the map.letmarker=GMSMarker()marker.position=CLLocationCoordinate2D(latitude:-33.86,longitude:151.20)marker.title="Sydney"marker.snippet="Australia"marker.map=mapView}}
Objective-C
#import "ViewController.h"#import <GoogleMaps/GoogleMaps.h>@interfaceViewController()@end@implementationViewController-(void)viewDidLoad{[superviewDidLoad];// Do any additional setup after loading the view.// Create a GMSCameraPosition that tells the map to display the// coordinate -33.86,151.20 at zoom level 6.GMSCameraPosition*camera=[GMSCameraPositioncameraWithLatitude:-33.86longitude:151.20zoom:6];GMSMapView*mapView=[GMSMapViewmapWithFrame:self.view.framecamera:camera];mapView.myLocationEnabled=YES;[self.viewaddSubview:mapView];// Creates a marker in the center of the map.GMSMarker*marker=[[GMSMarkeralloc]init];marker.position=CLLocationCoordinate2DMake(-33.86,151.20);marker.title=@"Sydney";marker.snippet=@"Australia";marker.map=mapView;}@end
Może być konieczne zresetowanie pamięci podręcznej pakietów. Aby to zrobić, wybierz Plik > Pakiety > Zresetuj pamięć podręczną pakietów.
Korzystanie z CocoaPods
Pobierz i zainstaluj Xcode w wersji 16.0 lub nowszej.
Jeśli nie masz jeszcze CocoaPods, zainstaluj go w systemie macOS, uruchamiając w terminalu to polecenie:
sudo gem install cocoapods
Przejdź do katalogu tutorials/map-with-marker.
Uruchom polecenie pod install. Spowoduje to zainstalowanie Maps SDK określonego w Podfile wraz z wszelkimi zależnościami.
Uruchom polecenie pod outdated, aby porównać zainstalowaną wersję poda z nowymi aktualizacjami. Jeśli wykryta zostanie nowa wersja, uruchom polecenie pod update, aby zaktualizować Podfile i zainstalować najnowszy pakiet SDK. Więcej informacji znajdziesz w przewodniku po CocoaPods.
Otwórz (kliknij dwukrotnie) plik projektu map-with-marker.xcworkspace, aby otworzyć go w Xcode. Aby otworzyć projekt, musisz użyć pliku .xcworkspace.
Uzyskiwanie klucza interfejsu API i włączanie niezbędnych interfejsów API
Aby wykonać zadania z tego samouczka, musisz mieć klucz interfejsu API Google, który jest autoryzowany do korzystania z pakietu SDK Map Google na iOS. Aby uzyskać klucz i aktywować interfejs API, kliknij ten przycisk.
Dodaj klucz interfejsu API do AppDelegate.swift w ten sposób:
Zwróć uwagę, że do pliku dodano tę instrukcję importu:
importGoogleMaps
Edytuj w metodzie application(_:didFinishLaunchingWithOptions:)
ten wiersz, zastępując YOUR_API_KEY kluczem interfejsu API:
GMSServices.provideAPIKey("YOUR_API_KEY")
Tworzenie i uruchamianie aplikacji
Podłącz urządzenie z iOS do komputera lub wybierz symulator z menu schematu Xcode.
Jeśli używasz urządzenia, upewnij się, że usługi lokalizacyjne są włączone.
Jeśli używasz symulatora, wybierz lokalizację z menu Funkcje.
W menu Xcode kliknij Product/Run (Usługa/Uruchom) lub ikonę przycisku odtwarzania.
Xcode skompiluje aplikację, a następnie uruchomi ją na urządzeniu lub w symulatorze.
Powinna pojawić się mapa ze znacznikiem wyśrodkowanym na Sydney na wschodnim wybrzeżu Australii, podobna do obrazu na tej stronie.
Rozwiązywanie problemów:
Jeśli nie widzisz mapy, sprawdź, czy masz klucz API i czy został on dodany do aplikacji w sposób opisany wcześniej. Sprawdź w konsoli debugowania Xcode komunikaty o błędach dotyczące klucza interfejsu API.
Jeśli klucz interfejsu API jest ograniczony przez identyfikator pakietu iOS, edytuj klucz, aby dodać identyfikator pakietu aplikacji:com.google.examples.map-with-marker.
Upewnij się, że masz dobre połączenie Wi-Fi lub GPS.
Utworzenie mapy i ustawienie jej jako widoku w viewDidLoad().
Swift
// Create a GMSCameraPosition that tells the map to display the// coordinate -33.86,151.20 at zoom level 6.letcamera=GMSCameraPosition.camera(withLatitude:-33.86,longitude:151.20,zoom:6.0)letmapView=GMSMapView.map(withFrame:CGRect.zero,camera:camera)view=mapView
Objective-C
// Create a GMSCameraPosition that tells the map to display the// coordinate -33.86,151.20 at zoom level 6.GMSCameraPosition*camera=[GMSCameraPositioncameraWithLatitude:-33.86longitude:151.20zoom:6.0];GMSMapView*mapView=[[GMSMapViewalloc]initWithFrame:CGRectZerocamera:camera];self.view=mapView;
Dodanie znacznika do mapy w viewDidLoad().
Swift
// Creates a marker in the center of the map.letmarker=GMSMarker()marker.position=CLLocationCoordinate2D(latitude:-33.86,longitude:151.20)marker.title="Sydney"marker.snippet="Australia"marker.map=mapView
Objective-C
// Creates a marker in the center of the map.GMSMarker*marker=[[GMSMarkeralloc]init];marker.position=CLLocationCoordinate2DMake(-33.86,151.20);marker.title=@"Sydney";marker.snippet=@"Australia";marker.map=mapView;
Domyślnie pakiet Maps SDK na iOS wyświetla zawartość okna informacyjnego, gdy użytkownik kliknie znacznik. Jeśli chcesz używać domyślnego działania, nie musisz dodawać odbiornika kliknięć do znacznika.
Gratulacje! Masz aplikację na iOS, która wyświetla mapę Google ze znacznikiem wskazującym konkretną lokalizację. Dowiedzieliśmy się też, jak używać
pakietu Maps SDK na iOS.
[null,null,["Ostatnia aktualizacja: 2025-08-31 UTC."],[[["\u003cp\u003eThis tutorial provides a step-by-step guide for adding a Google map with a marker to your iOS app, targeting beginners and intermediate Swift/Objective-C developers.\u003c/p\u003e\n"],["\u003cp\u003eThe tutorial covers installation using Swift Package Manager or CocoaPods, obtaining and implementing an API key, and building/running the app.\u003c/p\u003e\n"],["\u003cp\u003eCode examples in Swift and Objective-C demonstrate creating a map view, setting camera position, and adding a marker with title and snippet.\u003c/p\u003e\n"],["\u003cp\u003eTroubleshooting tips address common issues like missing maps, API key errors, and connectivity problems.\u003c/p\u003e\n"],["\u003cp\u003eUsers are encouraged to further explore the map object and marker functionalities within the Maps SDK for iOS.\u003c/p\u003e\n"]]],["This tutorial guides you to add a Google map with a marker to an iOS app. First, you'll download the sample code, then install the Maps SDK using Swift Package Manager or CocoaPods. Next, you'll acquire a Google API key and add it to your `AppDelegate.swift`. You'll then build and run the app on a device or simulator. The code creates a map centered on coordinates -33.86, 151.20 (Sydney) at zoom level 6, and adds a marker at that location with \"Sydney\" as the title and \"Australia\" as the snippet.\n"],null,["Add a Map with a Marker \n\nThis tutorial shows how to add a Google map with a marker to your iOS\napp. It suits people with a beginner or intermediate knowledge of Swift or\nObjective-C along with general knowledge of Xcode. For an advanced guide to\ncreating maps, read the developers' guide.\n\nYou'll create the following map using this tutorial. The marker is positioned at\nSydney, Australia.\n\nGet the code\n\nClone or download the\n[Google Maps iOS samples repository](https://github.com/googlemaps-samples/maps-sdk-for-ios-samples) on GitHub.\n\nAlternatively, click the following button to download the source code:\n\n[Give me the code](https://github.com/googlemaps-samples/maps-sdk-for-ios-samples/archive/main.zip)\n\n\nSwift \n\n```swift\nimport UIKit\nimport GoogleMaps\n\nclass ViewController: UIViewController {\n\n override func viewDidLoad() {\n super.viewDidLoad()\n // Do any additional setup after loading the view.\n // Create a GMSCameraPosition that tells the map to display the\n // coordinate -33.86,151.20 at zoom level 6.\n let camera = GMSCameraPosition.camera(withLatitude: -33.86, longitude: 151.20, zoom: 6.0)\n let mapView = GMSMapView.map(withFrame: self.view.frame, camera: camera)\n self.view.addSubview(mapView)\n\n // Creates a marker in the center of the map.\n let marker = GMSMarker()\n marker.position = CLLocationCoordinate2D(latitude: -33.86, longitude: 151.20)\n marker.title = \"Sydney\"\n marker.snippet = \"Australia\"\n marker.map = mapView\n }\n}\n \n```\n\nObjective-C \n\n```objective-c\n#import \"ViewController.h\"\n#import \u003cGoogleMaps/GoogleMaps.h\u003e\n\n@interface ViewController ()\n\n@end\n\n@implementation ViewController\n\n- (void)viewDidLoad {\n [super viewDidLoad];\n // Do any additional setup after loading the view.\n // Create a GMSCameraPosition that tells the map to display the\n // coordinate -33.86,151.20 at zoom level 6.\n GMSCameraPosition *camera = [GMSCameraPosition cameraWithLatitude:-33.86\n longitude:151.20\n zoom:6];\n GMSMapView *mapView = [GMSMapView mapWithFrame:self.view.frame camera:camera];\n mapView.myLocationEnabled = YES;\n [self.view addSubview:mapView];\n\n // Creates a marker in the center of the map.\n GMSMarker *marker = [[GMSMarker alloc] init];\n marker.position = CLLocationCoordinate2DMake(-33.86, 151.20);\n marker.title = @\"Sydney\";\n marker.snippet = @\"Australia\";\n marker.map = mapView;\n}\n\n@end\n \n```\n\n\u003cbr /\u003e\n\nGet started \n\nSwift Package Manager\n\nThe Maps SDK for iOS can be installed using [Swift Package Manager](https://developer.apple.com/documentation/xcode/swift-packages).\n\n1. Remove any existing Maps SDK for iOS dependencies.\n2. Open a terminal window and navigate to the `tutorials/map-with-marker` directory.\n3. Close your Xcode workspace and run the following commands: \n\n ```swift\n sudo gem install cocoapods-deintegrate cocoapods-clean\n pod deintegrate\n pod cache clean --all\n rm Podfile\n rm map-with-marker.xcworkspace\n ```\n4. Open your Xcode project and delete the podfile.\n5. Go to **File \\\u003e Add Package Dependencies**.\n6. Enter \u003chttps://github.com/googlemaps/ios-maps-sdk\u003e as the URL, press **Enter** to pull in the package, and click **Add Package**.\n7. You may need to reset your package cache using **File \\\u003e Packages \\\u003e Reset Package Cache**.\n\nUse CocoaPods\n\n1. Download and install [Xcode](https://developer.apple.com/xcode/) **version 16.0** or later.\n2. If you don't already have [CocoaPods](https://guides.cocoapods.org/using/getting-started.html), install it on macOS by running the following command from the terminal: \n\n ```text\n sudo gem install cocoapods\n ```\n3. Navigate to the `tutorials/map-with-marker` directory.\n4. Run the `pod install` command. This will install the [Maps SDK](https://developers.google.com/maps/documentation/ios-sdk) specified in the `Podfile`, along with any dependencies.\n5. Run `pod outdated` to compare the installed pod version with any new updates. If a new version is detected, run `pod update` to update the `Podfile` and install the latest SDK. For more details, see the [CocoaPods Guide](https://guides.cocoapods.org/using/pod-install-vs-update.html).\n6. Open (double-click) the project's **map-with-marker.xcworkspace** file to open it in Xcode. You must use the `.xcworkspace` file to open the project.\n\nGet an API key and enable the necessary APIs\n\nTo complete this tutorial, you need a Google API key that's authorized to\nuse the Maps SDK for iOS. Click the following button to get\na key and activate the API.\n[Get Started](https://cloud.google.com/maps-platform/#get-started)\n\nFor more details, see\n[Get an API key](/maps/documentation/ios-sdk/get-api-key).\n\nAdd the API key to your application\n\nAdd your API key to your `AppDelegate.swift` as follows:\n\n1. Note that following import statement has been added to the file: \n\n ```python\n import GoogleMaps\n ```\n2. Edit the following line in your `application(_:didFinishLaunchingWithOptions:)` method, replacing *YOUR_API_KEY* with your API key: \n\n ```scdoc\n GMSServices.provideAPIKey(\"YOUR_API_KEY\")\n ```\n\n| **Note:** The [sample code](https://github.com/googlemaps-samples/maps-sdk-for-ios-samples) for the completed tutorial is configured to run as a Swift Xcode project but includes Swift and Objective-C examples.\n\nBuild and run your app\n\n1. Connect an iOS device to your computer, or select a [simulator](https://developer.apple.com/library/content/documentation/IDEs/Conceptual/iOS_Simulator_Guide/Introduction/Introduction.html) from the Xcode scheme menu.\n2. If you're using a device, make sure that location services are enabled. If you're using a simulator, select a location from the **Features** menu.\n3. In Xcode, click the **Product/Run** menu option (or the play button icon).\n - Xcode builds the app, and then runs the app on the device or on the simulator.\n - You should see a map with a marker centered on Sydney on the east coast of Australia, similar to the image on this page.\n\nTroubleshooting:\n\n- If you don't see a map, check that you've obtained an API key and added it to the app, [as described previously](#add_api_key). Check Xcode's debugging console for error messages about the API key.\n- If you have restricted the API key by the iOS bundle identifier, edit the key to add the bundle identifier for the app: `com.google.examples.map-with-marker`.\n- Make sure that you have a good Wifi or GPS connection.\n- Use the [Xcode debugging tools](https://developer.apple.com/library/content/documentation/DeveloperTools/Conceptual/debugging_with_xcode/chapters/debugging_tools.html) to view logs and debug the app.\n\nUnderstand the code\n\n1. Create a map and set it as the view in `viewDidLoad()`. \n\n Swift \n\n ```swift\n // Create a GMSCameraPosition that tells the map to display the\n // coordinate -33.86,151.20 at zoom level 6.\n let camera = GMSCameraPosition.camera(withLatitude: -33.86, longitude: 151.20, zoom: 6.0)\n let mapView = GMSMapView.map(withFrame: CGRect.zero, camera: camera)\n view = mapView\n \n ```\n\n Objective-C \n\n ```objective-c\n // Create a GMSCameraPosition that tells the map to display the\n // coordinate -33.86,151.20 at zoom level 6.\n GMSCameraPosition *camera = [GMSCameraPosition cameraWithLatitude:-33.86\n longitude:151.20\n zoom:6.0];\n GMSMapView *mapView = [[GMSMapView alloc] initWithFrame: CGRectZero camera:camera];\n self.view = mapView;\n \n ```\n2. Add a marker to the map in `viewDidLoad()`. \n\n Swift \n\n ```swift\n // Creates a marker in the center of the map.\n let marker = GMSMarker()\n marker.position = CLLocationCoordinate2D(latitude: -33.86, longitude: 151.20)\n marker.title = \"Sydney\"\n marker.snippet = \"Australia\"\n marker.map = mapView\n \n ```\n\n Objective-C \n\n ```objective-c\n // Creates a marker in the center of the map.\n GMSMarker *marker = [[GMSMarker alloc] init];\n marker.position = CLLocationCoordinate2DMake(-33.86, 151.20);\n marker.title = @\"Sydney\";\n marker.snippet = @\"Australia\";\n marker.map = mapView;\n \n ```\n\nBy default, the Maps SDK for iOS displays the content of the info\nwindow when the user taps a marker. There's no need to add a click listener for\nthe marker if you're happy to use the default behavior.\n\n**Congratulations!** You've built an iOS app that displays a Google map with a\nmarker to indicate a particular location. You've also learned how to use the [Maps SDK for iOS](/maps/documentation/ios-sdk).\n\nNext steps\n\nLearn more about the [map object](/maps/documentation/ios-sdk/map), and what you\ncan do with [markers](/maps/documentation/ios-sdk/marker)."]]