Mantenha tudo organizado com as coleções
Salve e categorize o conteúdo com base nas suas preferências.
Adicionar um mapa com um marcador
Este tutorial mostra como adicionar um mapa do Google com um marcador ao seu app iOS. Ele é adequado para pessoas com conhecimento básico ou intermediário de Swift ou Objective-C, além de conhecimento geral do Xcode. Se quiser consultar um guia avançado sobre a criação de mapas, leia o guia para desenvolvedores.
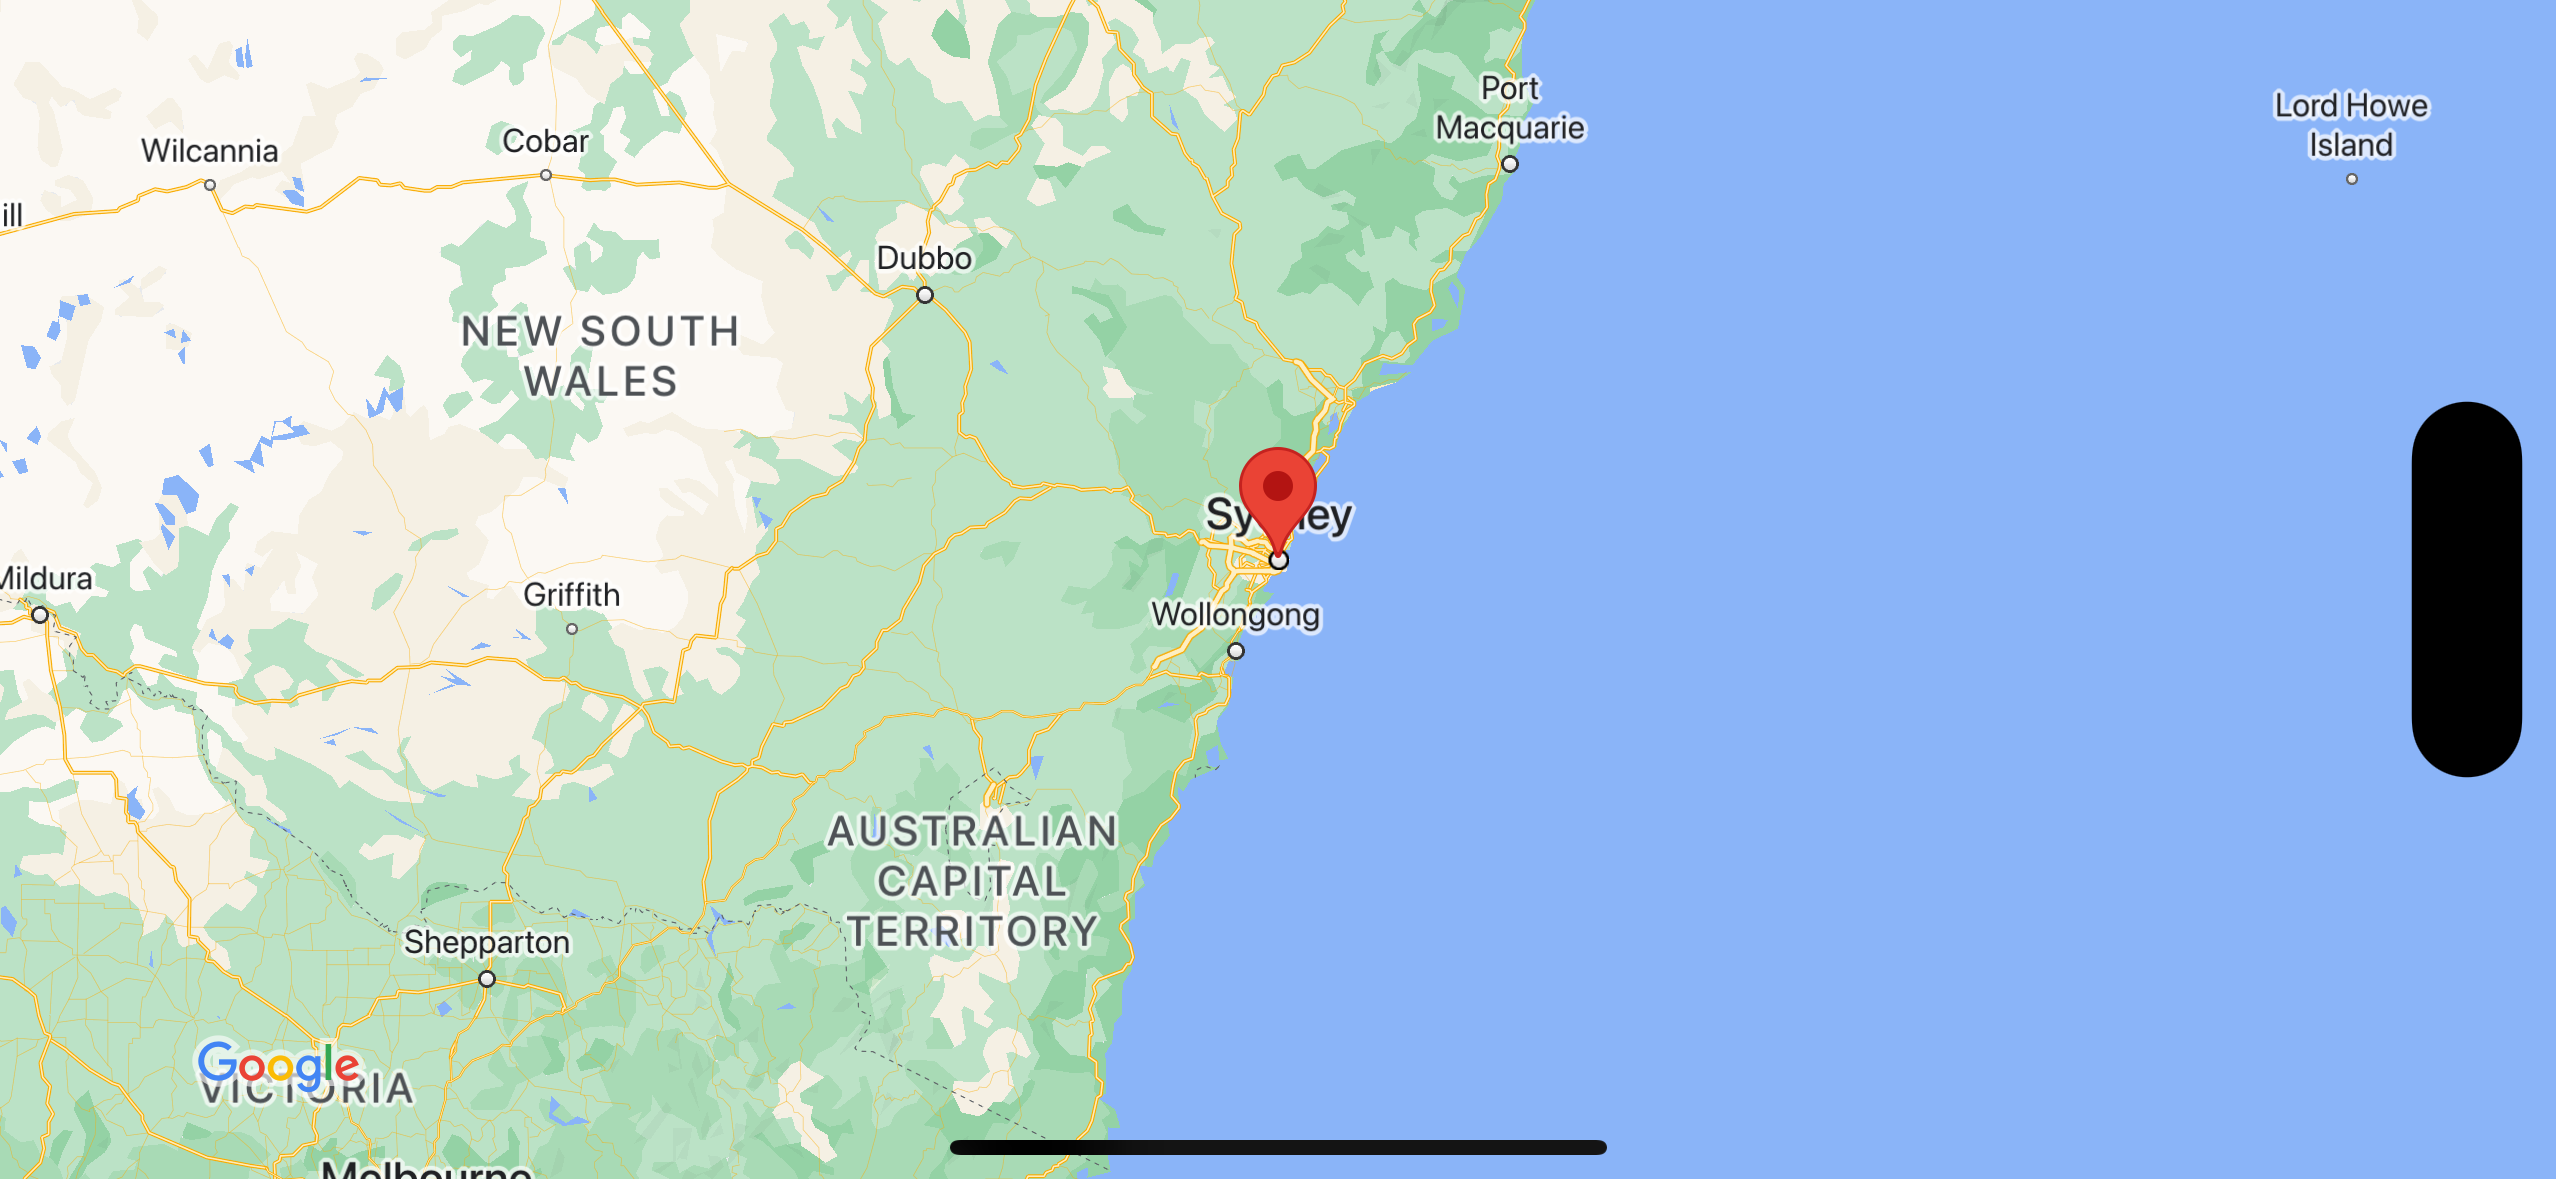
Ao longo deste tutorial, você vai criar o mapa abaixo. O marcador está posicionado em Sydney, Austrália.
importUIKitimportGoogleMapsclassViewController:UIViewController{overridefuncviewDidLoad(){super.viewDidLoad()// Do any additional setup after loading the view.// Create a GMSCameraPosition that tells the map to display the// coordinate -33.86,151.20 at zoom level 6.letcamera=GMSCameraPosition.camera(withLatitude:-33.86,longitude:151.20,zoom:6.0)letmapView=GMSMapView.map(withFrame:self.view.frame,camera:camera)self.view.addSubview(mapView)// Creates a marker in the center of the map.letmarker=GMSMarker()marker.position=CLLocationCoordinate2D(latitude:-33.86,longitude:151.20)marker.title="Sydney"marker.snippet="Australia"marker.map=mapView}}
Objective-C
#import "ViewController.h"#import <GoogleMaps/GoogleMaps.h>@interfaceViewController()@end@implementationViewController-(void)viewDidLoad{[superviewDidLoad];// Do any additional setup after loading the view.// Create a GMSCameraPosition that tells the map to display the// coordinate -33.86,151.20 at zoom level 6.GMSCameraPosition*camera=[GMSCameraPositioncameraWithLatitude:-33.86longitude:151.20zoom:6];GMSMapView*mapView=[GMSMapViewmapWithFrame:self.view.framecamera:camera];mapView.myLocationEnabled=YES;[self.viewaddSubview:mapView];// Creates a marker in the center of the map.GMSMarker*marker=[[GMSMarkeralloc]init];marker.position=CLLocationCoordinate2DMake(-33.86,151.20);marker.title=@"Sydney";marker.snippet=@"Australia";marker.map=mapView;}@end
Talvez seja necessário redefinir o cache de pacotes usando Arquivo > Pacotes > Redefinir cache de pacotes.
Usar o CocoaPods
Baixe e instale o Xcodeversão 16.0 ou mais recente.
Se você ainda não tiver o CocoaPods,
instale-o no macOS executando o seguinte comando no terminal:
sudo gem install cocoapods
Navegue até o diretório tutorials/map-with-marker.
Execute o comando pod install. Isso vai instalar o SDK do Maps especificado no Podfile, além de todas as dependências.
Execute pod outdated para comparar a versão do pod instalada com novas atualizações. Se uma nova versão for detectada, execute pod update para atualizar o Podfile e instalar o SDK mais recente. Para mais detalhes, consulte o guia do CocoaPods (em inglês).
Clique duas vezes no arquivo map-with-marker.xcworkspace do projeto para abri-lo no Xcode. É preciso usar o arquivo .xcworkspace para abrir o projeto.
Gerar uma chave de API e ativar as APIs necessárias
Para concluir este tutorial, você precisa de uma chave de API do Google que possa usar o SDK do Maps para iOS. Clique no botão abaixo para receber uma chave e ativar a API.
Inclua sua chave de API ao AppDelegate.swift da seguinte maneira:
Verifique se a seguinte instrução de importação foi adicionada ao arquivo:
importGoogleMaps
Edite a seguinte linha no método application(_:didFinishLaunchingWithOptions:), substituindo YOUR_API_KEY pela chave de API:
GMSServices.provideAPIKey("YOUR_API_KEY")
Criar e executar o app
Conecte um dispositivo iOS ao computador ou selecione um simulador no menu de esquema do Xcode.
Se você estiver usando um dispositivo, verifique se os Serviços de localização estão ativados.
Se você estiver usando um simulador, selecione um local no menu Recursos.
No Xcode, clique na opção de menu Produto/Executar ou no ícone do botão de reprodução.
O Xcode cria o app e o executa no dispositivo ou no simulador.
Será mostrado um mapa com um marcador centralizado em Sydney, na costa leste da Austrália, semelhante à imagem desta página.
Solução de problemas:
Se o mapa não aparecer, confirme se você recebeu uma chave de API e a incluiu no app, como descrito anteriormente. Verifique se há mensagens de erro sobre a chave de API no console de depuração do Xcode.
Se você restringiu a chave de API pelo identificador do pacote iOS, edite a
chave para adicionar o identificador do pacote no app:
com.google.examples.map-with-marker.
Verifique se você tem uma boa conexão Wi-Fi ou GPS.
Crie um mapa e defina esse elemento como a visualização em viewDidLoad().
Swift
// Create a GMSCameraPosition that tells the map to display the// coordinate -33.86,151.20 at zoom level 6.letcamera=GMSCameraPosition.camera(withLatitude:-33.86,longitude:151.20,zoom:6.0)letmapView=GMSMapView.map(withFrame:CGRect.zero,camera:camera)view=mapView
Objective-C
// Create a GMSCameraPosition that tells the map to display the// coordinate -33.86,151.20 at zoom level 6.GMSCameraPosition*camera=[GMSCameraPositioncameraWithLatitude:-33.86longitude:151.20zoom:6.0];GMSMapView*mapView=[[GMSMapViewalloc]initWithFrame:CGRectZerocamera:camera];self.view=mapView;
Adicione um marcador ao mapa em viewDidLoad().
Swift
// Creates a marker in the center of the map.letmarker=GMSMarker()marker.position=CLLocationCoordinate2D(latitude:-33.86,longitude:151.20)marker.title="Sydney"marker.snippet="Australia"marker.map=mapView
Objective-C
// Creates a marker in the center of the map.GMSMarker*marker=[[GMSMarkeralloc]init];marker.position=CLLocationCoordinate2DMake(-33.86,151.20);marker.title=@"Sydney";marker.snippet=@"Australia";marker.map=mapView;
Por padrão, o SDK do Maps para iOS mostra o conteúdo da janela de informações quando o usuário toca em um marcador. Não é preciso adicionar um listener de clique para o marcador se o comportamento padrão atende às suas expectativas.
Parabéns! Você criou um app iOS que mostra um mapa do Google com um marcador indicando um local específico. Além disso, você aprendeu a usar o
SDK do Maps para iOS.
[null,null,["Última atualização 2025-08-31 UTC."],[[["\u003cp\u003eThis tutorial provides a step-by-step guide for adding a Google map with a marker to your iOS app, targeting beginners and intermediate Swift/Objective-C developers.\u003c/p\u003e\n"],["\u003cp\u003eThe tutorial covers installation using Swift Package Manager or CocoaPods, obtaining and implementing an API key, and building/running the app.\u003c/p\u003e\n"],["\u003cp\u003eCode examples in Swift and Objective-C demonstrate creating a map view, setting camera position, and adding a marker with title and snippet.\u003c/p\u003e\n"],["\u003cp\u003eTroubleshooting tips address common issues like missing maps, API key errors, and connectivity problems.\u003c/p\u003e\n"],["\u003cp\u003eUsers are encouraged to further explore the map object and marker functionalities within the Maps SDK for iOS.\u003c/p\u003e\n"]]],["This tutorial guides you to add a Google map with a marker to an iOS app. First, you'll download the sample code, then install the Maps SDK using Swift Package Manager or CocoaPods. Next, you'll acquire a Google API key and add it to your `AppDelegate.swift`. You'll then build and run the app on a device or simulator. The code creates a map centered on coordinates -33.86, 151.20 (Sydney) at zoom level 6, and adds a marker at that location with \"Sydney\" as the title and \"Australia\" as the snippet.\n"],null,["Add a Map with a Marker \n\nThis tutorial shows how to add a Google map with a marker to your iOS\napp. It suits people with a beginner or intermediate knowledge of Swift or\nObjective-C along with general knowledge of Xcode. For an advanced guide to\ncreating maps, read the developers' guide.\n\nYou'll create the following map using this tutorial. The marker is positioned at\nSydney, Australia.\n\nGet the code\n\nClone or download the\n[Google Maps iOS samples repository](https://github.com/googlemaps-samples/maps-sdk-for-ios-samples) on GitHub.\n\nAlternatively, click the following button to download the source code:\n\n[Give me the code](https://github.com/googlemaps-samples/maps-sdk-for-ios-samples/archive/main.zip)\n\n\nSwift \n\n```swift\nimport UIKit\nimport GoogleMaps\n\nclass ViewController: UIViewController {\n\n override func viewDidLoad() {\n super.viewDidLoad()\n // Do any additional setup after loading the view.\n // Create a GMSCameraPosition that tells the map to display the\n // coordinate -33.86,151.20 at zoom level 6.\n let camera = GMSCameraPosition.camera(withLatitude: -33.86, longitude: 151.20, zoom: 6.0)\n let mapView = GMSMapView.map(withFrame: self.view.frame, camera: camera)\n self.view.addSubview(mapView)\n\n // Creates a marker in the center of the map.\n let marker = GMSMarker()\n marker.position = CLLocationCoordinate2D(latitude: -33.86, longitude: 151.20)\n marker.title = \"Sydney\"\n marker.snippet = \"Australia\"\n marker.map = mapView\n }\n}\n \n```\n\nObjective-C \n\n```objective-c\n#import \"ViewController.h\"\n#import \u003cGoogleMaps/GoogleMaps.h\u003e\n\n@interface ViewController ()\n\n@end\n\n@implementation ViewController\n\n- (void)viewDidLoad {\n [super viewDidLoad];\n // Do any additional setup after loading the view.\n // Create a GMSCameraPosition that tells the map to display the\n // coordinate -33.86,151.20 at zoom level 6.\n GMSCameraPosition *camera = [GMSCameraPosition cameraWithLatitude:-33.86\n longitude:151.20\n zoom:6];\n GMSMapView *mapView = [GMSMapView mapWithFrame:self.view.frame camera:camera];\n mapView.myLocationEnabled = YES;\n [self.view addSubview:mapView];\n\n // Creates a marker in the center of the map.\n GMSMarker *marker = [[GMSMarker alloc] init];\n marker.position = CLLocationCoordinate2DMake(-33.86, 151.20);\n marker.title = @\"Sydney\";\n marker.snippet = @\"Australia\";\n marker.map = mapView;\n}\n\n@end\n \n```\n\n\u003cbr /\u003e\n\nGet started \n\nSwift Package Manager\n\nThe Maps SDK for iOS can be installed using [Swift Package Manager](https://developer.apple.com/documentation/xcode/swift-packages).\n\n1. Remove any existing Maps SDK for iOS dependencies.\n2. Open a terminal window and navigate to the `tutorials/map-with-marker` directory.\n3. Close your Xcode workspace and run the following commands: \n\n ```swift\n sudo gem install cocoapods-deintegrate cocoapods-clean\n pod deintegrate\n pod cache clean --all\n rm Podfile\n rm map-with-marker.xcworkspace\n ```\n4. Open your Xcode project and delete the podfile.\n5. Go to **File \\\u003e Add Package Dependencies**.\n6. Enter \u003chttps://github.com/googlemaps/ios-maps-sdk\u003e as the URL, press **Enter** to pull in the package, and click **Add Package**.\n7. You may need to reset your package cache using **File \\\u003e Packages \\\u003e Reset Package Cache**.\n\nUse CocoaPods\n\n1. Download and install [Xcode](https://developer.apple.com/xcode/) **version 16.0** or later.\n2. If you don't already have [CocoaPods](https://guides.cocoapods.org/using/getting-started.html), install it on macOS by running the following command from the terminal: \n\n ```text\n sudo gem install cocoapods\n ```\n3. Navigate to the `tutorials/map-with-marker` directory.\n4. Run the `pod install` command. This will install the [Maps SDK](https://developers.google.com/maps/documentation/ios-sdk) specified in the `Podfile`, along with any dependencies.\n5. Run `pod outdated` to compare the installed pod version with any new updates. If a new version is detected, run `pod update` to update the `Podfile` and install the latest SDK. For more details, see the [CocoaPods Guide](https://guides.cocoapods.org/using/pod-install-vs-update.html).\n6. Open (double-click) the project's **map-with-marker.xcworkspace** file to open it in Xcode. You must use the `.xcworkspace` file to open the project.\n\nGet an API key and enable the necessary APIs\n\nTo complete this tutorial, you need a Google API key that's authorized to\nuse the Maps SDK for iOS. Click the following button to get\na key and activate the API.\n[Get Started](https://cloud.google.com/maps-platform/#get-started)\n\nFor more details, see\n[Get an API key](/maps/documentation/ios-sdk/get-api-key).\n\nAdd the API key to your application\n\nAdd your API key to your `AppDelegate.swift` as follows:\n\n1. Note that following import statement has been added to the file: \n\n ```python\n import GoogleMaps\n ```\n2. Edit the following line in your `application(_:didFinishLaunchingWithOptions:)` method, replacing *YOUR_API_KEY* with your API key: \n\n ```scdoc\n GMSServices.provideAPIKey(\"YOUR_API_KEY\")\n ```\n\n| **Note:** The [sample code](https://github.com/googlemaps-samples/maps-sdk-for-ios-samples) for the completed tutorial is configured to run as a Swift Xcode project but includes Swift and Objective-C examples.\n\nBuild and run your app\n\n1. Connect an iOS device to your computer, or select a [simulator](https://developer.apple.com/library/content/documentation/IDEs/Conceptual/iOS_Simulator_Guide/Introduction/Introduction.html) from the Xcode scheme menu.\n2. If you're using a device, make sure that location services are enabled. If you're using a simulator, select a location from the **Features** menu.\n3. In Xcode, click the **Product/Run** menu option (or the play button icon).\n - Xcode builds the app, and then runs the app on the device or on the simulator.\n - You should see a map with a marker centered on Sydney on the east coast of Australia, similar to the image on this page.\n\nTroubleshooting:\n\n- If you don't see a map, check that you've obtained an API key and added it to the app, [as described previously](#add_api_key). Check Xcode's debugging console for error messages about the API key.\n- If you have restricted the API key by the iOS bundle identifier, edit the key to add the bundle identifier for the app: `com.google.examples.map-with-marker`.\n- Make sure that you have a good Wifi or GPS connection.\n- Use the [Xcode debugging tools](https://developer.apple.com/library/content/documentation/DeveloperTools/Conceptual/debugging_with_xcode/chapters/debugging_tools.html) to view logs and debug the app.\n\nUnderstand the code\n\n1. Create a map and set it as the view in `viewDidLoad()`. \n\n Swift \n\n ```swift\n // Create a GMSCameraPosition that tells the map to display the\n // coordinate -33.86,151.20 at zoom level 6.\n let camera = GMSCameraPosition.camera(withLatitude: -33.86, longitude: 151.20, zoom: 6.0)\n let mapView = GMSMapView.map(withFrame: CGRect.zero, camera: camera)\n view = mapView\n \n ```\n\n Objective-C \n\n ```objective-c\n // Create a GMSCameraPosition that tells the map to display the\n // coordinate -33.86,151.20 at zoom level 6.\n GMSCameraPosition *camera = [GMSCameraPosition cameraWithLatitude:-33.86\n longitude:151.20\n zoom:6.0];\n GMSMapView *mapView = [[GMSMapView alloc] initWithFrame: CGRectZero camera:camera];\n self.view = mapView;\n \n ```\n2. Add a marker to the map in `viewDidLoad()`. \n\n Swift \n\n ```swift\n // Creates a marker in the center of the map.\n let marker = GMSMarker()\n marker.position = CLLocationCoordinate2D(latitude: -33.86, longitude: 151.20)\n marker.title = \"Sydney\"\n marker.snippet = \"Australia\"\n marker.map = mapView\n \n ```\n\n Objective-C \n\n ```objective-c\n // Creates a marker in the center of the map.\n GMSMarker *marker = [[GMSMarker alloc] init];\n marker.position = CLLocationCoordinate2DMake(-33.86, 151.20);\n marker.title = @\"Sydney\";\n marker.snippet = @\"Australia\";\n marker.map = mapView;\n \n ```\n\nBy default, the Maps SDK for iOS displays the content of the info\nwindow when the user taps a marker. There's no need to add a click listener for\nthe marker if you're happy to use the default behavior.\n\n**Congratulations!** You've built an iOS app that displays a Google map with a\nmarker to indicate a particular location. You've also learned how to use the [Maps SDK for iOS](/maps/documentation/ios-sdk).\n\nNext steps\n\nLearn more about the [map object](/maps/documentation/ios-sdk/map), and what you\ncan do with [markers](/maps/documentation/ios-sdk/marker)."]]