Mit Sammlungen den Überblick behalten
Sie können Inhalte basierend auf Ihren Einstellungen speichern und kategorisieren.
Karte mit einer Markierung hinzufügen
In diesem Tutorial erfahren Sie, wie Sie Ihrer iOS-App eine Google-Karte mit einer Markierung hinzufügen. Es eignet sich für Nutzer mit Grundkenntnissen in Swift oder Objective-C und allgemeinen Kenntnissen in Xcode. Einen Leitfaden zum Erstellen von Karten für fortgeschrittene Nutzer finden Sie im Entwicklerhandbuch.
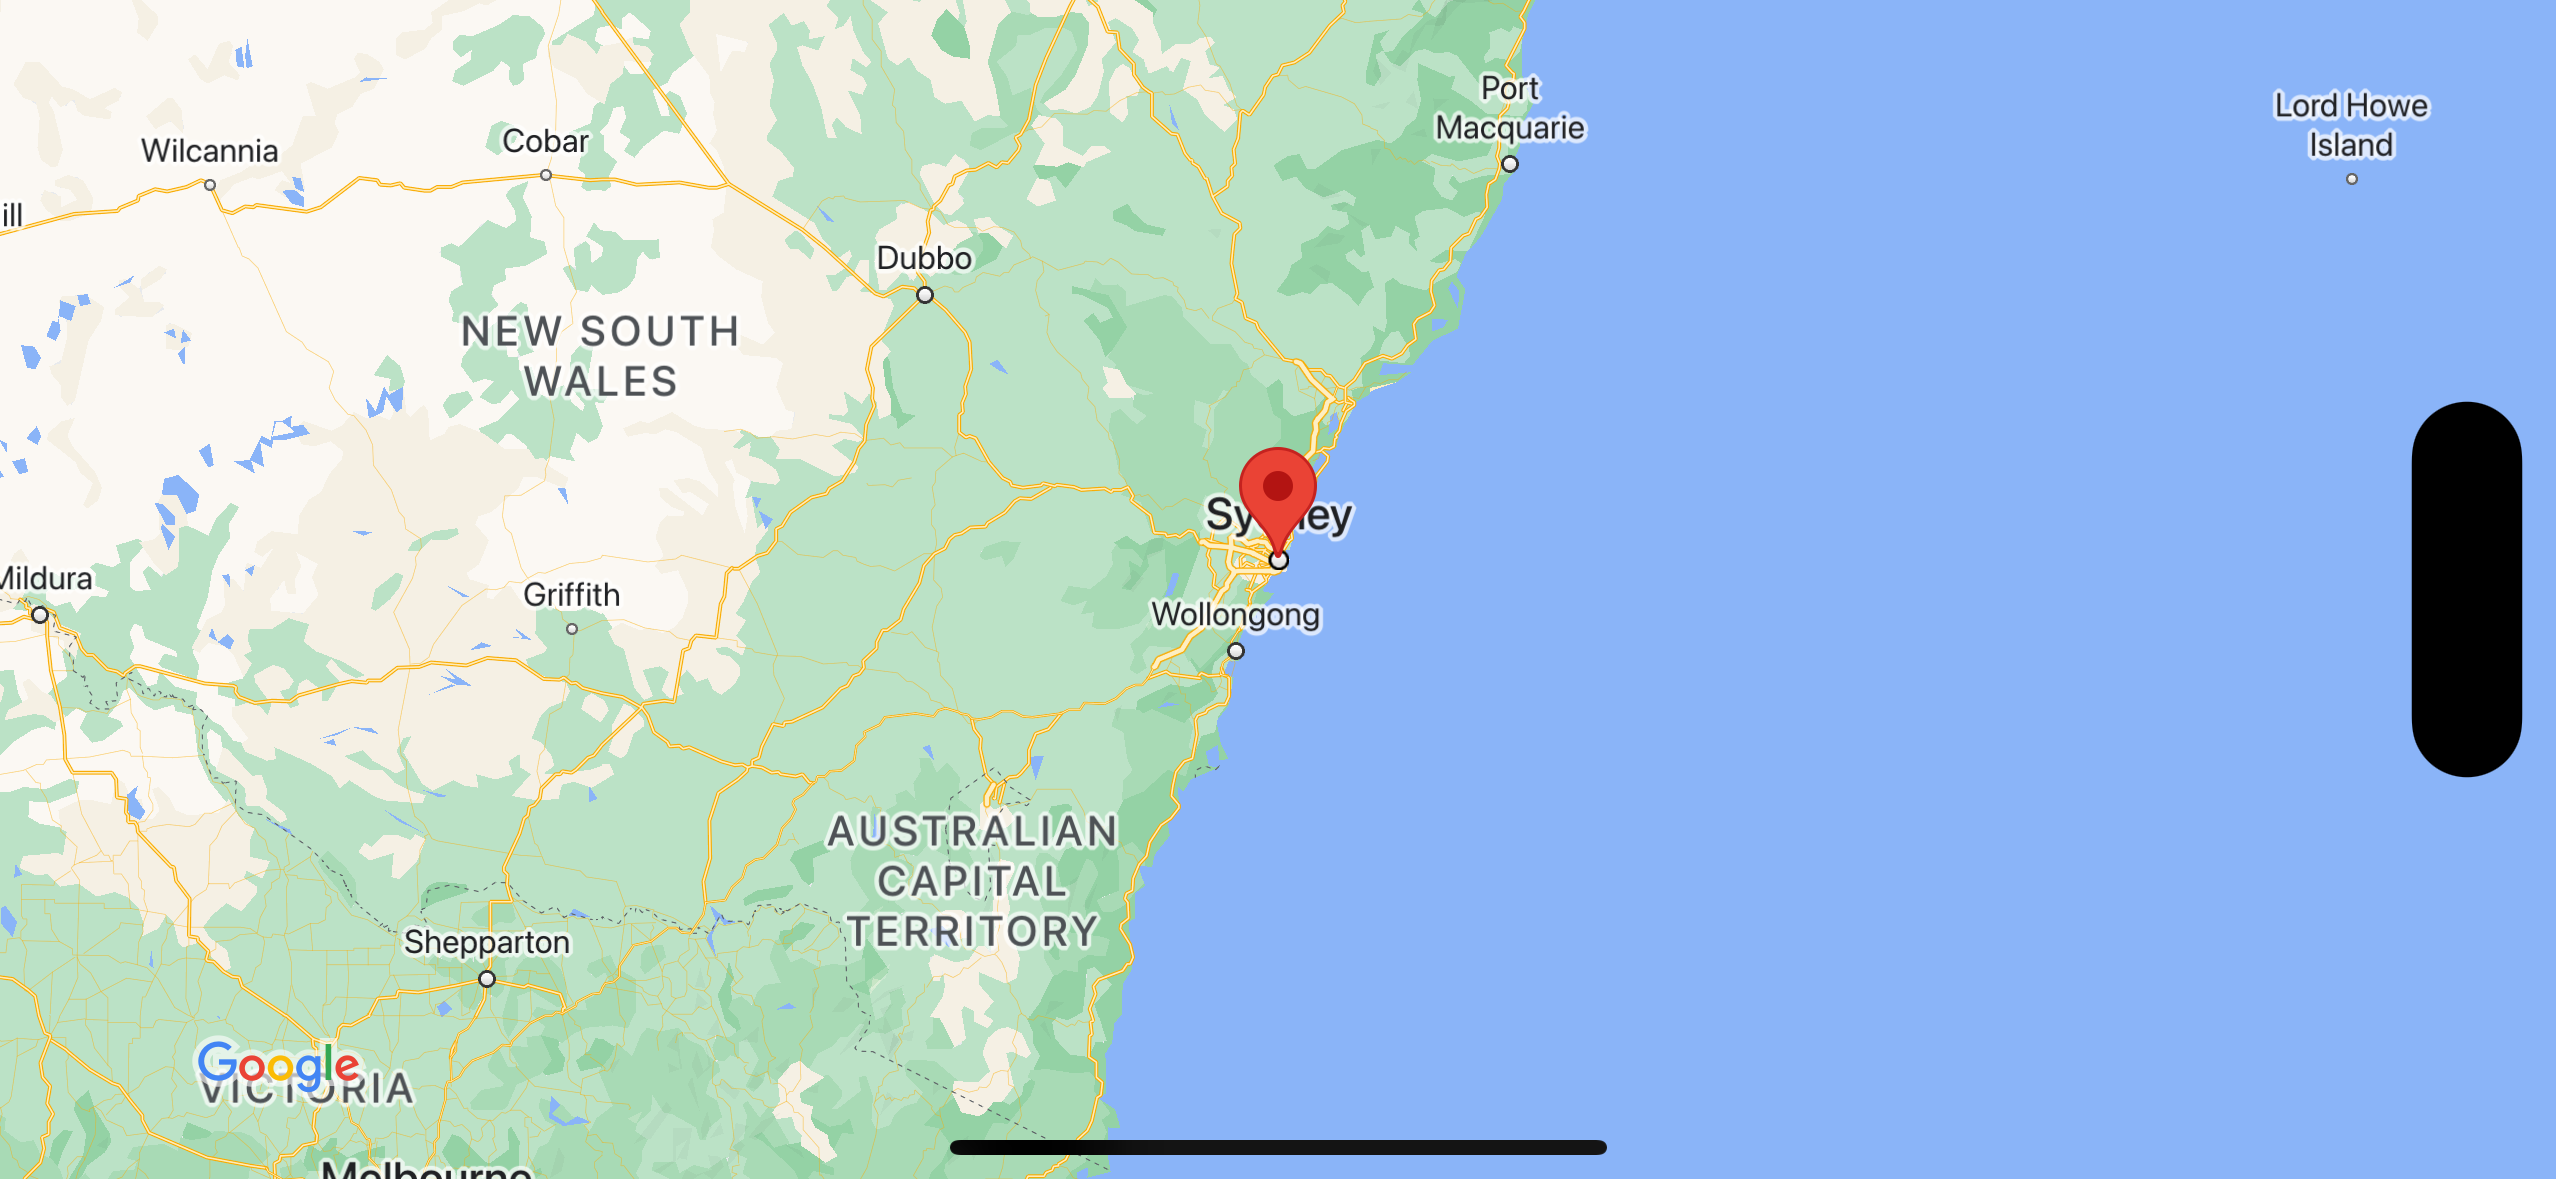
Mit dieser Anleitung erstellen Sie die folgende Karte. Die Markierung befindet sich in Sydney, Australien.
importUIKitimportGoogleMapsclassViewController:UIViewController{overridefuncviewDidLoad(){super.viewDidLoad()// Do any additional setup after loading the view.// Create a GMSCameraPosition that tells the map to display the// coordinate -33.86,151.20 at zoom level 6.letcamera=GMSCameraPosition.camera(withLatitude:-33.86,longitude:151.20,zoom:6.0)letmapView=GMSMapView.map(withFrame:self.view.frame,camera:camera)self.view.addSubview(mapView)// Creates a marker in the center of the map.letmarker=GMSMarker()marker.position=CLLocationCoordinate2D(latitude:-33.86,longitude:151.20)marker.title="Sydney"marker.snippet="Australia"marker.map=mapView}}
Objective-C
#import "ViewController.h"#import <GoogleMaps/GoogleMaps.h>@interfaceViewController()@end@implementationViewController-(void)viewDidLoad{[superviewDidLoad];// Do any additional setup after loading the view.// Create a GMSCameraPosition that tells the map to display the// coordinate -33.86,151.20 at zoom level 6.GMSCameraPosition*camera=[GMSCameraPositioncameraWithLatitude:-33.86longitude:151.20zoom:6];GMSMapView*mapView=[GMSMapViewmapWithFrame:self.view.framecamera:camera];mapView.myLocationEnabled=YES;[self.viewaddSubview:mapView];// Creates a marker in the center of the map.GMSMarker*marker=[[GMSMarkeralloc]init];marker.position=CLLocationCoordinate2DMake(-33.86,151.20);marker.title=@"Sydney";marker.snippet=@"Australia";marker.map=mapView;}@end
Möglicherweise müssen Sie den Paketcache über Datei > Pakete > Paketcache zurücksetzen zurücksetzen.
Mit CocoaPods
Laden Sie XcodeVersion 16.0 oder höher herunter und installieren Sie es.
Wenn Sie CocoaPods noch nicht haben, installieren Sie es unter macOS, indem Sie den folgenden Befehl über das Terminal ausführen:
sudo gem install cocoapods
Rufen Sie das Verzeichnis tutorials/map-with-marker auf.
Führen Sie den Befehl pod install aus: Dadurch wird das in der Podfile angegebene Maps SDK zusammen mit allen Abhängigkeiten installiert.
Führen Sie pod outdated aus, um die installierte Pod-Version mit neuen Updates zu vergleichen. Wenn eine neue Version erkannt wird, führen Sie pod update aus, um Podfile zu aktualisieren und das neueste SDK zu installieren. Weitere Informationen finden Sie im CocoaPods-Leitfaden.
Öffnen Sie die Datei map-with-marker.xcworkspace des Projekts mit einem Doppelklick, um sie in Xcode zu öffnen. Du musst das Projekt über die Datei .xcworkspace aufrufen.
API-Schlüssel abrufen und die erforderlichen APIs aktivieren
Als letzten Schritt benötigen Sie noch einen Google API-Schlüssel, der zum Verwenden des Maps SDK for iOS berechtigt ist. Klicken Sie auf die folgende Schaltfläche, um einen Schlüssel anzufordern und die API zu aktivieren.
Füge deinen API-Schlüssel folgendermaßen in AppDelegate.swift ein:
Sehen Sie nach, ob der Datei die folgende Importanweisung hinzugefügt wurde:
importGoogleMaps
Bearbeite die folgende Zeile in der Methode application(_:didFinishLaunchingWithOptions:) und ersetze YOUR_API_KEY durch deinen API-Schlüssel:
GMSServices.provideAPIKey("YOUR_API_KEY")
App erstellen und ausführen
Verbinden Sie ein iOS-Gerät mit Ihrem Computer oder wählen Sie im Xcode-Schemamenü einen Simulator aus.
Wenn Sie ein Gerät verwenden, müssen die Standortdienste aktiviert sein.
Wenn Sie einen Simulator verwenden, wählen Sie im Menü Funktionen einen Standort aus.
Klicken Sie in Xcode auf die Menüoption Product/Run (oder das Wiedergabesymbol).
Xcode erstellt die App und führt sie dann auf dem Gerät oder im Simulator aus.
Es sollte eine Karte mit einer Markierung in der Mitte für Sydney an der Ostküste Australiens angezeigt werden, ähnlich wie das Bild auf dieser Seite.
Fehlerbehebung:
Wenn Sie keine Karte sehen, prüfen Sie, ob Sie einen API-Schlüssel erhalten und ihn wie oben beschrieben in die App eingefügt haben. Prüfen Sie die Debugging-Konsole von Xcode auf Fehlermeldungen zum API-Schlüssel.
Wenn Sie den API-Schlüssel durch den iOS-Paket-Identifikator eingeschränkt haben, bearbeiten Sie den Schlüssel, um den Paket-Identifikator für die App hinzuzufügen: com.google.examples.map-with-marker.
Sie benötigen eine gute WLAN- oder GPS-Verbindung.
Verwenden Sie die Xcode-Debugging-Tools, um Protokolle aufzurufen und Fehler in der App zu beheben.
Code verstehen
Erstellen Sie eine Karte und legen Sie sie als Ansicht in viewDidLoad() fest.
Swift
// Create a GMSCameraPosition that tells the map to display the// coordinate -33.86,151.20 at zoom level 6.letcamera=GMSCameraPosition.camera(withLatitude:-33.86,longitude:151.20,zoom:6.0)letmapView=GMSMapView.map(withFrame:CGRect.zero,camera:camera)view=mapView
Objective-C
// Create a GMSCameraPosition that tells the map to display the// coordinate -33.86,151.20 at zoom level 6.GMSCameraPosition*camera=[GMSCameraPositioncameraWithLatitude:-33.86longitude:151.20zoom:6.0];GMSMapView*mapView=[[GMSMapViewalloc]initWithFrame:CGRectZerocamera:camera];self.view=mapView;
Fügen Sie der Karte in viewDidLoad() eine Markierung hinzu.
Swift
// Creates a marker in the center of the map.letmarker=GMSMarker()marker.position=CLLocationCoordinate2D(latitude:-33.86,longitude:151.20)marker.title="Sydney"marker.snippet="Australia"marker.map=mapView
Objective-C
// Creates a marker in the center of the map.GMSMarker*marker=[[GMSMarkeralloc]init];marker.position=CLLocationCoordinate2DMake(-33.86,151.20);marker.title=@"Sydney";marker.snippet=@"Australia";marker.map=mapView;
Standardmäßig wird vom Maps SDK for iOS der Inhalt des Infofensters angezeigt, wenn der Nutzer auf eine Markierung tippt. Wenn Sie mit der Standardfunktionsweise zufrieden sind, müssen Sie keinen Klick-Listener für die Markierung hinzufügen.
Glückwunsch! Sie haben eine iOS-App erstellt, in der eine Google-Karte mit einer Markierung für einen bestimmten Ort angezeigt wird. Außerdem wissen Sie jetzt, wie Sie das
Maps SDK for iOS verwenden.
[null,null,["Zuletzt aktualisiert: 2025-08-31 (UTC)."],[[["\u003cp\u003eThis tutorial provides a step-by-step guide for adding a Google map with a marker to your iOS app, targeting beginners and intermediate Swift/Objective-C developers.\u003c/p\u003e\n"],["\u003cp\u003eThe tutorial covers installation using Swift Package Manager or CocoaPods, obtaining and implementing an API key, and building/running the app.\u003c/p\u003e\n"],["\u003cp\u003eCode examples in Swift and Objective-C demonstrate creating a map view, setting camera position, and adding a marker with title and snippet.\u003c/p\u003e\n"],["\u003cp\u003eTroubleshooting tips address common issues like missing maps, API key errors, and connectivity problems.\u003c/p\u003e\n"],["\u003cp\u003eUsers are encouraged to further explore the map object and marker functionalities within the Maps SDK for iOS.\u003c/p\u003e\n"]]],["This tutorial guides you to add a Google map with a marker to an iOS app. First, you'll download the sample code, then install the Maps SDK using Swift Package Manager or CocoaPods. Next, you'll acquire a Google API key and add it to your `AppDelegate.swift`. You'll then build and run the app on a device or simulator. The code creates a map centered on coordinates -33.86, 151.20 (Sydney) at zoom level 6, and adds a marker at that location with \"Sydney\" as the title and \"Australia\" as the snippet.\n"],null,["Add a Map with a Marker \n\nThis tutorial shows how to add a Google map with a marker to your iOS\napp. It suits people with a beginner or intermediate knowledge of Swift or\nObjective-C along with general knowledge of Xcode. For an advanced guide to\ncreating maps, read the developers' guide.\n\nYou'll create the following map using this tutorial. The marker is positioned at\nSydney, Australia.\n\nGet the code\n\nClone or download the\n[Google Maps iOS samples repository](https://github.com/googlemaps-samples/maps-sdk-for-ios-samples) on GitHub.\n\nAlternatively, click the following button to download the source code:\n\n[Give me the code](https://github.com/googlemaps-samples/maps-sdk-for-ios-samples/archive/main.zip)\n\n\nSwift \n\n```swift\nimport UIKit\nimport GoogleMaps\n\nclass ViewController: UIViewController {\n\n override func viewDidLoad() {\n super.viewDidLoad()\n // Do any additional setup after loading the view.\n // Create a GMSCameraPosition that tells the map to display the\n // coordinate -33.86,151.20 at zoom level 6.\n let camera = GMSCameraPosition.camera(withLatitude: -33.86, longitude: 151.20, zoom: 6.0)\n let mapView = GMSMapView.map(withFrame: self.view.frame, camera: camera)\n self.view.addSubview(mapView)\n\n // Creates a marker in the center of the map.\n let marker = GMSMarker()\n marker.position = CLLocationCoordinate2D(latitude: -33.86, longitude: 151.20)\n marker.title = \"Sydney\"\n marker.snippet = \"Australia\"\n marker.map = mapView\n }\n}\n \n```\n\nObjective-C \n\n```objective-c\n#import \"ViewController.h\"\n#import \u003cGoogleMaps/GoogleMaps.h\u003e\n\n@interface ViewController ()\n\n@end\n\n@implementation ViewController\n\n- (void)viewDidLoad {\n [super viewDidLoad];\n // Do any additional setup after loading the view.\n // Create a GMSCameraPosition that tells the map to display the\n // coordinate -33.86,151.20 at zoom level 6.\n GMSCameraPosition *camera = [GMSCameraPosition cameraWithLatitude:-33.86\n longitude:151.20\n zoom:6];\n GMSMapView *mapView = [GMSMapView mapWithFrame:self.view.frame camera:camera];\n mapView.myLocationEnabled = YES;\n [self.view addSubview:mapView];\n\n // Creates a marker in the center of the map.\n GMSMarker *marker = [[GMSMarker alloc] init];\n marker.position = CLLocationCoordinate2DMake(-33.86, 151.20);\n marker.title = @\"Sydney\";\n marker.snippet = @\"Australia\";\n marker.map = mapView;\n}\n\n@end\n \n```\n\n\u003cbr /\u003e\n\nGet started \n\nSwift Package Manager\n\nThe Maps SDK for iOS can be installed using [Swift Package Manager](https://developer.apple.com/documentation/xcode/swift-packages).\n\n1. Remove any existing Maps SDK for iOS dependencies.\n2. Open a terminal window and navigate to the `tutorials/map-with-marker` directory.\n3. Close your Xcode workspace and run the following commands: \n\n ```swift\n sudo gem install cocoapods-deintegrate cocoapods-clean\n pod deintegrate\n pod cache clean --all\n rm Podfile\n rm map-with-marker.xcworkspace\n ```\n4. Open your Xcode project and delete the podfile.\n5. Go to **File \\\u003e Add Package Dependencies**.\n6. Enter \u003chttps://github.com/googlemaps/ios-maps-sdk\u003e as the URL, press **Enter** to pull in the package, and click **Add Package**.\n7. You may need to reset your package cache using **File \\\u003e Packages \\\u003e Reset Package Cache**.\n\nUse CocoaPods\n\n1. Download and install [Xcode](https://developer.apple.com/xcode/) **version 16.0** or later.\n2. If you don't already have [CocoaPods](https://guides.cocoapods.org/using/getting-started.html), install it on macOS by running the following command from the terminal: \n\n ```text\n sudo gem install cocoapods\n ```\n3. Navigate to the `tutorials/map-with-marker` directory.\n4. Run the `pod install` command. This will install the [Maps SDK](https://developers.google.com/maps/documentation/ios-sdk) specified in the `Podfile`, along with any dependencies.\n5. Run `pod outdated` to compare the installed pod version with any new updates. If a new version is detected, run `pod update` to update the `Podfile` and install the latest SDK. For more details, see the [CocoaPods Guide](https://guides.cocoapods.org/using/pod-install-vs-update.html).\n6. Open (double-click) the project's **map-with-marker.xcworkspace** file to open it in Xcode. You must use the `.xcworkspace` file to open the project.\n\nGet an API key and enable the necessary APIs\n\nTo complete this tutorial, you need a Google API key that's authorized to\nuse the Maps SDK for iOS. Click the following button to get\na key and activate the API.\n[Get Started](https://cloud.google.com/maps-platform/#get-started)\n\nFor more details, see\n[Get an API key](/maps/documentation/ios-sdk/get-api-key).\n\nAdd the API key to your application\n\nAdd your API key to your `AppDelegate.swift` as follows:\n\n1. Note that following import statement has been added to the file: \n\n ```python\n import GoogleMaps\n ```\n2. Edit the following line in your `application(_:didFinishLaunchingWithOptions:)` method, replacing *YOUR_API_KEY* with your API key: \n\n ```scdoc\n GMSServices.provideAPIKey(\"YOUR_API_KEY\")\n ```\n\n| **Note:** The [sample code](https://github.com/googlemaps-samples/maps-sdk-for-ios-samples) for the completed tutorial is configured to run as a Swift Xcode project but includes Swift and Objective-C examples.\n\nBuild and run your app\n\n1. Connect an iOS device to your computer, or select a [simulator](https://developer.apple.com/library/content/documentation/IDEs/Conceptual/iOS_Simulator_Guide/Introduction/Introduction.html) from the Xcode scheme menu.\n2. If you're using a device, make sure that location services are enabled. If you're using a simulator, select a location from the **Features** menu.\n3. In Xcode, click the **Product/Run** menu option (or the play button icon).\n - Xcode builds the app, and then runs the app on the device or on the simulator.\n - You should see a map with a marker centered on Sydney on the east coast of Australia, similar to the image on this page.\n\nTroubleshooting:\n\n- If you don't see a map, check that you've obtained an API key and added it to the app, [as described previously](#add_api_key). Check Xcode's debugging console for error messages about the API key.\n- If you have restricted the API key by the iOS bundle identifier, edit the key to add the bundle identifier for the app: `com.google.examples.map-with-marker`.\n- Make sure that you have a good Wifi or GPS connection.\n- Use the [Xcode debugging tools](https://developer.apple.com/library/content/documentation/DeveloperTools/Conceptual/debugging_with_xcode/chapters/debugging_tools.html) to view logs and debug the app.\n\nUnderstand the code\n\n1. Create a map and set it as the view in `viewDidLoad()`. \n\n Swift \n\n ```swift\n // Create a GMSCameraPosition that tells the map to display the\n // coordinate -33.86,151.20 at zoom level 6.\n let camera = GMSCameraPosition.camera(withLatitude: -33.86, longitude: 151.20, zoom: 6.0)\n let mapView = GMSMapView.map(withFrame: CGRect.zero, camera: camera)\n view = mapView\n \n ```\n\n Objective-C \n\n ```objective-c\n // Create a GMSCameraPosition that tells the map to display the\n // coordinate -33.86,151.20 at zoom level 6.\n GMSCameraPosition *camera = [GMSCameraPosition cameraWithLatitude:-33.86\n longitude:151.20\n zoom:6.0];\n GMSMapView *mapView = [[GMSMapView alloc] initWithFrame: CGRectZero camera:camera];\n self.view = mapView;\n \n ```\n2. Add a marker to the map in `viewDidLoad()`. \n\n Swift \n\n ```swift\n // Creates a marker in the center of the map.\n let marker = GMSMarker()\n marker.position = CLLocationCoordinate2D(latitude: -33.86, longitude: 151.20)\n marker.title = \"Sydney\"\n marker.snippet = \"Australia\"\n marker.map = mapView\n \n ```\n\n Objective-C \n\n ```objective-c\n // Creates a marker in the center of the map.\n GMSMarker *marker = [[GMSMarker alloc] init];\n marker.position = CLLocationCoordinate2DMake(-33.86, 151.20);\n marker.title = @\"Sydney\";\n marker.snippet = @\"Australia\";\n marker.map = mapView;\n \n ```\n\nBy default, the Maps SDK for iOS displays the content of the info\nwindow when the user taps a marker. There's no need to add a click listener for\nthe marker if you're happy to use the default behavior.\n\n**Congratulations!** You've built an iOS app that displays a Google map with a\nmarker to indicate a particular location. You've also learned how to use the [Maps SDK for iOS](/maps/documentation/ios-sdk).\n\nNext steps\n\nLearn more about the [map object](/maps/documentation/ios-sdk/map), and what you\ncan do with [markers](/maps/documentation/ios-sdk/marker)."]]