Koleksiyonlar ile düzeninizi koruyun
İçeriği tercihlerinize göre kaydedin ve kategorilere ayırın.
İşaretli harita ekleme
Bu eğitimde, iOS uygulamanıza işaretçi içeren bir Google Haritası ekleme işlemi gösterilmektedir. Bu eğitim, Swift veya Objective-C hakkında başlangıç ya da orta düzeyde bilgiye ve Xcode hakkında genel bilgiye sahip olanlar için uygundur. Harita oluşturmayla ilgili ileri düzey bir kılavuz için geliştirici kılavuzunu okuyun.
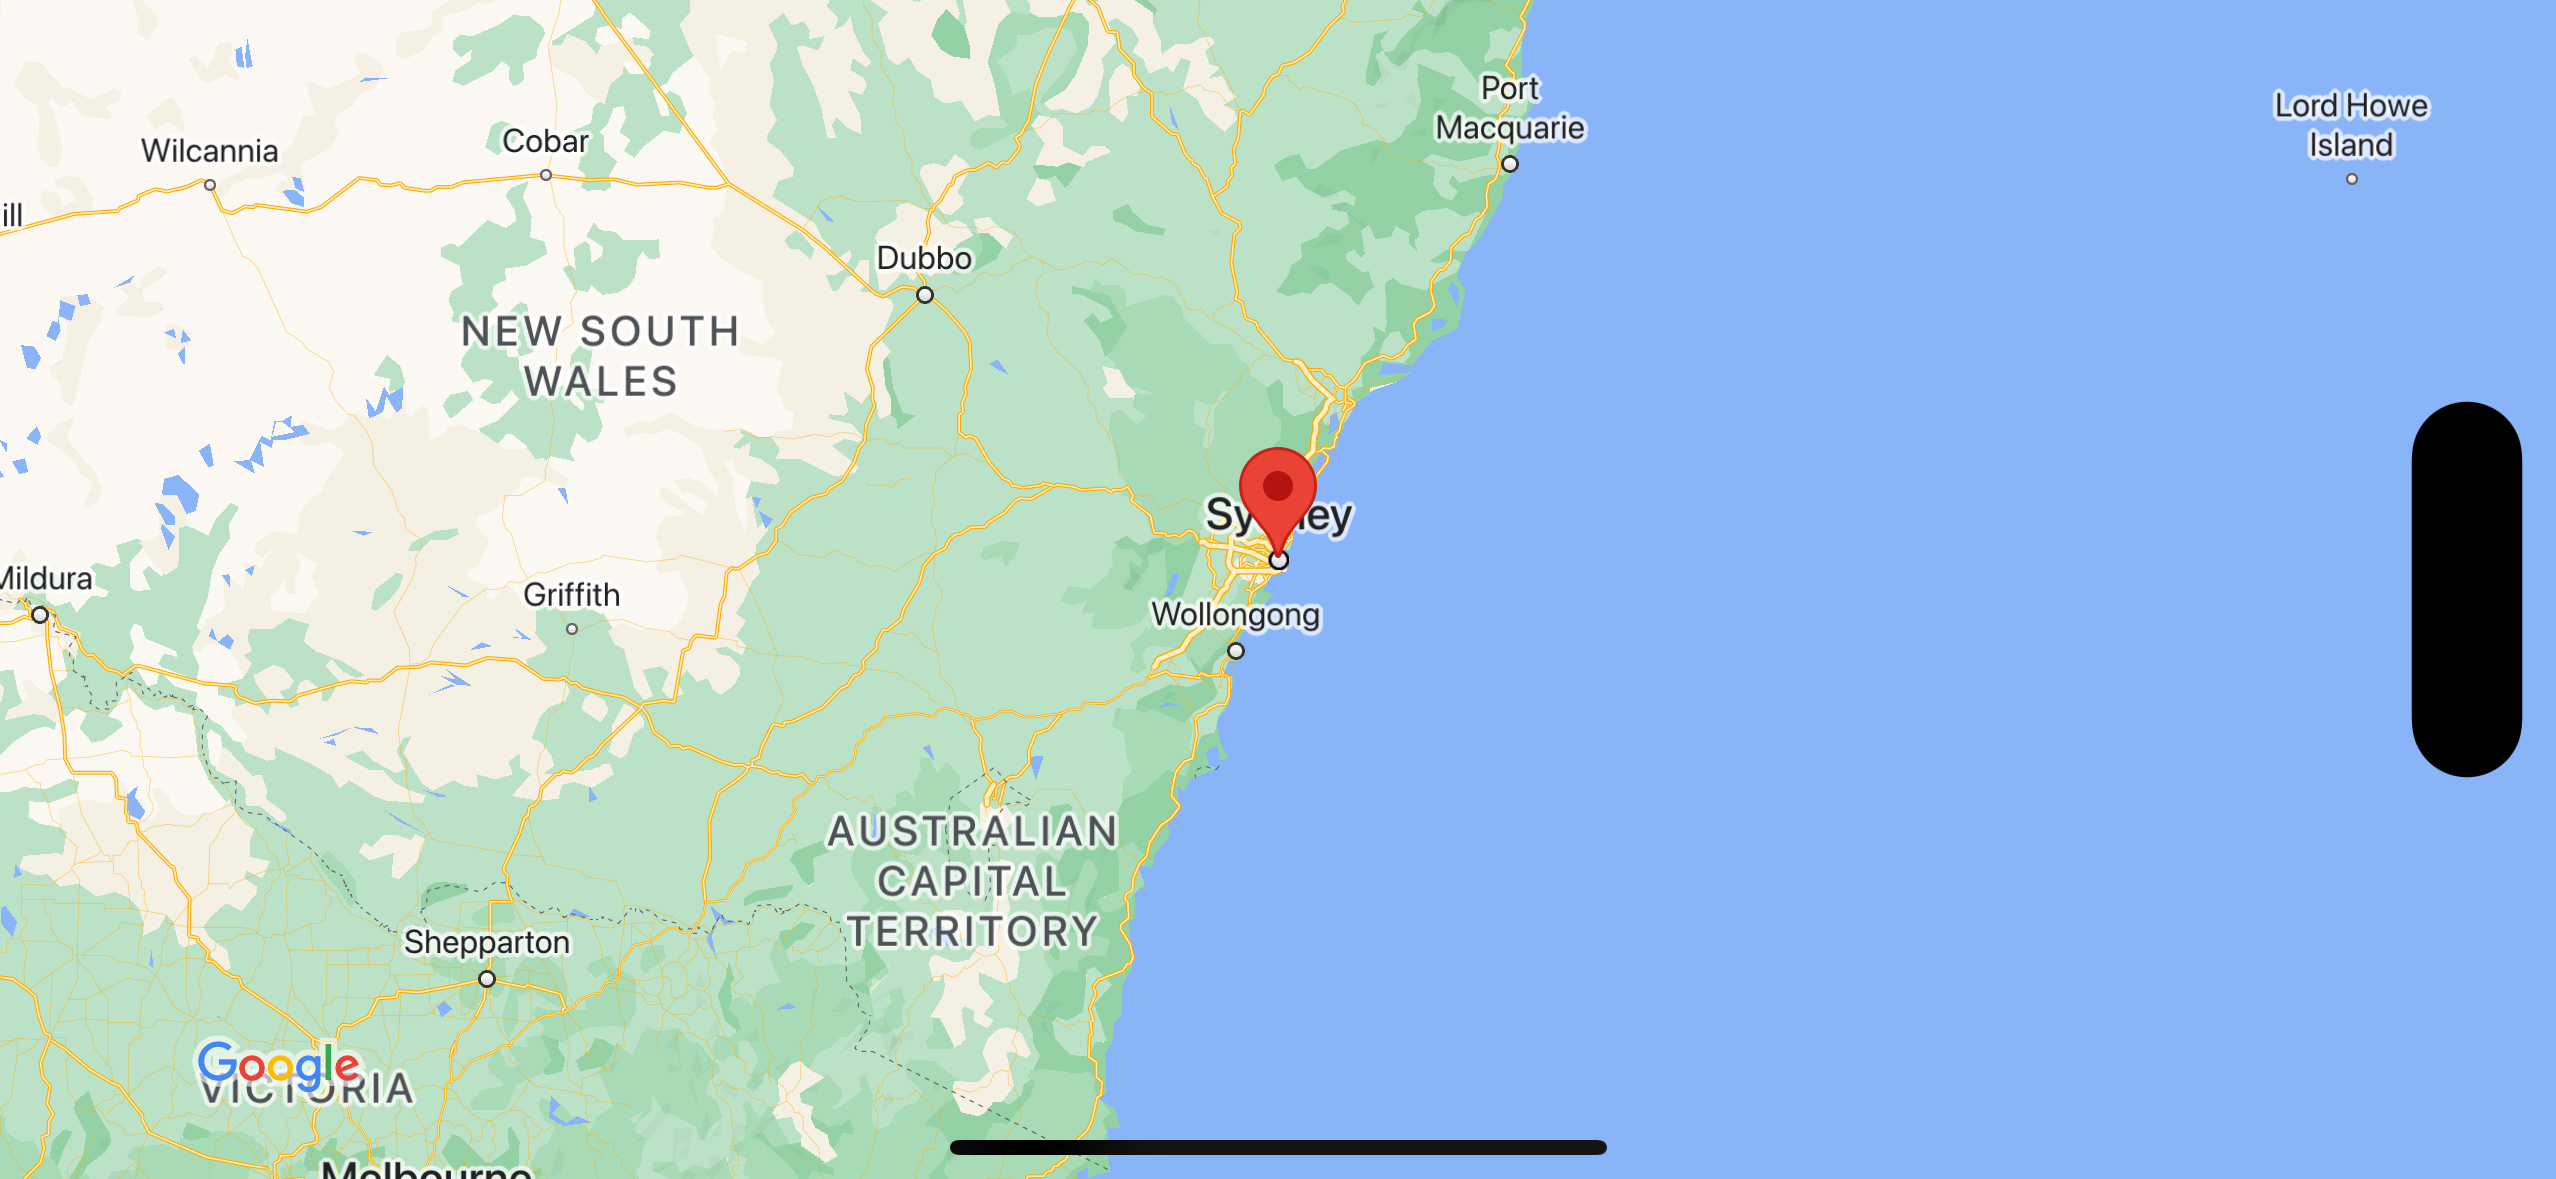
Bu eğitimde aşağıdaki haritayı oluşturacaksınız. İşaretçi Sidney, Avustralya'da bulunuyor.
importUIKitimportGoogleMapsclassViewController:UIViewController{overridefuncviewDidLoad(){super.viewDidLoad()// Do any additional setup after loading the view.// Create a GMSCameraPosition that tells the map to display the// coordinate -33.86,151.20 at zoom level 6.letcamera=GMSCameraPosition.camera(withLatitude:-33.86,longitude:151.20,zoom:6.0)letmapView=GMSMapView.map(withFrame:self.view.frame,camera:camera)self.view.addSubview(mapView)// Creates a marker in the center of the map.letmarker=GMSMarker()marker.position=CLLocationCoordinate2D(latitude:-33.86,longitude:151.20)marker.title="Sydney"marker.snippet="Australia"marker.map=mapView}}
Objective-C
#import "ViewController.h"#import <GoogleMaps/GoogleMaps.h>@interfaceViewController()@end@implementationViewController-(void)viewDidLoad{[superviewDidLoad];// Do any additional setup after loading the view.// Create a GMSCameraPosition that tells the map to display the// coordinate -33.86,151.20 at zoom level 6.GMSCameraPosition*camera=[GMSCameraPositioncameraWithLatitude:-33.86longitude:151.20zoom:6];GMSMapView*mapView=[GMSMapViewmapWithFrame:self.view.framecamera:camera];mapView.myLocationEnabled=YES;[self.viewaddSubview:mapView];// Creates a marker in the center of the map.GMSMarker*marker=[[GMSMarkeralloc]init];marker.position=CLLocationCoordinate2DMake(-33.86,151.20);marker.title=@"Sydney";marker.snippet=@"Australia";marker.map=mapView;}@end
Xcode'un 16.0 sürümünü veya sonraki bir sürümünü indirip yükleyin.
Henüz CocoaPods'unuz yoksa terminalden aşağıdaki komutu çalıştırarak macOS'e yükleyin:
sudo gem install cocoapods
tutorials/map-with-marker dizinine gidin.
pod install komutunu çalıştırın. Bu işlem, Podfile içinde belirtilen Haritalar SDK'sını ve bağımlılıklarını yükler.
Yüklü pod sürümünü yeni güncellemelerle karşılaştırmak için pod outdated komutunu çalıştırın. Yeni bir sürüm algılanırsa pod update komutunu çalıştırarak Podfile öğesini güncelleyin ve en yeni SDK'yı yükleyin. Daha fazla ayrıntı için CocoaPods Kılavuzu'na bakın.
Projenin map-with-marker.xcworkspace dosyasını açarak (çift tıklayarak) Xcode'da açın. Projeyi açmak için .xcworkspace dosyasını kullanmanız gerekir.
API anahtarı alma ve gerekli API'leri etkinleştirme
Bu eğitimi tamamlamak için iOS için Haritalar SDK'sını kullanmaya yetkili bir Google API anahtarına ihtiyacınız vardır. Anahtar almak ve API'yi etkinleştirmek için aşağıdaki düğmeyi tıklayın.
Daha fazla bilgi için API anahtarı alma başlıklı makaleyi inceleyin.
API anahtarını uygulamanıza ekleme
API anahtarınızı AppDelegate.swift öğenize aşağıdaki şekilde ekleyin:
Dosyaya aşağıdaki içe aktarma ifadesinin eklendiğini unutmayın:
importGoogleMaps
application(_:didFinishLaunchingWithOptions:) yönteminizde aşağıdaki satırı düzenleyerek YOUR_API_KEY kısmını API anahtarınızla değiştirin:
GMSServices.provideAPIKey("YOUR_API_KEY")
Uygulamanızı derleyip çalıştırma
Bir iOS cihazı bilgisayarınıza bağlayın veya Xcode şema menüsünden bir simülatör seçin.
Cihaz kullanıyorsanız konum hizmetlerinin etkinleştirildiğinden emin olun.
Simülatör kullanıyorsanız Özellikler menüsünden bir konum seçin.
Xcode'da Product/Run (Ürün/Çalıştır) menü seçeneğini (veya oynatma düğmesi simgesini) tıklayın.
Xcode, uygulamayı oluşturur ve ardından cihazda veya simülatörde çalıştırır.
Bu sayfadaki resme benzer şekilde, Avustralya'nın doğu kıyısında Sidney'de ortalanmış bir işaretçinin bulunduğu bir harita görmeniz gerekir.
Sorun Giderme:
Harita görmüyorsanız daha önce açıklandığı gibi bir API anahtarı aldığınızı ve bunu uygulamaya eklediğinizi kontrol edin. API anahtarıyla ilgili hata mesajları için Xcode'un hata ayıklama konsolunu kontrol edin.
API anahtarını iOS paket tanımlayıcısıyla kısıtladıysanız anahtarı düzenleyerek uygulama için paket tanımlayıcıyı ekleyin:
com.google.examples.map-with-marker.
İyi bir kablosuz veya GPS bağlantınız olduğundan emin olun.
Bir harita oluşturun ve viewDidLoad()'da görünüm olarak ayarlayın.
Swift
// Create a GMSCameraPosition that tells the map to display the// coordinate -33.86,151.20 at zoom level 6.letcamera=GMSCameraPosition.camera(withLatitude:-33.86,longitude:151.20,zoom:6.0)letmapView=GMSMapView.map(withFrame:CGRect.zero,camera:camera)view=mapView
Objective-C
// Create a GMSCameraPosition that tells the map to display the// coordinate -33.86,151.20 at zoom level 6.GMSCameraPosition*camera=[GMSCameraPositioncameraWithLatitude:-33.86longitude:151.20zoom:6.0];GMSMapView*mapView=[[GMSMapViewalloc]initWithFrame:CGRectZerocamera:camera];self.view=mapView;
viewDidLoad()'da haritaya işaretçi ekleyin.
Swift
// Creates a marker in the center of the map.letmarker=GMSMarker()marker.position=CLLocationCoordinate2D(latitude:-33.86,longitude:151.20)marker.title="Sydney"marker.snippet="Australia"marker.map=mapView
Objective-C
// Creates a marker in the center of the map.GMSMarker*marker=[[GMSMarkeralloc]init];marker.position=CLLocationCoordinate2DMake(-33.86,151.20);marker.title=@"Sydney";marker.snippet=@"Australia";marker.map=mapView;
iOS için Haritalar SDK'sı, kullanıcı bir işaretçiye dokunduğunda varsayılan olarak bilgi penceresinin içeriğini gösterir. Varsayılan davranışı kullanmaktan memnunsanız işaretçi için tıklama işleyici eklemeniz gerekmez.
Tebrikler! Belirli bir konumu belirtmek için işaretçi içeren bir Google Haritası gösteren bir iOS uygulaması oluşturdunuz. Ayrıca
iOS için Haritalar SDK'sını kullanmayı da öğrendiniz.
[null,null,["Son güncelleme tarihi: 2025-08-31 UTC."],[[["\u003cp\u003eThis tutorial provides a step-by-step guide for adding a Google map with a marker to your iOS app, targeting beginners and intermediate Swift/Objective-C developers.\u003c/p\u003e\n"],["\u003cp\u003eThe tutorial covers installation using Swift Package Manager or CocoaPods, obtaining and implementing an API key, and building/running the app.\u003c/p\u003e\n"],["\u003cp\u003eCode examples in Swift and Objective-C demonstrate creating a map view, setting camera position, and adding a marker with title and snippet.\u003c/p\u003e\n"],["\u003cp\u003eTroubleshooting tips address common issues like missing maps, API key errors, and connectivity problems.\u003c/p\u003e\n"],["\u003cp\u003eUsers are encouraged to further explore the map object and marker functionalities within the Maps SDK for iOS.\u003c/p\u003e\n"]]],["This tutorial guides you to add a Google map with a marker to an iOS app. First, you'll download the sample code, then install the Maps SDK using Swift Package Manager or CocoaPods. Next, you'll acquire a Google API key and add it to your `AppDelegate.swift`. You'll then build and run the app on a device or simulator. The code creates a map centered on coordinates -33.86, 151.20 (Sydney) at zoom level 6, and adds a marker at that location with \"Sydney\" as the title and \"Australia\" as the snippet.\n"],null,["Add a Map with a Marker \n\nThis tutorial shows how to add a Google map with a marker to your iOS\napp. It suits people with a beginner or intermediate knowledge of Swift or\nObjective-C along with general knowledge of Xcode. For an advanced guide to\ncreating maps, read the developers' guide.\n\nYou'll create the following map using this tutorial. The marker is positioned at\nSydney, Australia.\n\nGet the code\n\nClone or download the\n[Google Maps iOS samples repository](https://github.com/googlemaps-samples/maps-sdk-for-ios-samples) on GitHub.\n\nAlternatively, click the following button to download the source code:\n\n[Give me the code](https://github.com/googlemaps-samples/maps-sdk-for-ios-samples/archive/main.zip)\n\n\nSwift \n\n```swift\nimport UIKit\nimport GoogleMaps\n\nclass ViewController: UIViewController {\n\n override func viewDidLoad() {\n super.viewDidLoad()\n // Do any additional setup after loading the view.\n // Create a GMSCameraPosition that tells the map to display the\n // coordinate -33.86,151.20 at zoom level 6.\n let camera = GMSCameraPosition.camera(withLatitude: -33.86, longitude: 151.20, zoom: 6.0)\n let mapView = GMSMapView.map(withFrame: self.view.frame, camera: camera)\n self.view.addSubview(mapView)\n\n // Creates a marker in the center of the map.\n let marker = GMSMarker()\n marker.position = CLLocationCoordinate2D(latitude: -33.86, longitude: 151.20)\n marker.title = \"Sydney\"\n marker.snippet = \"Australia\"\n marker.map = mapView\n }\n}\n \n```\n\nObjective-C \n\n```objective-c\n#import \"ViewController.h\"\n#import \u003cGoogleMaps/GoogleMaps.h\u003e\n\n@interface ViewController ()\n\n@end\n\n@implementation ViewController\n\n- (void)viewDidLoad {\n [super viewDidLoad];\n // Do any additional setup after loading the view.\n // Create a GMSCameraPosition that tells the map to display the\n // coordinate -33.86,151.20 at zoom level 6.\n GMSCameraPosition *camera = [GMSCameraPosition cameraWithLatitude:-33.86\n longitude:151.20\n zoom:6];\n GMSMapView *mapView = [GMSMapView mapWithFrame:self.view.frame camera:camera];\n mapView.myLocationEnabled = YES;\n [self.view addSubview:mapView];\n\n // Creates a marker in the center of the map.\n GMSMarker *marker = [[GMSMarker alloc] init];\n marker.position = CLLocationCoordinate2DMake(-33.86, 151.20);\n marker.title = @\"Sydney\";\n marker.snippet = @\"Australia\";\n marker.map = mapView;\n}\n\n@end\n \n```\n\n\u003cbr /\u003e\n\nGet started \n\nSwift Package Manager\n\nThe Maps SDK for iOS can be installed using [Swift Package Manager](https://developer.apple.com/documentation/xcode/swift-packages).\n\n1. Remove any existing Maps SDK for iOS dependencies.\n2. Open a terminal window and navigate to the `tutorials/map-with-marker` directory.\n3. Close your Xcode workspace and run the following commands: \n\n ```swift\n sudo gem install cocoapods-deintegrate cocoapods-clean\n pod deintegrate\n pod cache clean --all\n rm Podfile\n rm map-with-marker.xcworkspace\n ```\n4. Open your Xcode project and delete the podfile.\n5. Go to **File \\\u003e Add Package Dependencies**.\n6. Enter \u003chttps://github.com/googlemaps/ios-maps-sdk\u003e as the URL, press **Enter** to pull in the package, and click **Add Package**.\n7. You may need to reset your package cache using **File \\\u003e Packages \\\u003e Reset Package Cache**.\n\nUse CocoaPods\n\n1. Download and install [Xcode](https://developer.apple.com/xcode/) **version 16.0** or later.\n2. If you don't already have [CocoaPods](https://guides.cocoapods.org/using/getting-started.html), install it on macOS by running the following command from the terminal: \n\n ```text\n sudo gem install cocoapods\n ```\n3. Navigate to the `tutorials/map-with-marker` directory.\n4. Run the `pod install` command. This will install the [Maps SDK](https://developers.google.com/maps/documentation/ios-sdk) specified in the `Podfile`, along with any dependencies.\n5. Run `pod outdated` to compare the installed pod version with any new updates. If a new version is detected, run `pod update` to update the `Podfile` and install the latest SDK. For more details, see the [CocoaPods Guide](https://guides.cocoapods.org/using/pod-install-vs-update.html).\n6. Open (double-click) the project's **map-with-marker.xcworkspace** file to open it in Xcode. You must use the `.xcworkspace` file to open the project.\n\nGet an API key and enable the necessary APIs\n\nTo complete this tutorial, you need a Google API key that's authorized to\nuse the Maps SDK for iOS. Click the following button to get\na key and activate the API.\n[Get Started](https://cloud.google.com/maps-platform/#get-started)\n\nFor more details, see\n[Get an API key](/maps/documentation/ios-sdk/get-api-key).\n\nAdd the API key to your application\n\nAdd your API key to your `AppDelegate.swift` as follows:\n\n1. Note that following import statement has been added to the file: \n\n ```python\n import GoogleMaps\n ```\n2. Edit the following line in your `application(_:didFinishLaunchingWithOptions:)` method, replacing *YOUR_API_KEY* with your API key: \n\n ```scdoc\n GMSServices.provideAPIKey(\"YOUR_API_KEY\")\n ```\n\n| **Note:** The [sample code](https://github.com/googlemaps-samples/maps-sdk-for-ios-samples) for the completed tutorial is configured to run as a Swift Xcode project but includes Swift and Objective-C examples.\n\nBuild and run your app\n\n1. Connect an iOS device to your computer, or select a [simulator](https://developer.apple.com/library/content/documentation/IDEs/Conceptual/iOS_Simulator_Guide/Introduction/Introduction.html) from the Xcode scheme menu.\n2. If you're using a device, make sure that location services are enabled. If you're using a simulator, select a location from the **Features** menu.\n3. In Xcode, click the **Product/Run** menu option (or the play button icon).\n - Xcode builds the app, and then runs the app on the device or on the simulator.\n - You should see a map with a marker centered on Sydney on the east coast of Australia, similar to the image on this page.\n\nTroubleshooting:\n\n- If you don't see a map, check that you've obtained an API key and added it to the app, [as described previously](#add_api_key). Check Xcode's debugging console for error messages about the API key.\n- If you have restricted the API key by the iOS bundle identifier, edit the key to add the bundle identifier for the app: `com.google.examples.map-with-marker`.\n- Make sure that you have a good Wifi or GPS connection.\n- Use the [Xcode debugging tools](https://developer.apple.com/library/content/documentation/DeveloperTools/Conceptual/debugging_with_xcode/chapters/debugging_tools.html) to view logs and debug the app.\n\nUnderstand the code\n\n1. Create a map and set it as the view in `viewDidLoad()`. \n\n Swift \n\n ```swift\n // Create a GMSCameraPosition that tells the map to display the\n // coordinate -33.86,151.20 at zoom level 6.\n let camera = GMSCameraPosition.camera(withLatitude: -33.86, longitude: 151.20, zoom: 6.0)\n let mapView = GMSMapView.map(withFrame: CGRect.zero, camera: camera)\n view = mapView\n \n ```\n\n Objective-C \n\n ```objective-c\n // Create a GMSCameraPosition that tells the map to display the\n // coordinate -33.86,151.20 at zoom level 6.\n GMSCameraPosition *camera = [GMSCameraPosition cameraWithLatitude:-33.86\n longitude:151.20\n zoom:6.0];\n GMSMapView *mapView = [[GMSMapView alloc] initWithFrame: CGRectZero camera:camera];\n self.view = mapView;\n \n ```\n2. Add a marker to the map in `viewDidLoad()`. \n\n Swift \n\n ```swift\n // Creates a marker in the center of the map.\n let marker = GMSMarker()\n marker.position = CLLocationCoordinate2D(latitude: -33.86, longitude: 151.20)\n marker.title = \"Sydney\"\n marker.snippet = \"Australia\"\n marker.map = mapView\n \n ```\n\n Objective-C \n\n ```objective-c\n // Creates a marker in the center of the map.\n GMSMarker *marker = [[GMSMarker alloc] init];\n marker.position = CLLocationCoordinate2DMake(-33.86, 151.20);\n marker.title = @\"Sydney\";\n marker.snippet = @\"Australia\";\n marker.map = mapView;\n \n ```\n\nBy default, the Maps SDK for iOS displays the content of the info\nwindow when the user taps a marker. There's no need to add a click listener for\nthe marker if you're happy to use the default behavior.\n\n**Congratulations!** You've built an iOS app that displays a Google map with a\nmarker to indicate a particular location. You've also learned how to use the [Maps SDK for iOS](/maps/documentation/ios-sdk).\n\nNext steps\n\nLearn more about the [map object](/maps/documentation/ios-sdk/map), and what you\ncan do with [markers](/maps/documentation/ios-sdk/marker)."]]