
Pakiet SDK platformy do personalizowania wiadomości wyświetlanych użytkownikom (UMP) od Google to narzędzie do obsługi prywatności i wyświetlania wiadomości, które pomaga zarządzać ustawieniami prywatności. Więcej informacji znajdziesz w artykule Prywatność i wyświetlanie wiadomości.
Tworzenie typu wiadomości
Twórz wiadomości dla użytkowników, korzystając z jednego z dostępnych typów wiadomości na karcie Prywatność i wyświetlanie wiadomości na koncie Ad Managera. Pakiet SDK UMP próbuje wyświetlić wiadomość dotyczącą prywatności utworzoną na podstawie identyfikatora aplikacji Ad Managera ustawionego w projekcie.
Więcej informacji znajdziesz w artykule Prywatność i wyświetlanie wiadomości.
Importowanie pakietu SDK
CocoaPods (preferowane)
Najłatwiejszym sposobem importowania pakietu SDK do projektu iOS jest użycie CocoaPods. Otwórz plik Podfile projektu i dodaj ten wiersz do celu aplikacji:
pod 'GoogleUserMessagingPlatform'
Następnie uruchom to polecenie:
pod install --repo-updateJeśli nie znasz CocoaPods, przeczytaj artykuł Korzystanie z CocoaPods, aby dowiedzieć się, jak tworzyć pliki Podfile i z nich korzystać.
Swift Package Manager
Pakiet SDK UMP obsługuje też Swift Package Manager. Aby zaimportować pakiet Swift, wykonaj te czynności:
W Xcode zainstaluj pakiet SDK UMP Swift, klikając kolejno File > Add Packages... (Plik > Dodaj pakiety...).
W wyświetlonym oknie wyszukaj repozytorium GitHub pakietu SDK UMP Swift:
https://github.com/googleads/swift-package-manager-google-user-messaging-platform.gitWybierz wersję pakietu SDK UMP Swift, której chcesz używać. W przypadku nowych projektów zalecamy używanie wersji Up to Next Major Version (Do następnej wersji głównej).
Xcode przetworzy zależności pakietu i pobierze je w tle. Więcej informacji o dodawaniu zależności pakietu znajdziesz w artykule Apple.
Pobieranie ręczne
Innym sposobem importowania pakietu SDK jest zrobienie tego ręcznie.
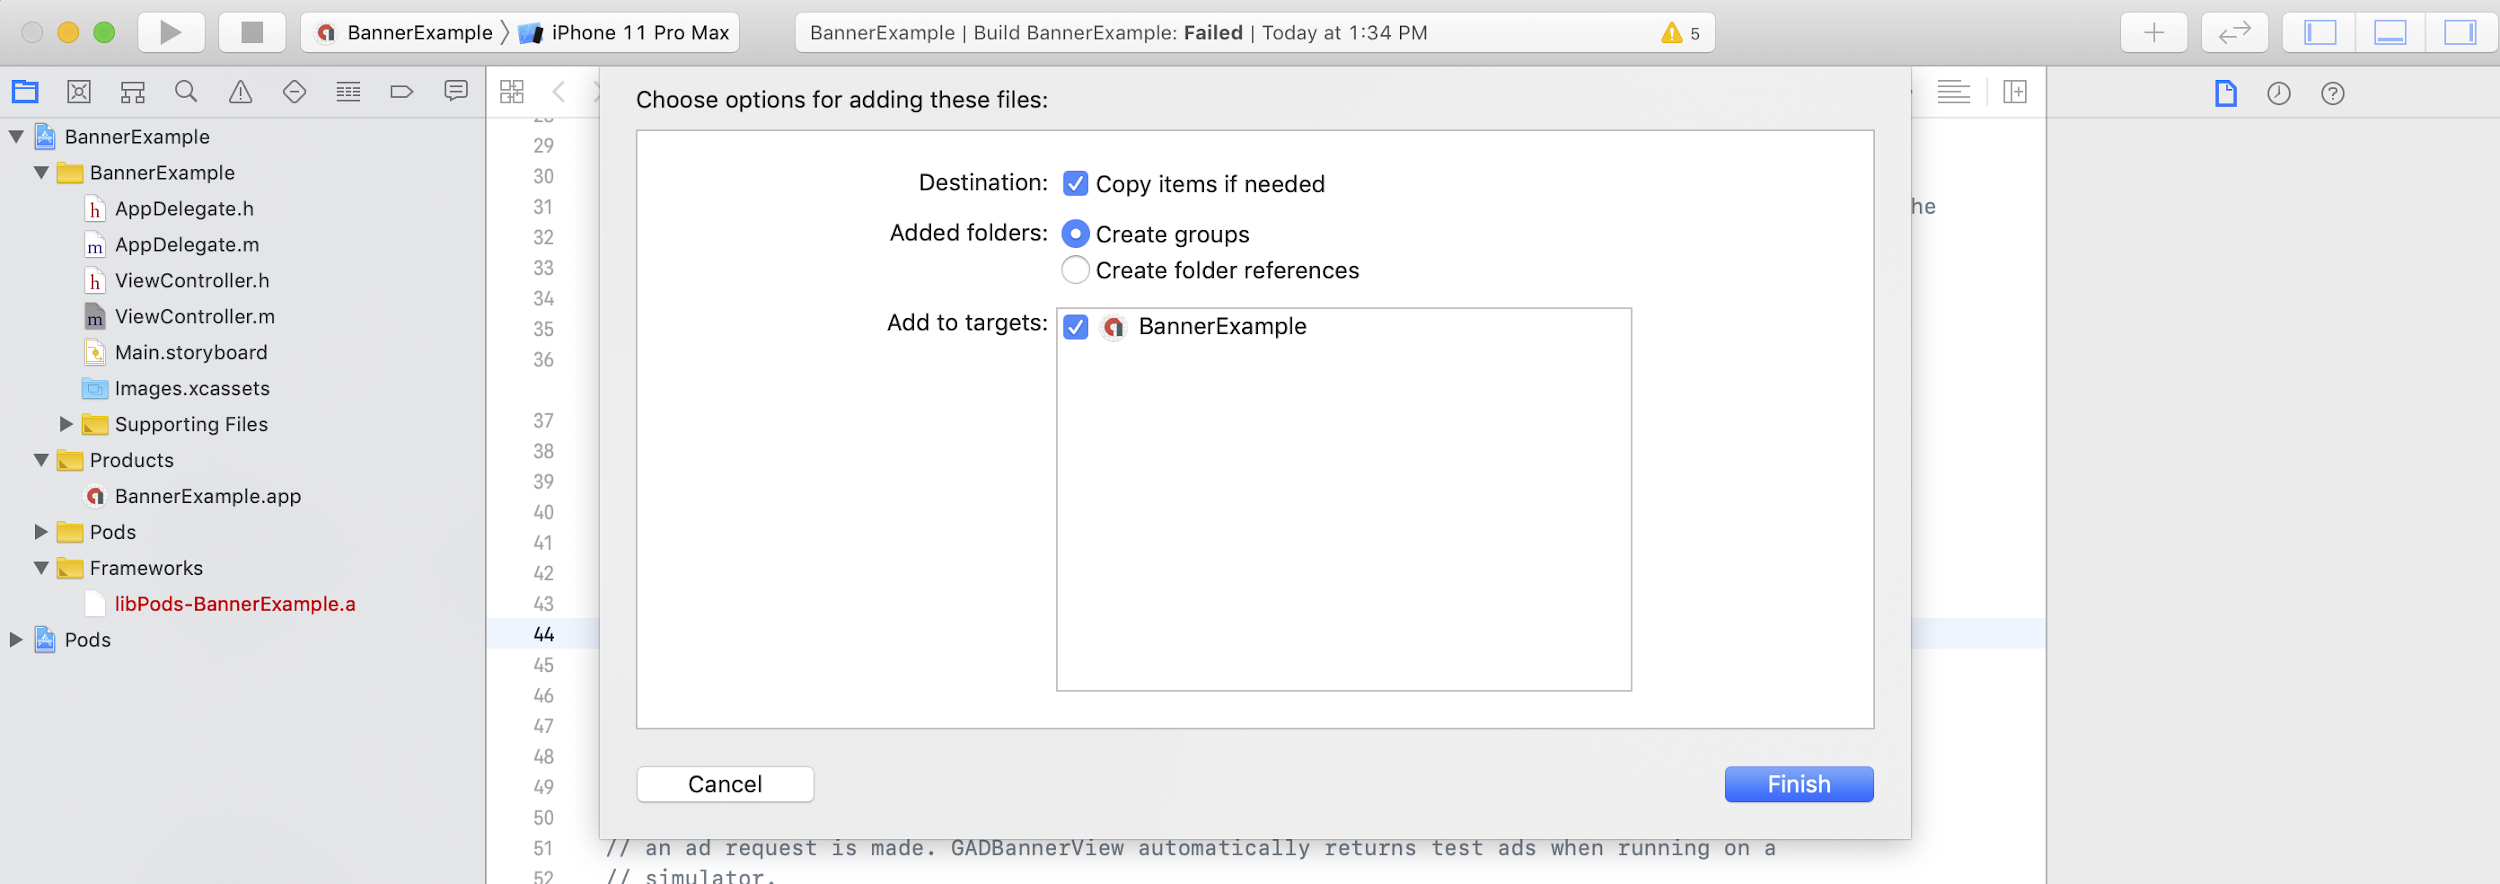
Następnie przeciągnij framework do projektu Xcode, pamiętając o wybraniu opcji Copy items if needed (W razie potrzeby skopiuj elementy).
Następnie możesz dołączyć framework do dowolnego pliku, używając:
Swift
import UserMessagingPlatform
Objective-C
#include <UserMessagingPlatform/UserMessagingPlatform.h>
Dodawanie identyfikatora aplikacji
Identyfikator aplikacji znajdziesz w
interfejsie Ad Managera.
Dodaj identyfikator do pliku
Info.plist
za pomocą tego fragmentu kodu:
<key>GADApplicationIdentifier</key>
<string>ca-app-pub-xxxxxxxxxxxxxxxx~yyyyyyyyyy</string>
Uzyskiwanie informacji o zgodzie użytkownika
Przy każdym uruchomieniu aplikacji należy prosić o aktualizację informacji o zgodzie użytkownika za pomocą funkcji
requestConsentInfoUpdate(with:completionHandler:). To żądanie sprawdza:
- Czy wymagana jest zgoda. Na przykład zgoda jest wymagana po raz pierwszy lub poprzednia decyzja o zgodzie wygasła.
- Czy wymagany jest punkt wejścia opcji prywatności. Niektóre wiadomości dotyczące prywatności wymagają, aby aplikacje umożliwiały użytkownikom modyfikowanie ustawień prywatności w dowolnym momencie.
Swift
// Requesting an update to consent information should be called on every app launch.
ConsentInformation.shared.requestConsentInfoUpdate(with: parameters) {
requestConsentError in
// ...
}
SwiftUI
// Requesting an update to consent information should be called on every app launch.
ConsentInformation.shared.requestConsentInfoUpdate(with: parameters) {
requestConsentError in
// ...
}
Objective-C
// Requesting an update to consent information should be called on every app launch.
[UMPConsentInformation.sharedInstance
requestConsentInfoUpdateWithParameters:parameters
completionHandler:^(NSError *_Nullable requestConsentError) {
// ...
}];
Wczytywanie i wyświetlanie formularza wiadomości dotyczącej prywatności
Po otrzymaniu najnowszych informacji o stanie zgody wywołaj funkcję
loadAndPresentIfRequired(from:), aby wczytać formularze wymagane do
uzyskania zgody użytkownika. Po wczytaniu formularze są wyświetlane natychmiast.
Swift
try await ConsentForm.loadAndPresentIfRequired(from: viewController)
SwiftUI
try await ConsentForm.loadAndPresentIfRequired(from: nil)
Objective-C
[UMPConsentForm
loadAndPresentIfRequiredFromViewController:viewController
completionHandler:^(NSError *_Nullable loadAndPresentError) {
// Consent gathering process is complete.
}];
Opcje prywatności
Niektóre formularze wiadomości dotyczących prywatności są wyświetlane z punktu wejścia opcji prywatności renderowanego przez wydawcę, co umożliwia użytkownikom zarządzanie ustawieniami prywatności w dowolnym momencie. Aby dowiedzieć się więcej o tym, która wiadomość wyświetla się użytkownikom w punkcie wejścia opcji prywatności , przeczytaj artykuł Dostępne typy wiadomości dla użytkowników.
Sprawdzanie, czy wymagany jest punkt wejścia opcji prywatności
Po wywołaniu funkcji
requestConsentInfoUpdate(with:completionHandler:) sprawdź
UMPConsentInformation.sharedInstance.privacyOptionsRequirementStatus, aby
określić, czy w aplikacji wymagany jest punkt wejścia opcji prywatności. Jeśli jest wymagany,
dodaj do aplikacji widoczny i interaktywny element interfejsu, który
wyświetla formularz opcji prywatności. Jeśli punkt wejścia opcji prywatności nie jest wymagany, skonfiguruj element interfejsu tak, aby był niewidoczny i nieinteraktywny.
Swift
var isPrivacyOptionsRequired: Bool {
return ConsentInformation.shared.privacyOptionsRequirementStatus == .required
}
Objective-C
- (BOOL)isPrivacyOptionsRequired {
return UMPConsentInformation.sharedInstance.privacyOptionsRequirementStatus ==
UMPPrivacyOptionsRequirementStatusRequired;
}
Pełną listę stanów wymagania opcji prywatności znajdziesz w artykule
UMPPrivacyOptionsRequirementStatus.
Wyświetlanie formularza opcji prywatności
Gdy użytkownik wejdzie w interakcję z Twoim elementem, wyświetl formularz opcji prywatności:
Swift
try await ConsentForm.presentPrivacyOptionsForm(from: viewController)
SwiftUI
try await ConsentForm.presentPrivacyOptionsForm(from: nil)
Objective-C
[UMPConsentForm presentPrivacyOptionsFormFromViewController:viewController
completionHandler:completionHandler];
Wysyłanie żądań reklam za zgodą użytkownika
Zanim wyślesz żądanie reklamy, sprawdź, czy masz zgodę użytkownika, za pomocą funkcji
UMPConsentInformation.sharedInstance.canRequestAds:
Swift
ConsentInformation.shared.canRequestAds
Objective-C
UMPConsentInformation.sharedInstance.canRequestAds;
Poniżej znajdziesz miejsca, w których możesz sprawdzić, czy możesz wysyłać żądania reklam podczas zbierania zgody:
- Po zebraniu zgody przez pakiet SDK UMP w bieżącej sesji.
- Natychmiast po wywołaniu funkcji
requestConsentInfoUpdate(with:completionHandler:). Pakiet SDK UMP mógł uzyskać zgodę w poprzedniej sesji aplikacji.
Jeśli podczas procesu zbierania zgody wystąpi błąd, sprawdź, czy możesz wysyłać żądania reklam. Pakiet SDK UMP używa stanu zgody z poprzedniej sesji aplikacji.
Zapobieganie zbędnym żądaniom reklam
Gdy sprawdzasz
UMPConsentInformation.sharedInstance.canRequestAds po zebraniu zgody i po wywołaniu funkcji
requestConsentInfoUpdate(with:completionHandler:), upewnij się, że logika zapobiega zbędnym żądaniom reklam, które
mogą spowodować, że oba sprawdzenia zwrócą wartość true. Na przykład za pomocą zmiennej logicznej.
Testowanie
Jeśli chcesz przetestować integrację w aplikacji podczas jej tworzenia, wykonaj te czynności, aby programowo zarejestrować urządzenie testowe. Zanim opublikujesz aplikację, usuń kod, który ustawia te identyfikatory urządzeń testowych.
- Wywołaj funkcję
requestConsentInfoUpdate(with:completionHandler:). Sprawdź dane wyjściowe logu pod kątem wiadomości podobnej do tego przykładu, która pokazuje identyfikator urządzenia i sposób dodania go jako urządzenia testowego:
<UMP SDK>To enable debug mode for this device, set: UMPDebugSettings.testDeviceIdentifiers = @[2077ef9a63d2b398840261c8221a0c9b]Skopiuj identyfikator urządzenia testowego do schowka.
Zmodyfikuj kod, aby wywoływał funkcję
UMPDebugSettings().testDeviceIdentifiersi przekazywał listę identyfikatorów urządzeń testowych.Swift
let parameters = RequestParameters()
let debugSettings = DebugSettings()

debugSettings.testDeviceIdentifiers = ["TEST-DEVICE-HASHED-ID"]
parameters.debugSettings = debugSettings

// Include the UMPRequestParameters in your consent request.
ConsentInformation.shared.requestConsentInfoUpdate(
    with: parameters,
    completionHandler: { error in
      // ...
    })
Objective-C
UMPRequestParameters *parameters = [[UMPRequestParameters alloc] init];
UMPDebugSettings *debugSettings = [[UMPDebugSettings alloc] init];

debugSettings.testDeviceIdentifiers = @[ @"TEST-DEVICE-HASHED-ID" ];
parameters.debugSettings = debugSettings;

// Include the UMPRequestParameters in your consent request.
[UMPConsentInformation.sharedInstance
    requestConsentInfoUpdateWithParameters:parameters
                        completionHandler:^(NSError *_Nullable error){
                          // ...
}];
Wymuszanie lokalizacji geograficznej
Pakiet SDK UMP umożliwia testowanie działania aplikacji tak, jakby urządzenie
znajdowało się w różnych regionach, np. w Europejskim Obszarze Gospodarczym (EOG),
Wielkiej Brytanii i Szwajcarii, za pomocą funkcji
geography. Pamiętaj, że ustawienia debugowania działają tylko na urządzeniach testowych.
Swift
let parameters = RequestParameters()
let debugSettings = DebugSettings()

debugSettings.testDeviceIdentifiers = ["TEST-DEVICE-HASHED-ID"]
debugSettings.geography = .EEA
parameters.debugSettings = debugSettings

// Include the UMPRequestParameters in your consent request.
ConsentInformation.shared.requestConsentInfoUpdate(
    with: parameters,
    completionHandler: { error in
      // ...
    })
Objective-C
UMPRequestParameters *parameters = [[UMPRequestParameters alloc] init];
UMPDebugSettings *debugSettings = [[UMPDebugSettings alloc] init];

debugSettings.testDeviceIdentifiers = @[ @"TEST-DEVICE-HASHED-ID" ];
debugSettings.geography = UMPDebugGeographyEEA;
parameters.debugSettings = debugSettings;

// Include the UMPRequestParameters in your consent request.
[UMPConsentInformation.sharedInstance
    requestConsentInfoUpdateWithParameters:parameters
                         completionHandler:^(NSError *_Nullable error){
                           // ...
}];
Resetowanie stanu zgody
Podczas testowania aplikacji za pomocą pakietu SDK UMP może się okazać przydatne zresetowanie stanu pakietu SDK, aby można było symulować pierwsze zainstalowanie aplikacji przez użytkownika.
Pakiet SDK udostępnia do tego metodę reset.
Swift
ConsentInformation.shared.reset()
Objective-C
[UMPConsentInformation.sharedInstance reset];
Przykłady w GitHubie
Pełny przykład integracji z pakietem SDK UMP opisanej na tej stronie znajdziesz w: