Ringkasan penanda
Tetap teratur dengan koleksi
Simpan dan kategorikan konten berdasarkan preferensi Anda.
Gunakan penanda untuk menampilkan berbagai lokasi tunggal di sebuah peta. Panduan ini menunjukkan cara
menggunakan penanda lanjutan. Dengan penanda lanjutan, Anda dapat membuat dan menyesuaikan penanda berperforma tinggi, serta membuat penanda yang dapat diakses yang merespons peristiwa klik DOM dan input keyboard. Untuk penyesuaian yang lebih mendalam, penanda lanjutan mendukung penggunaan HTML dan CSS kustom, termasuk kemampuan untuk membuat penanda kustom. Untuk aplikasi 3D, Anda dapat mengontrol ketinggian tempat penanda muncul.
Penanda lanjutan didukung pada peta raster dan vektor (meskipun beberapa fitur tidak tersedia di peta raster).
ID peta diperlukan untuk menggunakan Penanda Lanjutan (DEMO_MAP_ID
dapat digunakan).
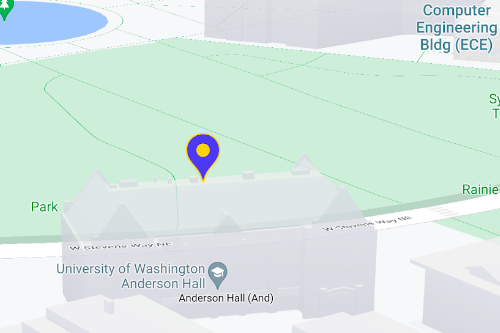
Mulai menggunakan penanda lanjutan
Menyesuaikan warna, skala, dan gambar ikon
Sesuaikan latar belakang, glyph, dan warna batas penanda default, serta sesuaikan ukuran penanda.
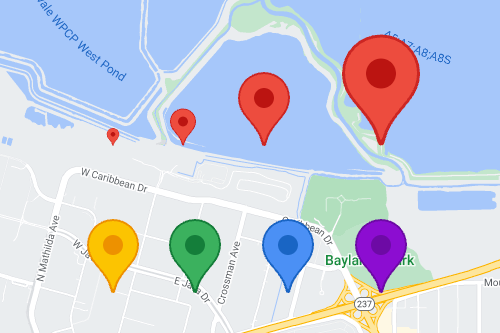
Ganti ikon penanda default dengan gambar SVG atau PNG kustom.
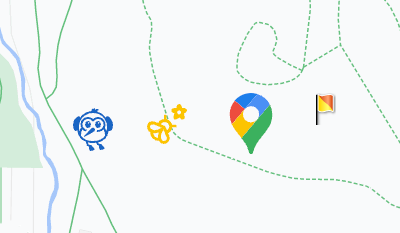
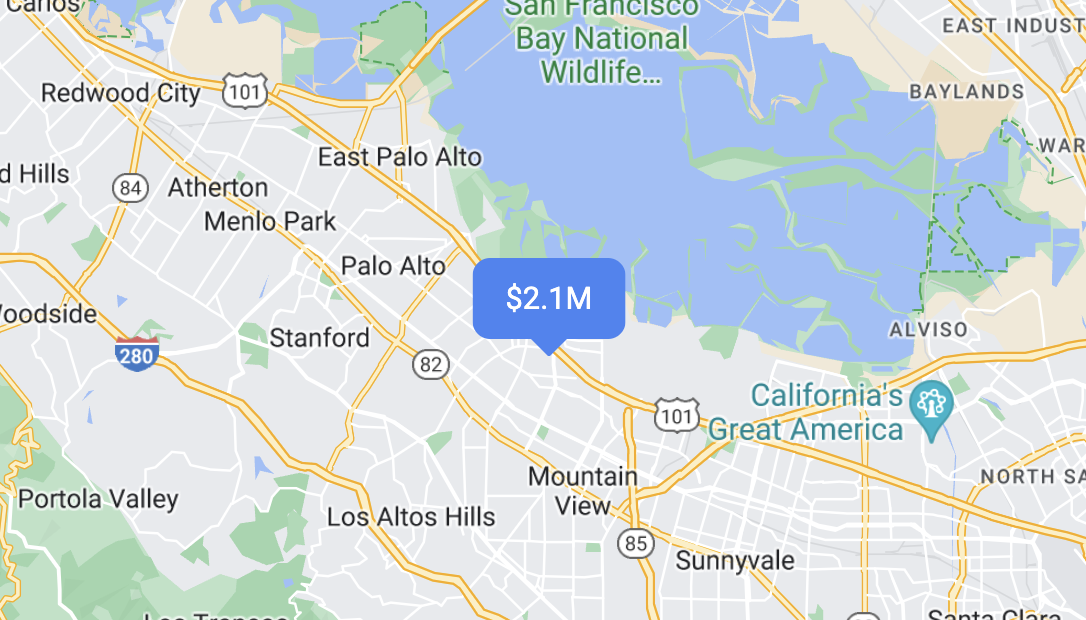
Membuat penanda HTML kustom
Gunakan HTML dan CSS kustom untuk membuat penanda interaktif yang unik secara visual, dan membuat animasi.
Membuat penanda merespons peristiwa klik dan keyboard
Buat penanda merespons klik dan peristiwa keyboard dengan menambahkan
pemroses peristiwa click
.
function initMap() {
const map = new google.maps.Map(document.getElementById('map'), {
center: {lat: 37.4239163, lng: -122.0947209},
zoom: 17,
mapId: 'DEMO_MAP_ID',
});
const marker = new google.maps.marker.AdvancedMarkerElement({
map,
position: {lat: 37.4239163, lng: -122.0947209},
});
marker.addListener('click', ({domEvent, latLng}) => {
const {target} = domEvent;
// Handle the click event.
// ...
});
}
Menetapkan ketinggian penanda dan perilaku saat tumpang tindih
Tetapkan ketinggian untuk penanda agar muncul dengan benar bersama elemen peta 3D, dan tentukan perilaku penanda saat terjadi tumpang tindih dengan penanda atau label peta lainnya. Ketinggian penanda hanya didukung pada peta vektor.
Langkah berikutnya
Kecuali dinyatakan lain, konten di halaman ini dilisensikan berdasarkan Lisensi Creative Commons Attribution 4.0, sedangkan contoh kode dilisensikan berdasarkan Lisensi Apache 2.0. Untuk mengetahui informasi selengkapnya, lihat Kebijakan Situs Google Developers. Java adalah merek dagang terdaftar dari Oracle dan/atau afiliasinya.
Terakhir diperbarui pada 2025-08-17 UTC.
[null,null,["Terakhir diperbarui pada 2025-08-17 UTC."],[[["\u003cp\u003eAdvanced markers offer highly performant and customizable options for displaying single locations on Google Maps, including custom HTML and CSS for unique designs.\u003c/p\u003e\n"],["\u003cp\u003eThey are accessible, responding to DOM click events and keyboard input for enhanced user interaction.\u003c/p\u003e\n"],["\u003cp\u003eCustomization options include changing color, scale, icon image, and creating custom HTML markers with interactive elements and animations.\u003c/p\u003e\n"],["\u003cp\u003eAltitude control is available for 3D applications, enabling precise marker placement in three-dimensional spaces, although this feature is limited to vector maps.\u003c/p\u003e\n"],["\u003cp\u003eAdvanced markers are compatible with both raster and vector maps, requiring a map ID for implementation, and offer improved performance compared to legacy markers.\u003c/p\u003e\n"]]],["Advanced markers allow customization of map markers, including color, scale, and icons (SVG/PNG). Users can employ custom HTML and CSS for unique designs and animations. Markers can be made interactive via `click` event listeners, handling user clicks and keyboard input. Altitude and collision behavior can be defined for 3D maps. A map ID, like `DEMO_MAP_ID`, is needed, and these advanced markers are available on Android, iOS, and JavaScript platforms, supporting both raster and vector maps.\n"],null,["Select platform: [Android](/maps/documentation/android-sdk/advanced-markers/overview \"View this page for the Android platform docs.\") [iOS](/maps/documentation/ios-sdk/advanced-markers/overview \"View this page for the iOS platform docs.\") [JavaScript](/maps/documentation/javascript/advanced-markers/overview \"View this page for the JavaScript platform docs.\")\n\n\u003cbr /\u003e\n\nUse markers to display single locations on a map. This guide shows you how to\nuse advanced markers. With\nadvanced markers you can create and customize highly\nperformant markers, and make accessible markers that respond to DOM click events\nand keyboard input. For even deeper customization,\nadvanced markers supports the use of custom HTML and CSS,\nincluding the ability to create completely custom markers. For 3D applications\nyou can control the altitude at which a marker appears.\nAdvanced markers are supported on both raster and vector maps (though some features are not available on raster maps).\nA map ID is required to use Advanced Markers (the `DEMO_MAP_ID` can be used).\n| **Tip:** If your map uses [legacy markers](/maps/documentation/javascript/markers), consider [migrating to advanced markers](/maps/documentation/javascript/advanced-markers/migration).\n\n[Get started with advanced markers](/maps/documentation/javascript/advanced-markers/start)\n\nCustomize color, scale, and icon image\n\nCustomize the default marker's background, glyph, and border\ncolor, and adjust marker size.\n\nReplace the default marker icon with a custom SVG or PNG image.\n\nCreate custom HTML markers\n\nUse custom HTML and CSS to create visually distinctive\ninteractive markers, and create animations.\n\nMake markers respond to click and keyboard events\n\nMake a marker respond to clicks and keyboard events by adding a\n`click` event listener. \n\n```javascript\nfunction initMap() {\n const map = new google.maps.Map(document.getElementById('map'), {\n center: {lat: 37.4239163, lng: -122.0947209},\n zoom: 17,\n mapId: 'DEMO_MAP_ID',\n });\n\n const marker = new google.maps.marker.AdvancedMarkerElement({\n map,\n position: {lat: 37.4239163, lng: -122.0947209},\n });\n\n marker.addListener('click', ({domEvent, latLng}) =\u003e {\n const {target} = domEvent;\n // Handle the click event.\n // ...\n });\n}\n```\n\nSet marker altitude and collision behavior\n\nSet the altitude for a marker to make it appear correctly with\n3D map elements, and specify how a marker should behave when it collides with\nanother marker or map label. Marker altitude is only supported on vector maps.\n\nNext step\n\n- [Get started with advanced markers](/maps/documentation/javascript/advanced-markers/start)"]]