
هل أنتم مستعدون لإنشاء قصص ثلاثية الأبعاد جذابة تنقل المشاهدين في رحلة عبر مواقع جغرافية في العالم الحقيقي؟ سيوضّح لكم هذا الدليل كيفية إنشاء قصة جديدة باستخدام المحرّر المضمّن.
استخدِموا واجهتنا السهلة لضبط العناوين والأوصاف والصور وزوايا الكاميرا. إنّها مثالية للمبتدئين.
افتحوا محرّر القصص
يتضمّن حلّ 3D Storytelling محرّرًا مضمّنًا يتيح لكم إنشاء القصة من واجهة المستخدم.
يظهر المحرّر على الجانب الأيمن من الصفحة. افتحوه من خلال النقر على هذا الرمز الصغير:
يمكنكم الوصول إلى المحرّر من خلال الانتقال إلى تطبيق 3D Storytelling Admin المستضاف أو من خلال تنزيل وتثبيت نموذج Storytelling الخاص بكم من GitHub.
أنشئوا صفحة الغلاف
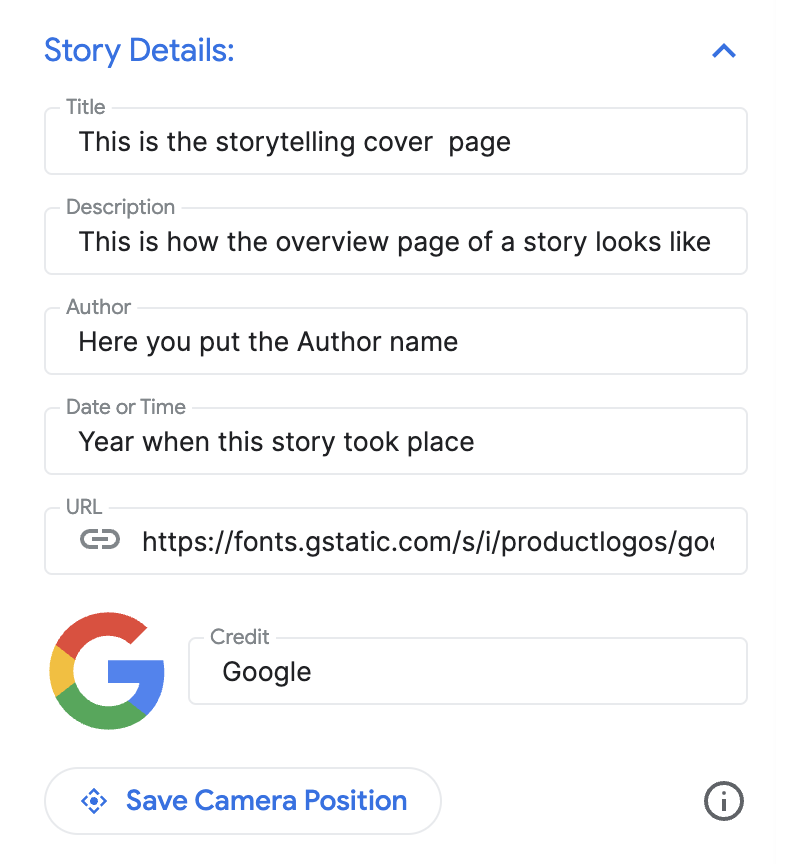
استخدِموا قسم "تفاصيل القصة" لضبط عنوان وصورة ووصف وتفاصيل أخرى. يقدّم هذا القسم قصتكم للمشاهد.
أضيفوا فصولاً
كل فصل هو بمثابة محطة في رحلتكم. إليكم كيفية إضافتها:
ابحثوا عن موقع جغرافي باستخدام شريط البحث المفعَّل فيه الإكمال التلقائي المضمّن.
بعد إضافة موقع جغرافي، يمكنكم إضافة تفاصيل إلى الفصل من خلال النقر على الزر تعديل بجانب الموقع الجغرافي:

انقروا على "تعديل" لإدخال العنوان والوصف والصورة والتاريخ للفصل.

إذا أردتم حذف فصل معيّن، هناك زر حذف أسفل زر "تعديل" مباشرةً.
يمكنكم إعادة ترتيب الفصول من خلال سحبها ونقلها باستخدام الرموز المنقطة على اليمين:

احفظوا الفصل
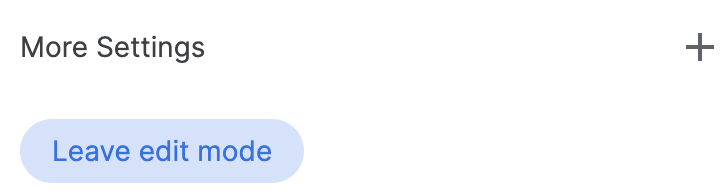
لحفظ فصل معيّن، ما عليكم سوى النقر على الزر "مغادرة وضع التعديل". يعمل الزر "مغادرة وضع التعديل" كزر حفظ.
خصِّصوا إعدادات الكاميرا
يمكنكم تخصيص إعدادات الكاميرا المختلفة:
إظهار/إخفاء علامة الموقع الجغرافي قد لا تريدون إظهار الدبوس على موقع جغرافي معيّن، بل تريدون عرض منطقة عامة. ضع علامة في مربّع الاختيار "عرض علامة الموقع الجغرافي" أو أزل العلامة لإظهار دبوس أو إخفائه.
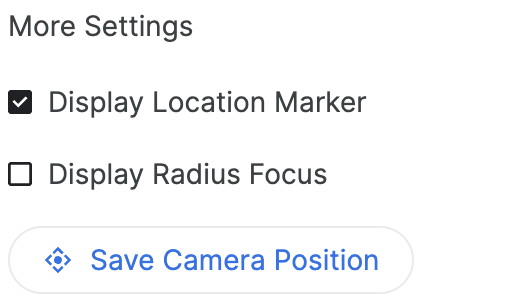
إظهار نطاق جغرافي حول منطقة يمكنكم اختيار إظهار منطقة حول موقع جغرافي معيّن باستخدام ميزة "عرض النطاق الجغرافي للتركيز". عند وضع علامة في مربّع الاختيار، سيتم فتح شريط تمرير للنطاق الجغرافي يتيح لكم التحكّم في نصف قطر حدود تركيز الكاميرا.
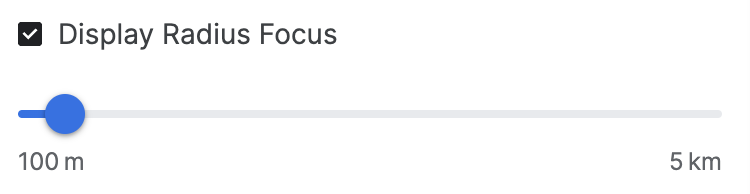
يوضّح هذا المثال كيف تساعد خيارات الكاميرا المتقدّمة في إنشاء تجربة مخصّصة.
خصِّصوا موضع الكاميرا اضبطوا زاوية الكاميرا المحدّدة التي تريدون إظهارها باستخدام عناصر التحكّم السهلة في الكاميرا:
الإمالة: اطّلِعوا على الخريطة من أعلى أو على مستوى الأرض. اضغطوا مع الاستمرار على مفتاح Control (أو Cmd على بعض أجهزة الكمبيوتر) أثناء النقر والسحب للأعلى أو للأسفل باستخدام الماوس.
التدوير: أدرِجوا الخريطة لعرضها بزاوية 360 درجة. اضغطوا مع الاستمرار على مفتاح Control (أو Cmd على بعض أجهزة الكمبيوتر) أثناء النقر والسحب لليمين أو لليسار باستخدام الـ ماوس.
التكبير/التصغير: احصلوا على لقطة مقرَّبة أو عرض بزاوية واسعة. استخدِموا عجلة التمرير في الماوس أو إيماءات التكبير/التصغير المألوفة.
جرِّبوا الجمع بين الإمالة والتدوير والتكبير/التصغير للعثور على الزاوية المثالية لكل موقع جغرافي. قد تختلف عناصر التحكّم قليلاً حسب إعدادات الكمبيوتر.

تعرَّفوا على كيفية التحكّم في اللوحة الثلاثية الأبعاد للحصول على زاوية الكاميرا المثالية.
أكملوا التنزيل
بعد إنشاء القصة والفصول، نزِّلوا الإعدادات.
انقروا على "تنزيل" للحصول على الإعدادات المخصّصة بتنسيق JSON.
يمكن استخدام هذه الإعدادات لإنشاء حلّ 3D Storytelling خاص بكم من خلال إنشاء نسخة من الرمز من GitHub.