
准备好打造引人入胜的 3D 故事,让观看者踏上穿越现实世界地点的旅程了吗?本指南将向您展示如何使用内置编辑器构建新故事。
使用我们直观的界面调整标题、说明、图片和拍摄角度。非常适合初学者!
打开故事编辑器
3D 故事叙述解决方案附带一个内置编辑器,可让您通过界面构建故事
编辑器位于页面左侧。点击此小图标即可打开:
您可以通过访问托管版 3D 故事叙述管理应用或通过 从 GitHub 下载并安装自己的故事叙述实例来访问编辑器
创建封面页
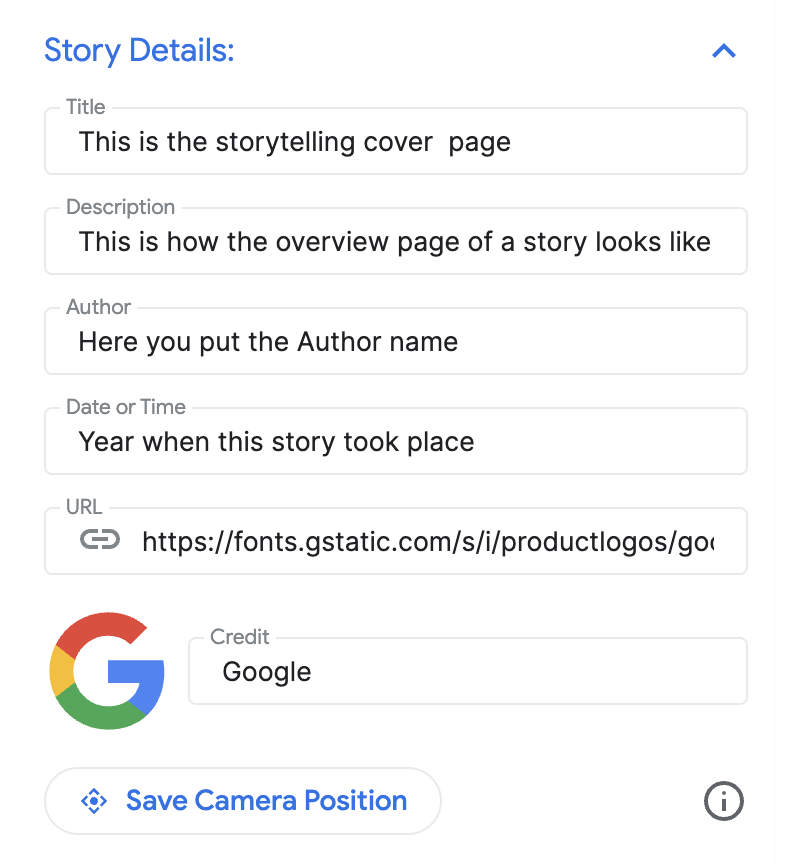
使用“故事详情”部分设置标题、图片、说明和其他 详情。这会向观看者介绍您的故事。
添加章节
每个章节都像旅程中的一站。以下是添加章节的方法:
使用内置的自动补全搜索栏搜索地点。
添加地点后,您可以点击地点旁边的修改 按钮,向章节添加详情:

点击“修改”,为您的 章节输入标题、说明、图片和日期。

如果您想删除特定章节,请点击“修改”按钮正下方的删除 按钮。
您可以使用左侧的 点状图标拖动和移动章节,以重新排序 章节:

保存章节
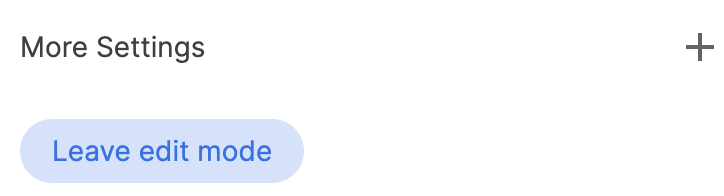
如需保存特定章节,只需点击“退出修改模式”按钮即可。 “退出修改模式”按钮充当保存按钮。
自定义相机设置
您可以自定义不同的相机设置:
显示/隐藏地点标记 您可能不想在特定地点显示图钉,而是想展示大致区域。选中/取消选中“显示地点标记”复选框,即可显示或隐藏图钉。
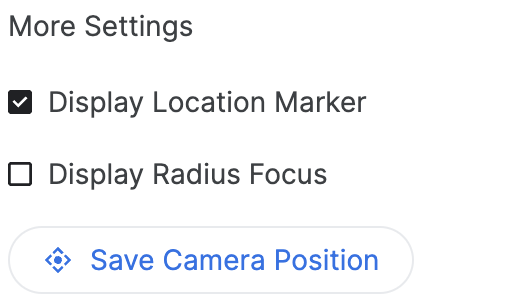
显示区域周围的半径 您可以选择使用 “显示半径焦点”功能显示特定地点周围的区域。选中此选项后 系统会打开一个半径滑块,让您控制相机焦点的边界 半径。
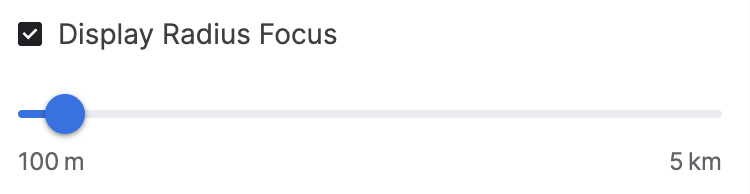
这展示了高级相机选项如何帮助打造自定义体验。
自定义相机位置 使用简单的相机控件微调您想展示的特定拍摄角度:
倾斜 :从上方或地面查看地图。按住 Control 键(或某些计算机上的 Cmd 键),同时使用 鼠标向上或向下点击并拖动。
旋转 :旋转地图以获得 360 度全景视图。按住 Control 键 (或某些计算机上的 Cmd 键),同时使用鼠标向左或向右点击并拖动。
缩放 :获得特写或广角视图。使用鼠标滚轮或熟悉的放大/缩小手势。
尝试将倾斜、旋转和缩放相结合,为每个地点找到完美的角度。控件可能会因计算机的 设置而略有不同。

了解如何控制 3D 画布以获得完美的拍摄角度。
最终确定并下载
构建完故事和章节后,下载配置。
点击“下载”,以 JSON 格式获取自定义配置。
此配置可用于通过从 GitHub 复刻代码来创建自己的 3D 故事叙述。