
準備好製作引人入勝的 3D 故事,帶領觀眾暢遊真實世界中的地點嗎?本指南說明如何使用內建編輯器製作新故事。
使用直覺式介面調整標題、說明、圖片和攝影機角度。非常適合新手!
開啟精選故事編輯器
3D 故事述說解決方案內建編輯器,可供您從 UI 製作故事
編輯器位於頁面左側,按一下這個小圖示即可開啟:
如要存取編輯器,請前往代管的 3D Storytelling 管理應用程式,或從 GitHub 下載並安裝自己的 Storytelling 執行個體。
建立封面
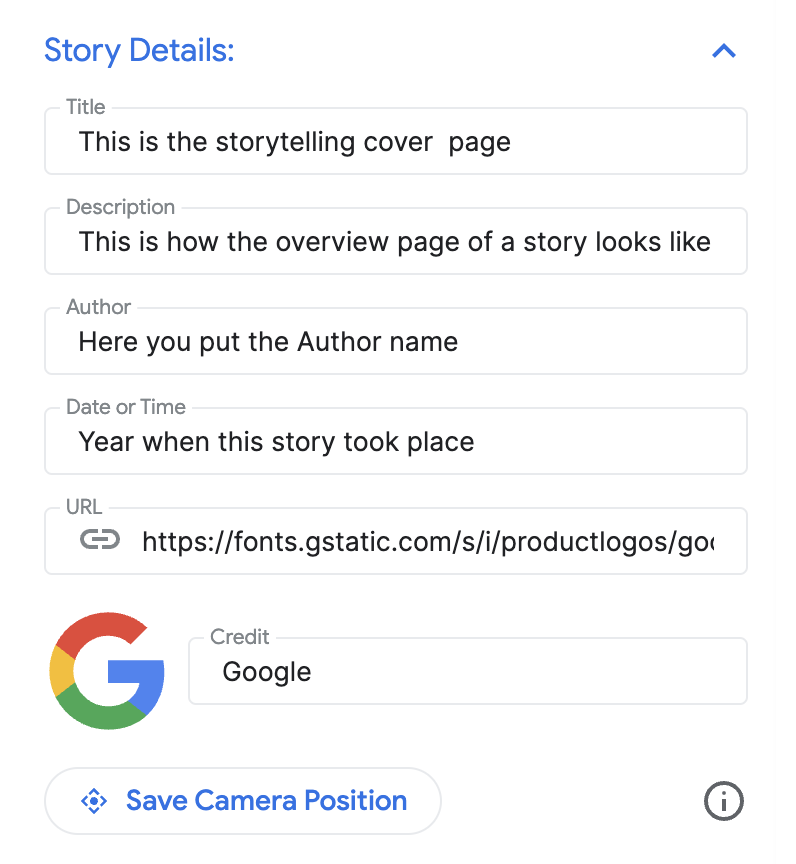
使用「故事詳細資料」部分設定標題、圖片、說明和其他詳細資料。讓觀眾瞭解你的故事。
新增章節
每個章節都像是旅程中的一站。新增方法如下:
使用內建的自動完成搜尋列搜尋地點。
新增地點後,只要按一下地點旁邊的「編輯」按鈕,即可為章節新增詳細資料:

按一下「編輯」,即可輸入章節的標題、說明、圖片和日期。

如要刪除特定章節,請按一下「編輯」按鈕正下方的「刪除」按鈕。
你可以使用左側的虛線圖示拖曳並移動章節,藉此重新排序:

儲存章節
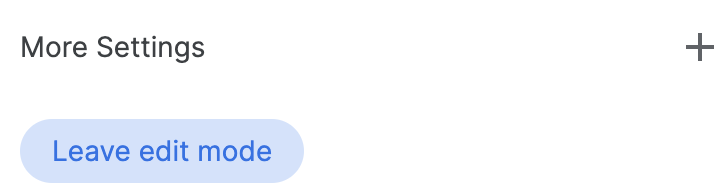
如要儲存特定章節,只要按一下「離開編輯模式」按鈕即可。 「離開編輯模式」按鈕會做為儲存按鈕。
自訂攝影機設定
你可以自訂不同的攝影機設定:
顯示/隱藏地點標記:您可能不想顯示特定地點的圖釘,而是想展示一般區域。勾選/取消勾選「顯示位置標記」方塊,即可顯示或隱藏圖釘。
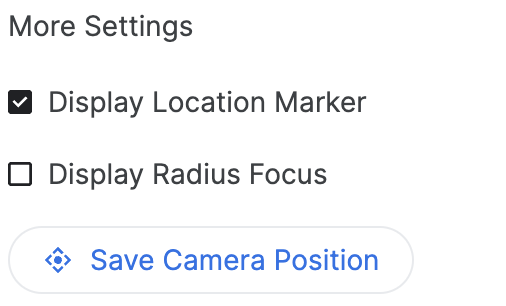
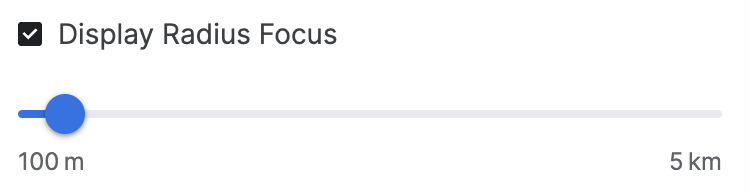
顯示區域周圍的半徑範圍:您可以使用「顯示半徑焦點」功能,選擇顯示特定位置周圍的區域。勾選後,系統會開啟半徑滑桿,方便你控制攝影機焦點的邊界半徑。
這段影片說明如何透過進階相機選項打造個人化體驗。
自訂攝影機位置:使用簡單的攝影機控制選項,微調要顯示的特定攝影機角度:
傾斜:從上方或地面層級查看地圖。按住 Control 鍵 (或部分電腦上的 Cmd 鍵),同時使用滑鼠點選並向上或向下拖曳。
旋轉:旋轉地圖,即可查看 360 度全景。按住 Control 鍵 (或部分電腦上的 Cmd 鍵),同時使用滑鼠點選並向左或向右拖曳。
縮放:放大或縮小畫面。使用滑鼠滾輪或熟悉的放大/縮小手勢。
嘗試結合傾斜、旋轉和縮放功能,為每個位置找出完美角度。控制方式可能因電腦設定而略有不同。

瞭解如何控制 3D 畫布,取得最佳攝影機角度。
完成並下載
建構故事和章節後,即可下載設定。
按一下「下載」,即可取得 JSON 格式的自訂設定。
您可以從 GitHub 分叉程式碼,使用這項設定建立自己的 3D 故事。